Back Shot Weight Calculator
Size the small shot placed above a float to sink loose line, steady presentation, and improve strike contact without over-trimming the float.
🎯Fishing Presets
⚙Back Shot Inputs
Back Shot Results
Calculation Breakdown
📊Line and Shot Data
🐟Gear and Species Comparison
Roach and Dace
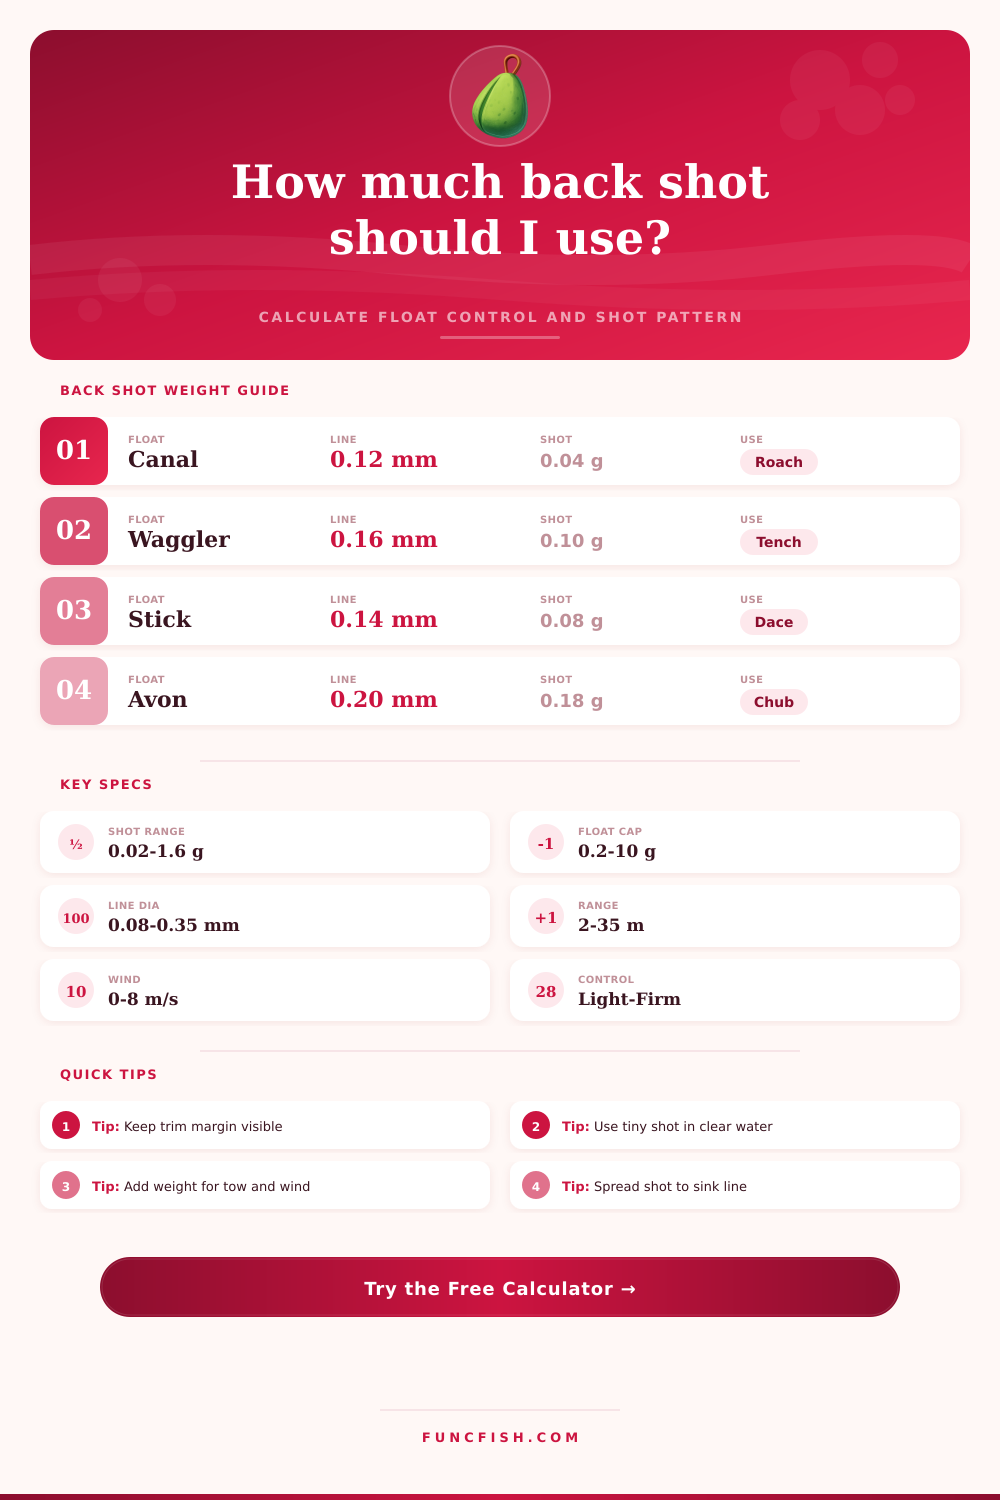
0.02-0.08 gUse micro shot with fine mono and leave a generous trim margin for delicate lift bites.
Bream and Tench
0.08-0.20 gMedium back shot steadies wagglers without dragging the insert under in light tow.
Chub and Grayling
0.10-0.30 gSpread shot above stick or loafer floats to improve mending and holdback contact.
Carp and Barbel
0.20-0.80 gHeavier floats and stronger line can carry a BB-sized control shot in wind or flow.
📘Split Shot Size Reference
| Shot size | Approx weight | Best back-shot role | Common float match |
|---|---|---|---|
| No. 13 | 0.01 g / 0.0004 oz | Pin-prick trim on clear canals | 0.2-0.5 g pole floats |
| No. 12 | 0.02 g / 0.0007 oz | Fine line sinker above small floats | 0.3-0.8 g canal rigs |
| No. 11 | 0.04 g / 0.0014 oz | Single cautious back shot | 0.5-1.0 g light wagglers |
| No. 10 | 0.06 g / 0.0021 oz | Light waggler line control | 0.8-1.5 g insert wagglers |
| No. 9 | 0.08 g / 0.0028 oz | Canal tow and small river glide | 1.0-2.0 g floats |
| No. 8 | 0.10 g / 0.0035 oz | Standard above-float anchor shot | 1.5-3.0 g wagglers |
| No. 6 | 0.16 g / 0.0056 oz | Windy line control | 2.0-4.0 g floats |
| No. 4 | 0.20 g / 0.0071 oz | River holdback support | 3.0-6.0 g avon floats |
| No. 1 | 0.30 g / 0.0106 oz | Strong flow or long-range waggler | 4.0-8.0 g floats |
| BB | 0.40 g / 0.0141 oz | Heavy control shot | 5.0-10.0 g floats |
📏Float Style Back-Shot Guide
| Float style | Typical back-shot allowance | Placement above float | Calculation note |
|---|---|---|---|
| Canal or dibber float | 3-6% of float capacity | 4-10 in / 10-25 cm | Keep shot tiny to protect lift bites. |
| Insert waggler | 5-9% of float capacity | 10-20 in / 25-50 cm | Use two small shot in surface tow. |
| Straight waggler | 6-11% of float capacity | 12-30 in / 30-75 cm | More line above the float needs more control. |
| Stick float | 5-8% of float capacity | 8-18 in / 20-45 cm | Spread shot to help mending and holdback. |
| Avon or bolo float | 6-10% of float capacity | 12-24 in / 30-60 cm | Good for bulkier river line control. |
| Slider float | 8-14% of float capacity | 18-40 in / 45-100 cm | Deep swims need extra contact above the float. |
| Pellet waggler | 6-10% of float capacity | 12-36 in / 30-90 cm | Wind and casting distance dominate the correction. |
| Loafer or top-and-bottom | 5-9% of float capacity | 10-22 in / 25-55 cm | Back shot helps slow the float without drowning it. |
🎣Species and Rig Reference
| Target | Typical main line | Float capacity | Back-shot starting point |
|---|---|---|---|
| Roach on canal | 0.10-0.13 mm / 1.5-3 lb | 0.3-1.0 g | No. 12 to No. 10 |
| Dace on stick float | 0.12-0.15 mm / 2-4 lb | 1.0-2.5 g | No. 10 to No. 8 |
| Bream on waggler | 0.14-0.18 mm / 3-5 lb | 1.5-4.0 g | No. 9 to No. 6 |
| Tench margin rig | 0.16-0.22 mm / 4-7 lb | 1.0-3.0 g | No. 10 to No. 6 |
| Chub trotting | 0.16-0.22 mm / 4-7 lb | 2.0-5.0 g | No. 8 to No. 4 |
| Barbel avon float | 0.20-0.28 mm / 6-10 lb | 3.0-8.0 g | No. 6 to BB |
| Carp pellet waggler | 0.20-0.30 mm / 6-12 lb | 4.0-10.0 g | No. 4 to BB |
| Grayling loafer | 0.14-0.18 mm / 3-5 lb | 2.0-5.0 g | No. 9 to No. 4 |
🌊Condition Adjustment Table
| Condition | Adjustment factor | What changes | Practical check |
|---|---|---|---|
| Flat calm stillwater | 0.80-0.95 | Less back shot needed | Float should settle without creeping. |
| Light canal tow | 1.00-1.15 | Line bow starts to matter | Back shot should just sink the surface loop. |
| Side wind on lake | 1.20-1.55 | Wind correction dominates | Use spread shot instead of one large lump. |
| River glide | 1.10-1.35 | Holdback pressure increases | Float tip must remain stable when checked. |
| Fast trotting line | 1.35-1.80 | Current pulls line above float | Stay under safe trim margin before adding more. |
| Deep slider swim | 1.20-1.50 | Long line creates slack | Use longer spread for positive contact. |
💡Back Shot Tips
Trim check: The calculator limits the recommendation against spare float capacity. If the result says the margin is high, reduce below-float shot first or choose a larger float rather than hiding the tip.
Pattern check: In wind, two or three smaller shot often control loose line better than one heavy shot because the spread sinks a longer section above the float.
For float fishers, there’s nothing more frustrating than being on the bank of a canal with the loop of your line bowing like a drawn bowstring in a slight breeze. Below it, the fish is feeding but cannot feel the hook link tickling through the loose line above their heads. You spook them by giving it a little tug. Then you wait and totaly miss the bite.
Use a back shot. A small weight slipped into the loop of the line just above the float to sink the slack surface loop. Without trimming down the float too much, the weight transfer contact straight to the rod tip. So when the fish eventually take the bait, it won’t drown the float.
How to Fix Slack Line When Fishing
Once you enter the current conditions and your float capacity, it does the math for you. There is no guesswork about whether you have put too much or too little weight on. Trim margin percentage are the critical entry here. It’s the amount of safety buffer you give yourself on the float. Pulling back on a float until you remove all the slack in the line make it totally insensitive. When a fish lifts a fully loaded out rig, it meets absolutely no resistance. It’s going to drop the hook because there’s nothing left in the system to indicate a bite.
While leaving some excess buoyancy so that you can see a strike, you still want to keep the line pulled tight above the float. A back shot is what most folks attach as one big hunk of lead near the stopper, expecting it to work on everything from dead calm to a stiff breeze. Nope. That’s what makes back shot different in steadier tow or wind. Back shot act like a pivot point with one heavy shot. What happens is the line above will still be bowing out against the tension at the surface while the line below that shot can swing all over the place.
If you have the same amount of weight split up in a couple or three smaller shots they disperse across an inch or so. They sinks a longer length of your line and thus create a more vertical presentation. You see, instead of just picking a total amount of weight the tool lets you pick a type of spread which takes care of this problem. Because it increases the surface area of the sinking mass, a long strung out spread is much better for controlling wind. It pulls that slack down quicker then even a compact blob of lead would ever do.
The other factor here that most folks don’t consider is line size. A spool of fine monofilament floats like a noodle on the surface of water. You can hardly get it to go under with any amount of weight. Fluorocarbon and heavier copolymer lines tend to break the surface tension better and also they has some weight to them naturaly. You would of needed much less back shot if you were using, say, 0.18 mm line in the wind compared to fishing with ultra-fine 0.10 mm line in the wind. The finer line will fight the surface a lot harder.
The material difference is accounted for in the calculator so you won’t end up going lighter than necessary where the bait doesn’t rise right, or too heavy where it won’t show the bite. How far off can you be? That depends on what you’re fishing for. In clear water, you want as little weight over your float and small shot pattern when targeting shy crucians and roach. You need maximum sensitivity and minimum disturbance. Heavier back shot held back against the current is tolerable when chasing barbel or chub in a fast-moving river.
The table on the page breaks down those trade-offs for each style of float and species. It illustrates why river trotting set-ups require quite different weights than canal rigs. You have to not only stop the float from moving, but also match the presentation to how the feeding fish behave. It takes a bit of trial and error to get the balance right.
Begin by adding the amount recommended by the calculator, chuck it out there and let it sink. Then provide a light mending action and if the top end of the line still droops, increase your weight or spread the weight more. Conversely, if a curious fish barely touches it and the float go straight underwater, you’ve got too much weight on her. And that’s where the art comes in, adjusting all those factors while fishing.
By eliminating the guesswork of how heavy to go at the beginning, this tool puts you near the right starting place. Your next step is to feel things out with your fingertips as you read the water and make the adjustments needed to fine tune it down to its final setup. Because that’s what you’re really after: getting that slack to your bait under control so that bites become visible feedback, which was the whole reason for being here.