Release Mortality by Hook Location Calculator
Estimate release mortality from where the fish was hooked, hook style, bleeding, removal choice, fight stress, water temperature, and release method.
📌Hooking scenario presets
⚙Release mortality inputs
This tool estimates relative release risk for planning and comparison. It is not a substitute for local handling protocols or fishery research for a specific stock.
Hook location release estimate
Formula breakdown
📋Species and hook gear grid
Circle Hook
Barbless Single
Treble Hook
Deep Bait Hook
📊Hook location reference tables
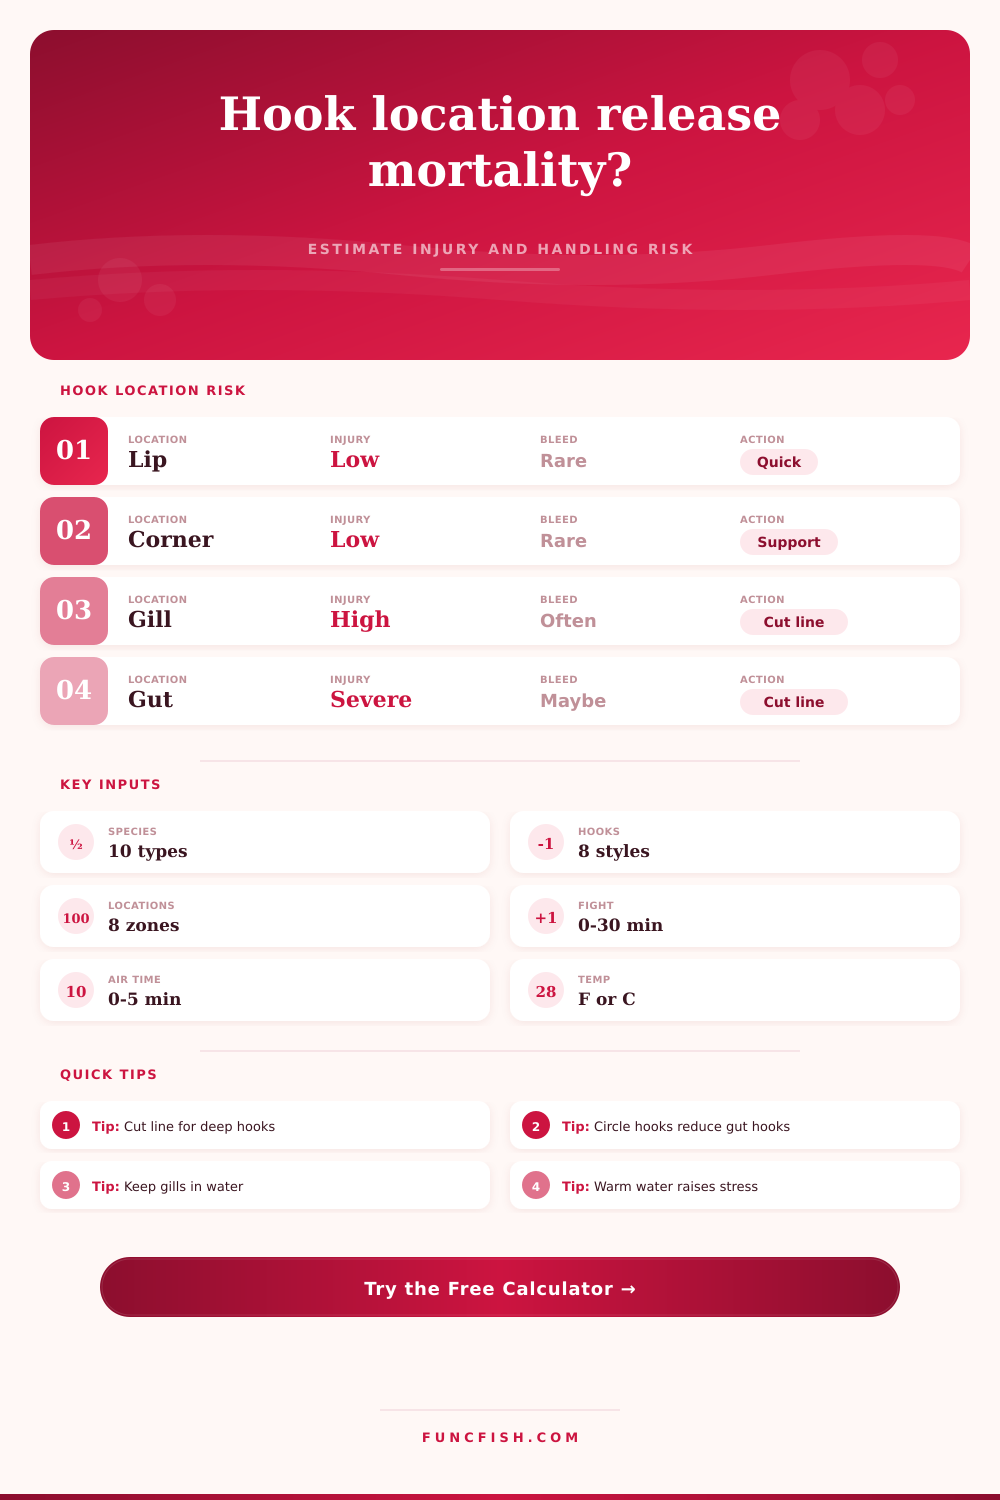
| Hook location | Typical injury score | Main concern | Best calculator response |
|---|---|---|---|
| Lip only | 0-8 | Minor tissue tear | Remove fast and release |
| Corner of mouth | 2-10 | Jaw pressure | Support fish in water |
| Tongue or roof | 18-35 | Blood flow and handling | Minimize tool time |
| Gill contact | 38-70 | Respiration and bleeding | Keep gills submerged |
| Deep throat | 45-78 | Organ and removal trauma | Cut line if difficult |
| Gut or stomach | 55-90 | Internal injury | Cut line, no pulling |
| Species group | Hook injury sensitivity | Air tolerance | Temperature warning |
|---|---|---|---|
| Trout | High | Short | Above 64 F / 18 C |
| Walleye | Moderate-high | Short | Above 70 F / 21 C |
| Black bass | Moderate | Moderate | Above 82 F / 28 C |
| Catfish | Lower | Longer | Above 86 F / 30 C |
| Rockfish | High | Short | Depth often dominates |
| Striped bass | High | Short | Above 72 F / 22 C |
| Hook style | Modeled modifier | Removal profile | Best matching technique |
|---|---|---|---|
| Barbless single | Lower injury | Fast extraction | Fly, trout, lure swaps |
| Circle hook | Less deep hooking | Corner sets common | Bait fishing |
| Inline single | Lower handling | One point to remove | Plug and spoon lures |
| Barbed J hook | Baseline to higher | Depends on depth | Jigs and live bait |
| Treble hook | More handling | Multiple points | Hard baits |
| Bait holder | Higher deep risk | Can be hard to back out | Soak bait rigs |
| Handling driver | Low risk | Moderate risk | High risk |
|---|---|---|---|
| Air exposure | Under 20 sec | 20-60 sec | Over 60 sec |
| Fight time | Under 2 min | 2-6 min | Over 6 min |
| Bleeding | None or spot | Light | Steady or heavy |
| Removal choice | In-water quick | Tool removal | Extended pulling |
| Depth | Under 20 ft | 20-50 ft | Over 50 ft |
💡Calculation checks
Tip: Compare the same gut-hooked fish with "cut line" and "extended removal attempt" to see how much removal trauma changes the estimate.
Tip: For gill contact, bleeding and air exposure usually matter more than small differences in fish length or hook size.
It’s all about the hookset. Is it going to bite your line on the lip? Most likely you have a clean release. Does it slide down their throat? Does it get buried in the stomach or up under their gill arches? Instantly the odds change…and it isn’t just bad luck; it’s biology. That first position is weighed against other factors in the calculator (above). But knowing why those variables matter help keep ’em alive.
Many anglers believe there are only two locations for a hook. Either it’s in their mouth, or it’s not. Wrong. There’s a huge range of possibilities. That’s what reference table on page spells out.
How to Keep Fish Alive
Is it a gut hook? Is it a corner hook? Does it have its hook in the fish’s lip? Minor flesh damage occurs, but it heals pretty quick. How about a hook in one of the fish’s gills? Now the fish is compromised by breathing issues and likely has bleeding which fouls the water. Bleeding creates additional stress for the fish. Survival rate differences between those two can be fifty percent or more.
Reeling hard won’t make as much difference different than where the steel lands. The type of hook makes an enormus difference in where it ends up. With a circle hook, the hook is designed to pivot into the corner of the jaw, avoiding contact with the sensitive tissues of the throat. It makes no contact whatsoever with more sensitive areas of their throat. A treble hook is indiscriminate. Whatever comes across it gets hooked. It is great at putting fish in boat but lousy at getting fish back into the water. For game fish like rockfish or trout where live release is common, swapping to a circle hook or even better a barbless single is one of the best modifications you can make. Small modification, big return.
Fight time is another important variable that can dramatically change once you have the fish hooked. When the fish is fighting, lactic acid accumulate in its muscles. The more acidic the fish is when released, the less likely it is to fully recover and escape being preyed upon. This is particularly relevant in warmer water. As the water warms, oxygen decreases. A fish that could survive a five-minute fight in sixty-degree water may die from stress in just twenty-five seconds at seventy-five degrees. To account for this, the tool allow you to input the water temp and will adjust based off how risky it sees your situation to be.
Long fight time does not necessarily mean you had a good one. Rather, sometimes it means you were just pushing the fish’s body to its limit.
The other silent killer is air exposure. Fish do not breathe air. If they’re lifted out of water into a net or on your boat, their gills stick together and reduce surface area used to exchange oxygen. Each second that they are out of the water matters. That’s why both air exposure and release method is inputs in the calculator. Even when the hook is in a good place, it’s still better to get them back in the water quickly with minimal struggle on the bank.
In most cases the physical handling of getting the fish landed cause more trauma than the hook itself. Blood in the water is a visible sign of internal injury. If you notice blood in the water, the calculator increase the mortality risk accordingly. This applies especially to gill contacts. Supporting the fish’s weight and keeping the gills submerged can lessen some of the trauma. But it won’t eliminate it.
When a fish is gut hooked, sometimes the best advice is also the hardest to follow. Cut the line. Don’t attempt to push the hook down their throat with pliers. You’ll do more damage than what the hook did. Either it’ll dissolve or it’ll work its way back out. Leaving the hook in doesn’t give the fish any better odds then they have with a torn up esophagus.
Catch and release is no excuse for poor handling. You should of respect the animal’s biology. The calculator gives us a way to understand those risks. It takes the guesswork out of the decision making process, making it more informed.
It all comes down to you. Get that fish back in the water. Limit your fight. Make a conscious effort to think before you swing the net. Remember, what happens when that hook sets is only the beginning. What you do after will determine whether or not the fish swims away.