Jig Mold Lead Usage Calculator
Estimate the metal charge for a jig mold run, including cavity count, mold style allowance, alloy density, hook displacement, sprue weight, and expected rejects.
📌Production presets
⚙Batch inputs
Lead batch estimate
Formula breakdown
🧪Comparison and material grid
Baseline for most marked jig mold weights and smooth cavity fill.
Casts close to marked weight with slightly cleaner fill detail.
Finished heads run a little lighter than pure lead cavities.
Useful for lead-free comparisons, with noticeably lighter pours.
📊Jig size equivalents
| Marked jig size | Grams per pure lead head | Heads from 1 lb lead | Common mold use |
|---|---|---|---|
| 1/64 oz | 0.44 g | 1024 | Ice and micro panfish |
| 1/32 oz | 0.89 g | 512 | Trout and crappie |
| 1/16 oz | 1.77 g | 256 | Crappie and finesse |
| 1/8 oz | 3.54 g | 128 | Stream and shallow jigging |
| 1/4 oz | 7.09 g | 64 | Walleye and bass |
| 3/8 oz | 10.63 g | 42.7 | Football and swim jigs |
| 1/2 oz | 14.17 g | 32 | Flipping and inshore |
| 1 oz | 28.35 g | 16 | Surf and bucktail molds |
🔧Mold pattern allowance table
| Mold pattern | Built-in sprue range | Typical cavity count | Planning note |
|---|---|---|---|
| Round ball jig | 4-7% | 4-8 | Short gate, efficient pour path |
| Ball collar jig | 6-9% | 4-8 | Collar detail needs fuller gates |
| Darter or minnow head | 7-11% | 3-6 | Long cavity can trap cold metal |
| Football jig | 8-12% | 2-5 | Wide shoulders increase trim weight |
| Arkie or flipping jig | 9-13% | 2-5 | Weedguard pins add displacement |
| Bucktail head | 10-16% | 1-4 | Large hooks and eye loops vary fill |
| Banana or surf jig | 12-18% | 1-3 | Long gates need extra hot metal |
| Flutter or slab jig | 14-20% | 1-3 | Broad thin cavities reward margin |
⚖Alloy density and remelt table
| Material | Density factor | Trim recovery | Result in a pure lead mold |
|---|---|---|---|
| Soft pure lead | 1.000 | 94% | Closest to marked cavity weight |
| Soft lead with trace tin | 0.996 | 93% | Nearly identical finished weight |
| Hard lead, low antimony | 0.970 | 91% | About 3% lighter per head |
| Hard scrap lead blend | 0.966 | 88% | Lighter and less predictable |
| Tin rich lead alloy | 0.935 | 90% | Cleaner fill but lower mass |
| Bismuth tin lead-free blend | 0.862 | 86% | Much lighter in the same cavity |
📝Batch planning reference
| Planning item | Low waste run | Normal run | Difficult mold run |
|---|---|---|---|
| Sprue and runner allowance | 5-8% | 8-14% | 14-22% |
| Reject rate | 1-3% | 3-7% | 7-15% |
| Hook displacement | 1-3% | 3-6% | 6-10% |
| Warm-up margin | Small molds | Mixed cavities | Large long cavities |
| Best weighing point | After trim | After cooling | After reject sort |
💡Calculation tips
Tip: Use the marked jig size for the cavity, then apply hook displacement and alloy density to correct the finished metal weight per head.
Tip: Keep sprue allowance separate from reject percentage. Sprue is part of every pour; rejects are finished heads that fail after trimming or inspection.
Here’s the deal; you’ve got a hot pan of melted lead and a mold waiting to be filled with it. Your jig heads will weigh a quarter-ounce and you want to make thirty casts before running out. That’s what separates the hobbyist who melts down old sinkers from small shop owner that ships product. Arithmetic is the difference.
How much metal does it take to make a head? How much gets left behind in the sprue? What about all the oxidation loss? What if a few bad heads don’t pass inspection? Once you know your mold style and the number of cavitys in the mold, it’s just a matter of plugging numbers into calculator. You won’t have to guess at conversions or coefficients during each pattern change.
How to Calculate the Right Amount of Metal
I mention this because most folks don’t realize that a mold cavity isn’t like a block of lead. A block has no voids. There’s a hook in there, and that hook take up space. So it doesn’t take as much material to fill the cavity then a block of equal size. If you neglect displacement, every time out you’ll either wonder why your poured weights is coming out heavier than expected or you’re consistantly under filling the batch. With this tool, you’re able to enter a percentage for how much hook displaces. Generally speaking, this number ranges from 3-6 percent depending on hook size and wire gauge. It seems minor, but those little fractions of an ounce really do add up and turn into a meaningful margin of error after a few hundred pours.
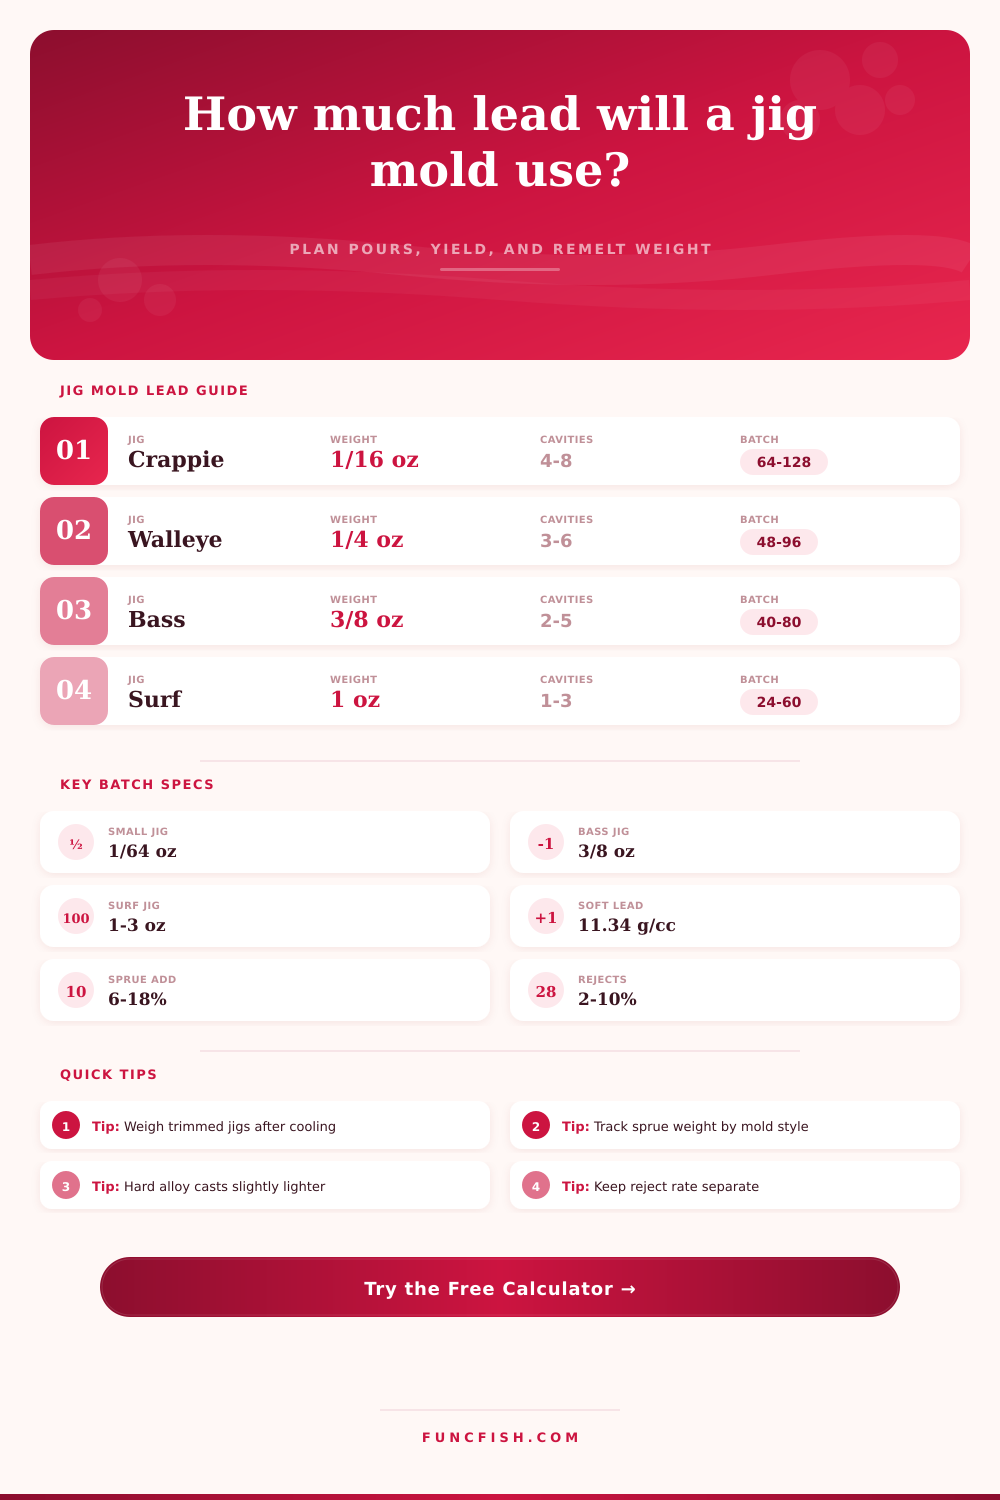
Runners and sprues is another matter. Each design has its own sprue runners required to get the metal from the pour gate to the cavity. Simple patterns such as round ball jigs may have only minimal gates and waste. Complex designs, such as intricate bucktail heads or long banana surf jigs, need large runners to keep the metal hot enough to fill the details. Some designs call for as much as 20% extra according to their reference table found on the page.
You don’t want to assume your complex mold is as easy as a simpler one and then find yourself mid-pour with no more metal. This results in a weak spot and a cold shut in the finished jig. Better to leave a little extra lead in the pot than to have to stop and top it off. Stopping to add metal throw off the casting temp and makes the remaining portion of the pour inconsistent.
Specific gravity and alloy density also count. The denser the alloy, the more weight you get from a given volume. So you gets fewer ounces from an equal amount of melted alloy. Adding tin or antimony changes the specific gravity so that harder alloys is slightly less dense than pure lead. But a softer alloy will have a slightly lower density than a harder one; and you’ll find yourself using more ounces with a harder alloy to achieve the desired weight. You have to compensate in charge weight if switching from soft pure lead to a harder mix for durability. The calculator handles this automatically.
This prevents surprises if your jigs weigh 3 percent less than marked because you failed to adjust for alloy difference. That’s where most folks fail. They think weight doesn’t matter what alloy you use. It does.
Rejects are unavoidable and should of been accounted for to understand your true material cost. You’ll have some air bubbles in the head, rough edges on the head, partial fills on the head. Set aside a small percentage of those for return remelt to keep your inventory current. If you intend to make 50 jigs but know you’ll get 5 rejects, your net production is less. That’s time and labor lost. It is not just metal. By keeping the numbers separate, you’ll better see what materials actualy cost you. And yes, you can remelt the rejects and sprues too.
Consistency is the goal. Before you begin melting, you’d like to know how much metal to melt up. If there is too little, you cannot do any more work. Too much, now you’re wasting time and energy cooling off extra metal. So the tool has both a net usage amount and a gross melt charge. That helps you keep track of inventory. You might have two pounds of lead, but only an ounce and a half ends up in the box. The rest is waste or scrapped. Knowing that material flow make it a repeatable process instead of guesswork.
If you’re not sure where to start, begin by taking a conservative approach to your sprue allowance. Fixing a batch because you ran out is harder then topping off the batch with additional metal. After cooling, weigh your trimmed-out jigs to check your calculations. As you go through this process, you’ll notice trends in your waste. Maybe a certain style of mold tend to throw more rejects? Knowing this will allow you to tweak your inputs on later runs.
Your hands collect the data; the calculator is a planning tool. Set your expectations based off the calculator and let your experience fine tune those numbers. The math checks out, the mold fills and the pot boils.