Chicken Rig Hook Spacing Calculator
Calculate hook-to-hook gaps, total dropper ladder span, leader fit, sinker clearance, and tangle margin for bottom-fishing chicken rigs, hi-low rigs, and deep-drop branch rigs.
📌Chicken Rig Presets
⚙Rig Spacing Inputs
Spacing results appear here after calculation.
Spacing Breakdown
📊Rig Material Reference
📐Hook Spacing Tables
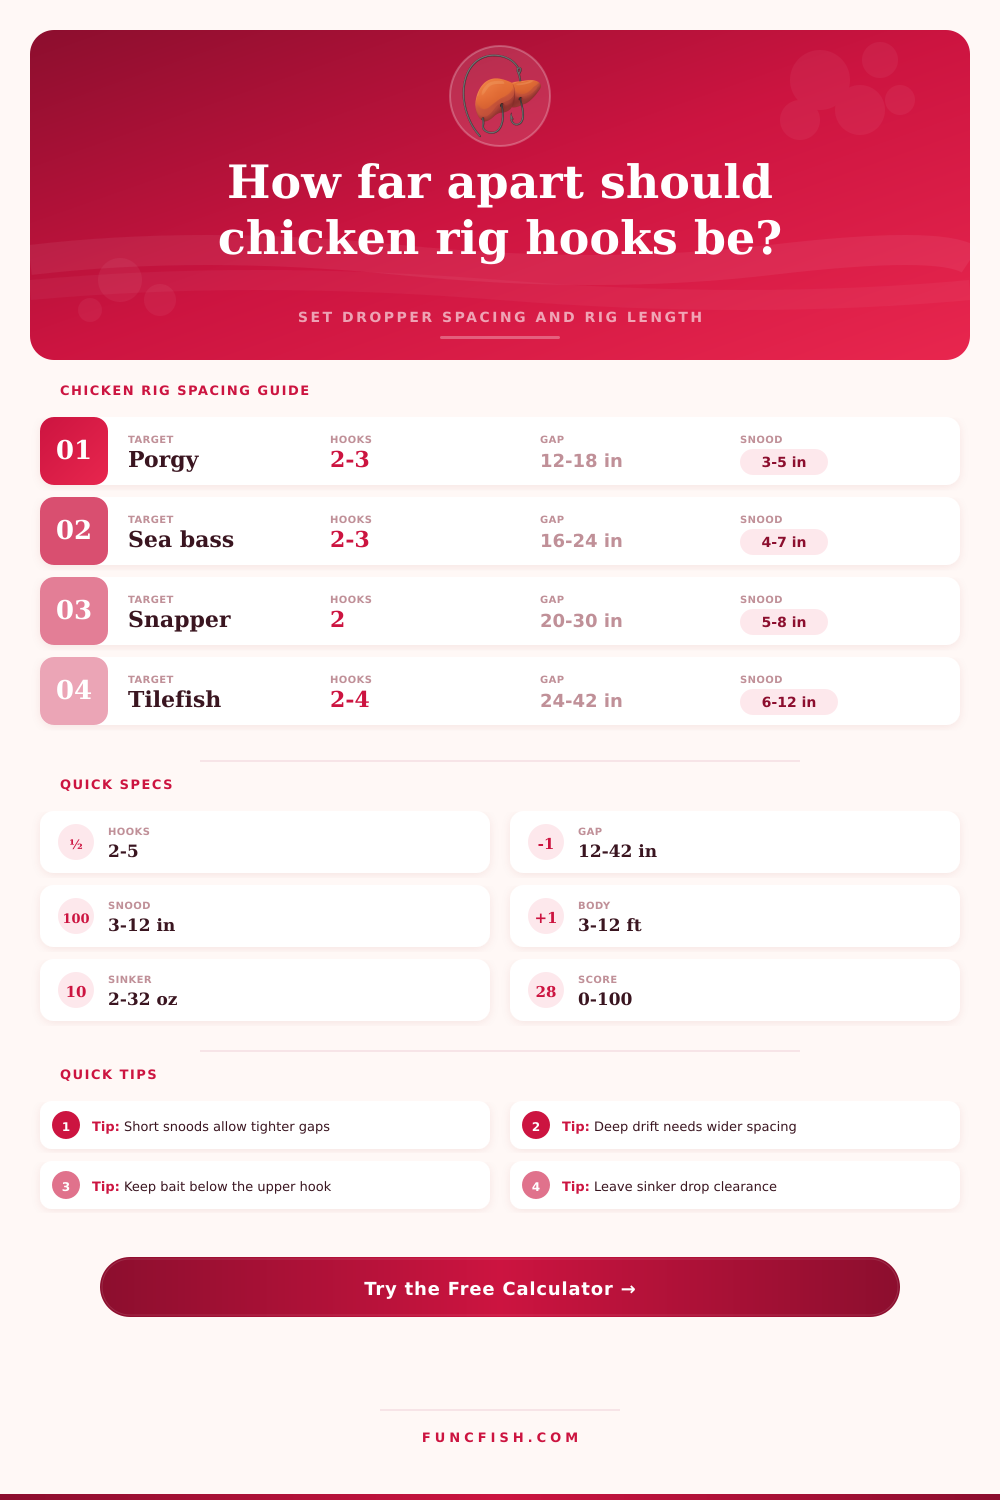
| Target and rig | Typical hooks | Starting gap | Snood length | Spacing note |
|---|---|---|---|---|
| Porgy, scup, pinfish | 2 to 3 hooks | 12 to 18 in / 30 to 46 cm | 3 to 5 in / 8 to 13 cm | Short bait pieces keep the rig compact. |
| Black sea bass chicken rig | 2 to 3 hooks | 16 to 24 in / 41 to 61 cm | 4 to 7 in / 10 to 18 cm | Leave room for squid strips and hook roll. |
| Snapper or reef fish | 2 hooks | 20 to 30 in / 51 to 76 cm | 5 to 8 in / 13 to 20 cm | Use wider spacing when baits are bulky. |
| Grouper heavy leader | 2 hooks | 24 to 36 in / 61 to 91 cm | 5 to 10 in / 13 to 25 cm | Heavy hooks and big baits need more gap. |
| Tilefish deep drop | 2 to 4 hooks | 24 to 42 in / 61 to 107 cm | 6 to 12 in / 15 to 30 cm | Depth, scope, and glow skirts widen the spacing. |
| Cod or haddock bait rig | 2 hooks | 20 to 32 in / 51 to 81 cm | 5 to 9 in / 13 to 23 cm | Clam baits and teasers need swing room. |
| Leader material | Stiffness | Best branch length | Spacing effect | Use case |
|---|---|---|---|---|
| 30-40 lb mono | Flexible | 3 to 6 in / 8 to 15 cm | Needs normal to wide spacing | Porgy, sea bass, bait rigs |
| 50-60 lb mono | Medium | 4 to 8 in / 10 to 20 cm | Good all-round clearance | Party boat bottom rigs |
| 80-100 lb mono | Stiff | 5 to 10 in / 13 to 25 cm | Can hold shorter gaps | Grouper, wreck, heavy reef |
| Fluorocarbon leader | Dense and stiff | 4 to 8 in / 10 to 20 cm | Reduces branch collapse | Clear water snapper rigs |
| Soft braid snoods | Very soft | 2 to 4 in / 5 to 10 cm | Requires extra spacing | Only for special bite needs |
| Wire or crimped branch | Very stiff | 4 to 9 in / 10 to 23 cm | Controls swing well | Toothy fish and deep drops |
| Water condition | Multiplier | Sinker clue | Deck result | Calculator adjustment |
|---|---|---|---|---|
| Calm anchored drop | 0.96x | Line nearly vertical | Compact rig works | Small spacing reduction |
| Light current | 1.00x | Light angle in line | Normal spacing | Baseline chicken rig gap |
| Moderate tide | 1.12x | Occasional scope | Shorten snoods | Wider hook-to-hook gap |
| Strong tide or river | 1.30x | Sinker walks bottom | Use fewer hooks | Large tangle penalty |
| Boat swing on anchor | 1.22x | Rig pendulums | Top hook can cross | Adds swing allowance |
| Deep drift or scope | 1.38x | High line angle | Deep-drop spacing | Largest clearance factor |
💡Chicken Rig Calculation Tips
Measure from hook bend to backbone. The calculator treats each snood as a swing arm. If you measure a loop before attaching the hook, subtract the knot and hook-eye length for a cleaner spacing estimate.
Check the whole rig length. A good hook gap still fails if top clearance and sinker drop leave no spare trim. Reduce hook count before forcing tight spacing into a short leader.
I cast out and drop my line down into position, then I wait for a fish to bite. But nothing bites; I just got another damn knot! Heck, even the most seasoned guys swear up-and-down they never gets anything tangled. And the chicken rig… simplicity is what makes it tricky. It’s not just luck; it’s geometry.
Too much distance between hook results in wasted leader length and fewer baited point in the strike zone. Not enough distance creates an ever-increasing tangle anytime there is any amount of current. Most folks mess this up by guessing rather then measuring to arrive at that happy medium.
How to Stop Your Fishing Line From Tangling
Then you simply input your own details into the tool above. It figure out the rest of the math for you, saving you the trouble of estimating conversions and coefficients. It factors water movement, snood length, and sinker drop. Most folks overlook the snood length factor when considering gaps, yet that branch line is realy a swing arm. A longer loop swings wider when the current hits it. Using big bait on an eight-inch snood require more horizontal clearance than small, tiny baitfish on short three-inch loops. This pendulum effect is what the calculator factors in, so you’re not trying to imagine it all in your head.
Most guys don’t talk about how important leader stiffness is. Mono has memory and it will want to turn back around into whatever position it was in on the spool. So if your branch is rigid like that with thin mono those loops are going to fold right up onto your main line as sinker cinches down. When that happens, all those hook bunch up at the end of the leader. Heavy fluorocarbon line help keep the branches splayed open. The substance of it holds its form better. Not so much because it’s strong but because it’s rigid.
Everything changes depending on current. With no current the rig dangles vertically (a string of beads). With current the rig will fan out. So the calculator takes that into account and has multipliers based off how strong the current is. If it’s a strong current it pushes the top hook farther from the sinker at the bottom, and pulls the branches sideways, which makes it more likely to wrap over the middle hook if you don’t give it enough room vertically. So it’s a give-and-take: you can go deeper with more hooks because there’s no current but lose a hook in a harder-running river.
Your anchor in this chaos is the sinker. If you use a light sinker, the current will lift your rig, turning it. The heavier the weight, the straighter your leader stay, reducing each branch’s swing radius. But not all situations allow for a heavy sinker; not when you’re trying to stay sensitive to bites or throwing up on rough bottom. If no amount of added weight help, then you need to make some distance. Spacing the hooks further apart makes up for having less weight. It allows the rig to breathe while not crossing its own wires.
One thing you don’t think about when fishing with baitfish: Bait size matter. A live shrimp or chunk of cut bait can take up more room than a tiny strip of squid on a teaser. Big baits get in each other’s way because they take up more space. Short snoods won’t work as well for bulky baits as they do for something smaller like a shrimp. You’re so focused on the hook that you forget what’s hanging off the end of it.
While everyone wants maximum coverage, don’t force-feed a five-hook rig on a three-foot leader. If you do that, it’s a mess. Back off the number of hooks and avoid squeezing them too close together. Half your hook are useless if they’re tangled up and there’s no prize for having the most hooks in the water. A clean two-hook rig wins over a knotted up four-hook rig every time.
If you’re unfamiliar, start by using the presets on the tool. These are good baselines for most situation, sea bass, porgy etc. Then adjust the settings based off the conditions. Use heavier bait, a stronger current, or a deeper drop. You’re not going for perfection, but rather clarity. Each hook should of have its own area of effect where tension translates directly into you without getting lost amidst the tangle of line.
I don’t care how complicated the knot is or what fancy material it’s made of, I want the best rig, which is the one that doesn’t get tangled so much that you can’t even put the fish on it. Space ’em out. Tie ’em right the first time. Let geometry be your friend. You shouldn’t have to fight your own line anymore, so your next drop will feel lighter.