Descending Device Depth Calculator
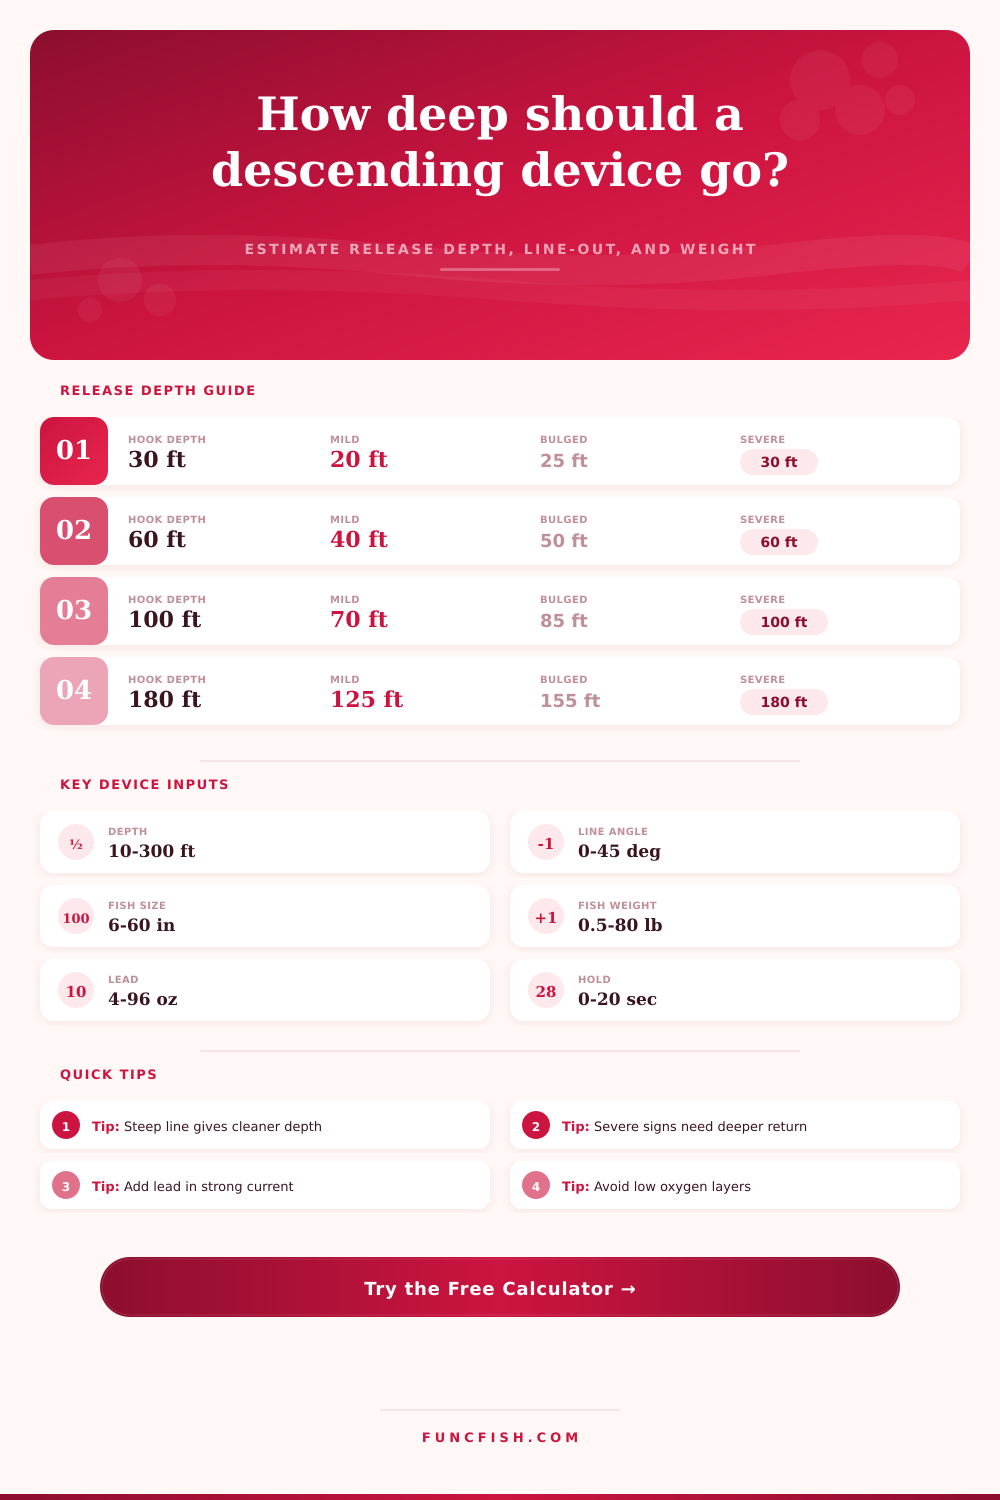
Estimate a target recompression depth, adjusted line-out, sink weight, and descent time for common fish descending devices.
📌Scenario presets
⚙Release inputs
Use the depth where the fish was hooked or brought up from. The calculator adjusts for species sensitivity, visible symptoms, release goal, line angle, and current.
📋Species and gear grid
📏Depth and pressure reference
| Depth | Approx pressure | Surface expansion | Typical device action |
|---|---|---|---|
| 20 ft / 6.1 m | 1.61 atm | 1.6x | Watch sensitive fish |
| 40 ft / 12.2 m | 2.21 atm | 2.2x | Use descender if symptoms show |
| 80 ft / 24.4 m | 3.42 atm | 3.4x | Return deep-water species |
| 120 ft / 36.6 m | 4.64 atm | 4.6x | Use stable release weight |
| 200 ft / 61.0 m | 7.06 atm | 7.1x | Heavy device and straight line |
📊Device comparison table
| Device type | Best use | Release control | Weight tendency |
|---|---|---|---|
| Pressure-release jaw clip | Target depth releases | High | Moderate |
| Inverted barbless hook | Simple straight drops | Medium | Moderate-high |
| Lip-grip descender | Large-mouthed fish | High | Moderate |
| Weighted crate / basket | Small or delicate fish | Medium | Low-moderate |
| Heavy deep-drop release | Deep reef or strong drift | High | High |
🎣Common species reference
| Species group | Common barotrauma depth | Target depth logic | Suggested gear |
|---|---|---|---|
| Black bass / crappie | 25-45 ft / 8-14 m | 50-75% of hook depth | Light clip or basket |
| Walleye / sauger | 30-60 ft / 9-18 m | 60-80% of hook depth | Clip, 8-16 oz lead |
| Pacific rockfish | 40-90 ft / 12-27 m | 75-100% of hook depth | Pressure-release clip |
| Red snapper | 50-100 ft / 15-30 m | 80-100% of hook depth | Clip or release sinker |
| Grouper / amberjack | 60-140 ft / 18-43 m | 85-100% of hook depth | Heavy release rig |
🌊Condition adjustment table
| Condition | Depth effect | Weight effect | Line-out note |
|---|---|---|---|
| Calm / low drift | No extra depth | Base weight | Nearly vertical |
| Light current | Add small reserve | +10% weight | Watch line angle |
| Strong current | Add reserve if safe | +25% weight | Line-out rises quickly |
| Thermocline caution | Cap at safe layer | Base to +10% | Release above poor layer |
| Low oxygen caution | Cap at safe layer | Base weight | Avoid holding deep |
💡Calculation tips
This calculator estimates descending-device setup values for planning. Match the result to your actual device instructions, fish condition, and on-water handling limits.
You hook the fish deep. And then you are fighting it up carefuly to get it into boat. As you lift the rod the water changes and the fish floats there upright, its eyes might even bulge a little bit. That’s barotrauma, which result in poor catch-and-release success.
Your instinct might be to toss it back immediately, but that is usualy the last thing it needs. Usually though you has to do more. As that fish rises, the pressure decreases and gas in its swim bladder expand. Release it at the surface and it will die or become prey for some other animal. You have to get it back down to where it was. Don’t go too fast and cause stress but don’t go too slow or lose stability. Managing that can be helped by a descending device.
How to Help Fish After Barotrauma
Instead of relying on magic it relies on mechanics, it uses biology with mechanics. And the calculator factor in line angle and species sensitivity. Most guys don’t think about line angle; they just figure it’s going straight down like a rope. But due to boat movement and current, it never go straight down. If your line is drifting at a forty-five degree angle you’re going to have to go deeper with more rope to get back to your target depth. The tool figures the geometry out so you don’t undershoot or overshoot.
Wrong depth is worse then not getting down at all. If it is too shallow, it cause repeat trauma. Going too deep stresses fish who are used to pressure band. Knowing which target to select comes down to the fish’s health. If there is only a little swelling in the belly, we go back to 60% of the depth it was caught at. If it is severely swollen and can’t get below surface, then we are going back down close to hooking depth. You can enter that into the calculator and it will recalibrate for you.
Reading the fish is more important than the numbers. Does it have any blood around its eyes and gills? If so, the fish is already compromised. Sinking the fish might stop it from floating but it won’t fix any internal ruptures. In those scenarios, your best bet is to keep it because if released it probably would of not make it anyway.
It’s also got weight figured in. It is enough to counter the buoyancy of the swollen swim bladder, but not so much as to risk injury to the fish or snapping your line. Heavier weight are used in heavy current. It covers that too. If you’re fishing a reef ledge or a wreck, the drop must be consistent. Jerking and dropping can result in the line getting tangled up or the device letting go to early. This is where presets in the calculator come into play.
The difference between a bass drop off a Missouri reservoir and a rockfish drop off a kelp bed in California is that the species group selection tell the system what the baseline pressure tolerance is. Knowing which species group you are targeting informs the system what their base level pressure tolerance should be. Shallow water dwellers like black bass don’t generaly require more than a twenty-foot drop to recover. When fishing two hundred feet out, rockfish gets hauled back almost that far.
The second point is anglers wait too long. Air kills most species and fish get out of shape fast when on the deck. Have your tool in hand before you think you’ll need it to net the fish. Practice your clip or hook setup on a dock if you have to, the fish is suffocating while you’re fumbling with equipment and those seconds matter.
Also keep in mind the layering of oxygen. Even if your sonar shows the fish at a certain depth, do not let go if the fish is below a thermocline with low oxygen levels. Set the cap on the depth using the calculator so you know you won’t drop the fish into one of these dead spot. It’s a safety buffer.
“It’s all about survival. That’s the goal; those numbers aren’t a guarantee. If the fish appears to be in good shape but stressed, then a moderate depth would of been appropriate. If the fish is actualy gasping for air, then you’d want to take her out deeper. It’s a tool, not a guarantee. But that doesn’t mean you shouldn’t continue handling the fish gently and keeping it wet as long as possible. And remember that releasing the fish quickly is vital for its survival. Sometimes only a few seconds can make the difference between a successful release and a lost one. Let the pressure do its job and get it back where it belongs.”