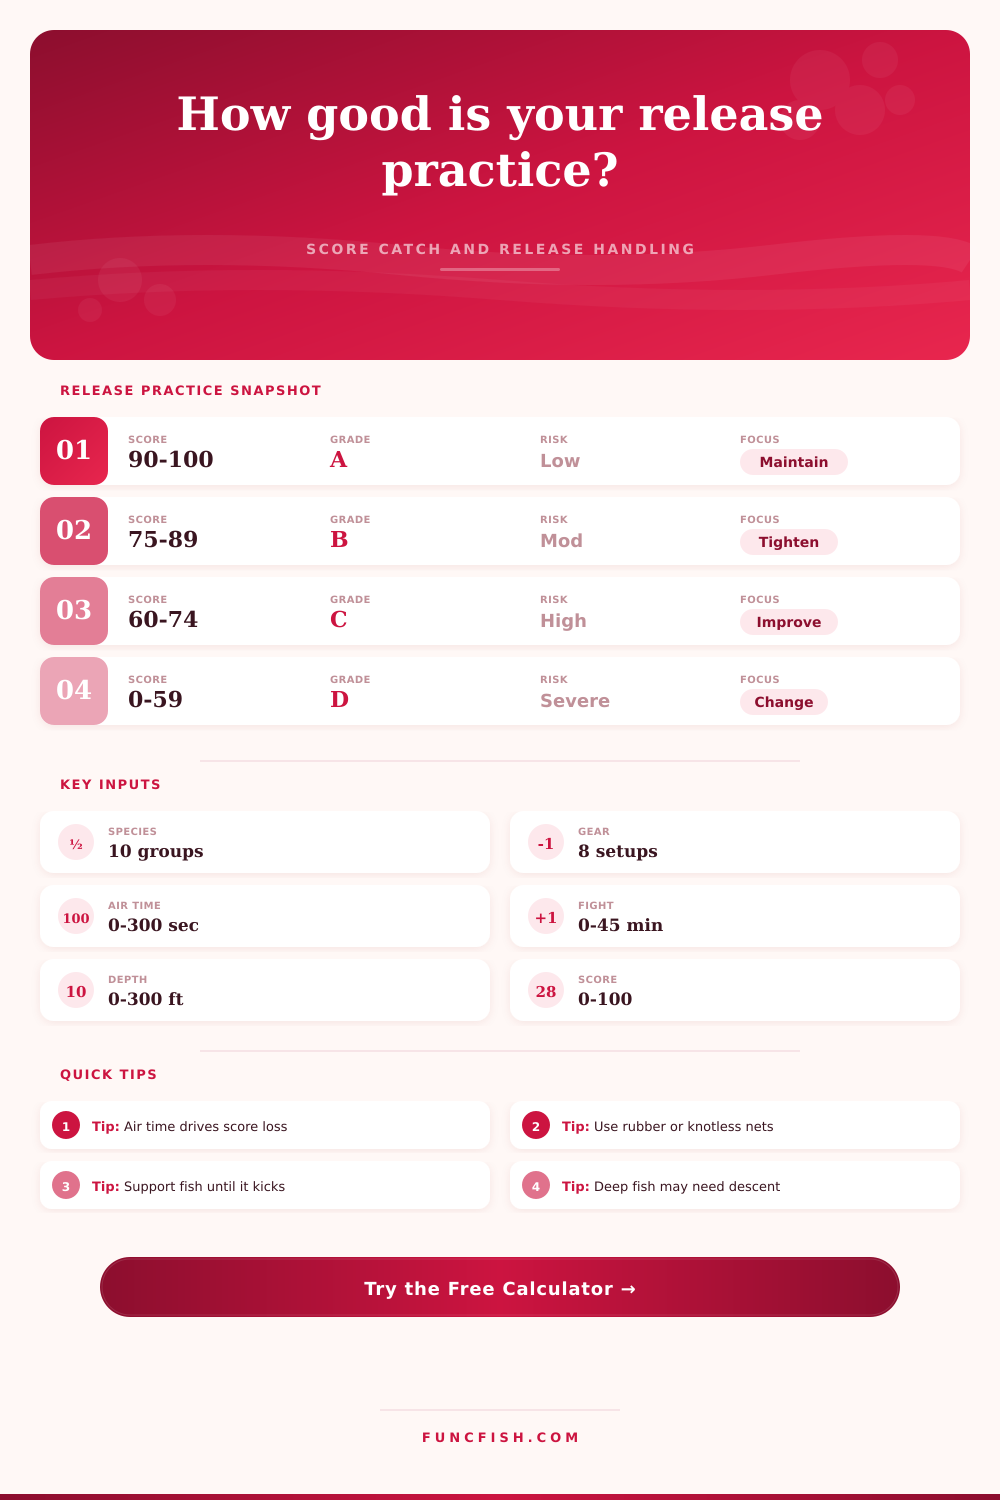
Catch and Release Best Practice Score Calculator
Score a release plan from species sensitivity, fight time, air exposure, hook injury, landing gear, water temperature, depth, and recovery support.
📌Release practice presets
⚙Best practice inputs
This score compares release choices against widely used fish-handling principles. It is a planning and consistency tool, not a regulation or stock-specific mortality estimate.
Release score results
Score breakdown
🎣Species and gear grid
Black Bass
Trout
Walleye
Panfish
Catfish
Pike
Redfish
Snapper
📊Species sensitivity reference
| Species group | Sensitivity | Ideal air target | Primary score pressure |
|---|---|---|---|
| Trout or char | High | Under 10 seconds | Warm water and air time |
| Pike or muskie | High | Under 15 seconds | Long fight and body support |
| Snapper or grouper | High | Under 20 seconds | Depth and barotrauma action |
| Striped bass | Medium high | Under 15 seconds | Warm water and exhaustion |
| Black bass | Medium | Under 20 seconds | Hook injury and hot water |
| Panfish | Lower | Under 25 seconds | Swallowed bait hooks |
📝Handling score benchmarks
| Practice area | Strong practice | Moderate practice | Score warning |
|---|---|---|---|
| Air exposure | One controlled lift | Photo plus measure | Repeated photo attempts |
| Landing gear | Rubber net or cradle | Knotless mesh | Dry hands or rough net |
| Hook removal | Fast forceps or cut line | Short careful work | Forced removal from deep hook |
| Release support | Upright until kick | Gentle forward flow | Tossed or dropped release |
| Depth handling | Descender ready | Weighted clip option | Deep surface release |
🧰Gear and hook comparison
| Gear choice | Score effect | Best matched use | Watch item |
|---|---|---|---|
| Single barbless hook | Best | Trout, bass, fly | Keep line tight |
| Circle hook | Best | Bait fishing, catfish, inshore | Do not hard set |
| Rubber landing net | Best | Bass, walleye, redfish | Wet before landing |
| Fish cradle | Best for large fish | Pike, muskie, carp | Keep fish level |
| Treble lure hooks | Moderate | Pike, bass, casting lures | Gill and eye contact |
| Knotted mesh net | Poor | Only if no option | Fin and slime abrasion |
✅Score interpretation table
| Score range | Grade | Release quality | Likely correction |
|---|---|---|---|
| 90 to 100 | A | Excellent release practice | Maintain short handling routine |
| 75 to 89 | B | Good with one weak point | Tighten the largest penalty |
| 60 to 74 | C | Fair but stress is building | Reduce air time or fight time |
| 45 to 59 | D | Risky release conditions | Change gear or release method |
| 0 to 44 | F | Severe handling concern | Use a different release plan |
💡Release scoring tips
Shorten the air window: Prepare camera, pliers, measuring board, and release path before the fish is lifted. The score model penalizes repeated air exposure more heavily than one controlled lift.
Match gear to the fish: Sensitive, deep, or heavy fish benefit from rubber nets, cradles, stronger tackle, and descent tools because those choices reduce fight, abrasion, and recovery penalties.
Now you’ve got it out of the water to get your picture, but you see its gills fluttering at a pace that’s unusual. The what-if moment happens there: it’s the difference between survival and mortality.
What follows can make all the difference as to whether the fish live or dies post-release. It’s not so much putting the hook back in the lake, it’s keeping them alive through minimizing stress, maintaining their slime coat and understanding how their bodies works.
How to Help Your Fish Survive
When anglers handle the fish carefully, or even use a net, most believe they’re helping… But nuances behind these decisions matter.
So what? When you plug in your handling time, gear, and species, the calculator do the rest. You don’t have to guess if your twenty-second air exposure will be fine on trout in warm water. It will add up all those factors that most of us overlook… Depth and water temperature, to come up with an overall score.
You might think it’s cool to use a rubber net to protect the fish’s slime layer, but now you will see if that five-minute fight in eighty-degree water caused to much metabolic stress. That trade off will become apparent. Instead of focusing on only one piece of equipment, it forces you to consider the entire picture.
The largest factor in the point-killing equation are air time. The longer a fish remain out of the water, the less oxygen-rich blood that will reach her system and the more dried-out gills that will result. When those gills adhere, they make breathing efficiently impossible, even for the fish back in the water. This is why the chart on the page show such a stark representation of each species’ sensitivities.
While a trout or a striped bass won’t last as long as a largemouth bass, a largemouth’s endurance has its limitations as well. Because this is something you have near-complete control over, the calculator penalize air exposure heavily.
Hook the fish when you’re prepared to get it into the boat. If you aren’t ready with your pliers and camera as soon as the fish hits, you’ve already lost some points.
More than you might think, it’s about hook types. Not only are circle hooks and barbless hooks the right thing to do from an ethical standpoint, but they’re the right things to do practicaly speaking. Because of how quick and easy they are to remove and because they are less likely to cause deeper hooking, these two hook styles will directly lower your tissue damage and air time scores.
How much does having a treble hook in your eye or gill hurt? It hurts quite a bit, and it will cause that big drop in the grade. Good handling won’t save you from a poor hook set. It’s too late by then.
There’s also depth. Barotrauma kills snappers and grouper if you release them when they are brought up from say 50-feet without a descender device. As they float back up, the gas in the swim bladder expand and tears the fish apart inside. Does the calculator check for a descent plan? You bet it does. If you’re fishing deep water, a descender or weighted clip are required for survival. It’s required.
You recieve a top correction and a grade as a final output. Don’t dismiss its correction advice. This tells you the one thing that will make the biggest improvement in your score. Get the correct gear if it suggest improving your depth handling. Stop taking multiple photos if it says to reduce air time.
Perfecting for a hundred isn’t the goal here, consistent improvement is. That’s a promise to the resource: catch and release. You promise to leave the fish healthy enough to reproduce, to grow, and to be caught again.
That’s just a mirror. The score reveals where your habits are aligned with science and where they fall short. Your goal isn’t for the fish to swim lazily down to the bottom, but to kick away hard instead. Close the gap between what you intend to do and how it affects the resource.
And when the fish swims away strong, that’s the only score that realy matters.