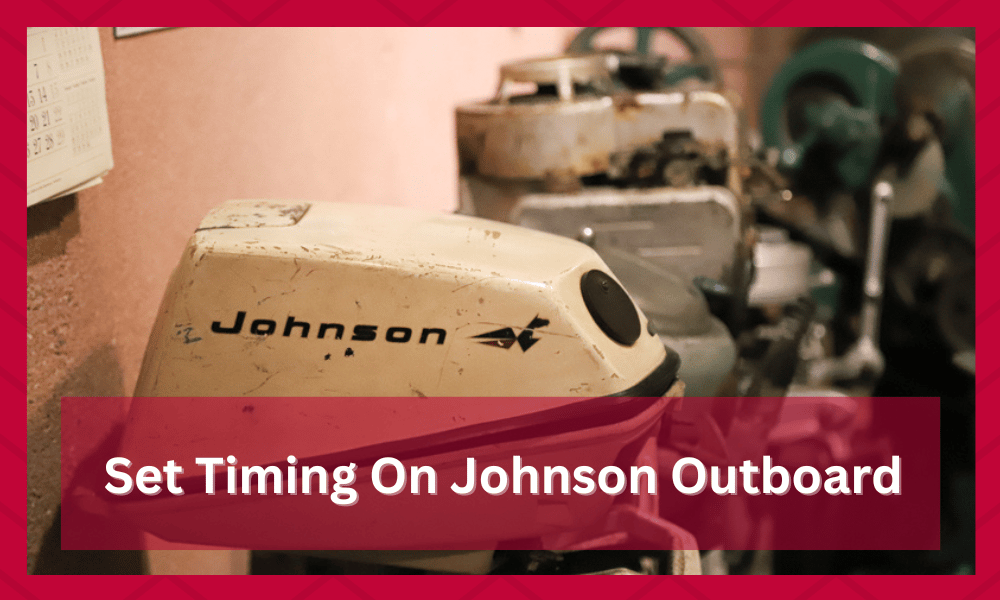
The reputation of the Johnson outboard can be traced back to its phenomenal reliability and efficiency of motors. Their primary focus with the outboard units is to provide good value to the customers.
So, if you’re new to fishing and don’t know which motor to choose for your boat, then going through the Johnson options should help you make a better purchase decision.
There are several things that should be noted here as they can help you in making the best decision.
Considering the features of your motor can help you in getting all the features required.
With that said, quite a few users have recently asked about how to set timing on a Johnson outboard motor. If you’re unsure about the same thing, then the following details should help.
Make sure that you follow the steps provided carefully as they will allow you to avoid problems in the long run.
As long as this is done, you should be able to keep your Johnson Outboard Motor safe from issues like these in the future.
How To Set Timing on Johnson Outboard Motor?
To check the timing on your Johnson outboard motor, you’ll need to rely on the use of a timing light as well as a flush attachment.
Both of these accessories are necessary to get through the timing process. With that said, here are the steps that you need to follow.
- Start the process by attaching the flushing unit to the water inlet valve and turning on the supply. Make sure that the water pressure is sufficient to keep up with the engine’s demands. If the water pressure is low, then increase it to avoid problems later on.
- Now, you can remove the cover and attach the timing light with the spark plug and turn the engine on. You need to warm up the engine for around 15 minutes before examining the timing light attached to the spark plug.
- At this point, you can inspect the reading on the timing light to determine the current timing of the engine. Depending on the model you’re running, the timing may vary. So, there is no need to panic if you don’t see the desired reading on the timing light.
- If the timing on your engine is not within the desired range, try increasing the link rod length to decrease the timing speed and vice versa.
- So, you can just alter the length of the link rod, and that should be sufficient for managing the timing of your outboard unit. This might take some time as you will have to adjust again and again. Make sure that you do this for optimal results.
- Once all this is done, you can remove the timing light from the spark plugs and ensure that the link rod is properly in its place. Similarly, turn off the water supply and remove the flush attachment after shutting down the engine.
- After removing all of the accessories, you’ll be able to put the cover back on the outboard. You can also refer to the owner’s manual to get a better understanding of the system’s performance.
All in all, these were a few steps that will help you set the timing on a Johnson outboard motor. Even though all of these steps are pretty basic, it can take a bit of time if this is your first time with this unit.
So, if you aren’t sure about any step, make sure to seek guidance from local experts.
That way, you won’t have to waste time trying to figure out the issue yourself. People can usually watch videos on the Outboard motor to further help them out.
Similarly, you can reach out to the Johnson outboard customer support regarding the timing process.

This is best for users that are feeling hesitant to do this on their own. Just explain the situation to the customer support team, and they will connect you with a professional immediately.
After that, it will be much easier to get through the timing process. The only thing that you need to do is provide the team with all the information required regarding your query.
They will ask some questions so make sure that you answer all these carefully.
As long as this is done, the team should then be able to identify how you can set the timing on your device.
If there were any problems that you were running into then you will be provided with some simple troubleshooting steps. These should allow you to fix all the problems with your motor.

If there were any damaged or faulty parts on your Johnson Outboard, then the team will send you with the replacement parts.
Alternatively, you will be asked to send the device back to the brand. They will then look into the device and get the damaged parts replaced with new ones.
This might take some time, but it is best that you wait patiently. The warranty on your Johnson Outboard motor plays a huge role here as it can help you in getting rid of the problems quickly.
The company will also ensure that you get free repairs or discounts on it in case of problems like these.
If you are interested in the warranty services, then make sure that you go through these carefully.
This should help you in ensuring that your product falls under the warranty guidelines in case of any problems. You can also contact the support team to ask questions regarding this.