Getting into fishing as a hobby can be a bit overwhelming at times when you’re not aware of all the right equipment and accessories to help with the trip.
These accessories can set you back thousands of dollars in the long run, and you will struggle with the budget at times.
Systems like Helix 7 have long been popular in the industry, and you won’t find many options that can compete with this brand. The affordability of the Helix 7 is the only driving force behind the demand for this unit.
However, you will come across many anglers complaining about the Helix 7 not showing depth.
Even though this issue is mostly related to the configuration of the Helix system, you might need to factory reset the device to fix the depth-related issues.
After the reset, you will have to go through the configurations one more time, and there are no quick solutions here.
If your Humminbird Helix 7 is also not showing depth, the following list of fixes will help you maneuver this problem. Hopefully, you won’t have to reset this device, and the Humminbird Helix 7 will start working after power cycling the system.
Humminbird Helix 7 Not Showing Depth Fix.
- Restart Your Helix System
Disconnect your Helix system from the power source for around 30 seconds, and then reconnect it. Use the power button to go through the startup sequence and make sure that your Helix 7 is not in simulator mode.
Now, you can test out the depth features again, and the unit will likely present you with updated data. Keep in mind that you don’t only have to turn off the unit and turn it on.
Instead, you need to isolate the power connections for 30 seconds and then test out the unit again.
- Check the Transducer Connection
The condition of the cable has a direct role to play in this situation, with the Humminbird Helix 7 not showing depth. If your cable is kinked or has damaged sections, you need to get a replacement immediately.
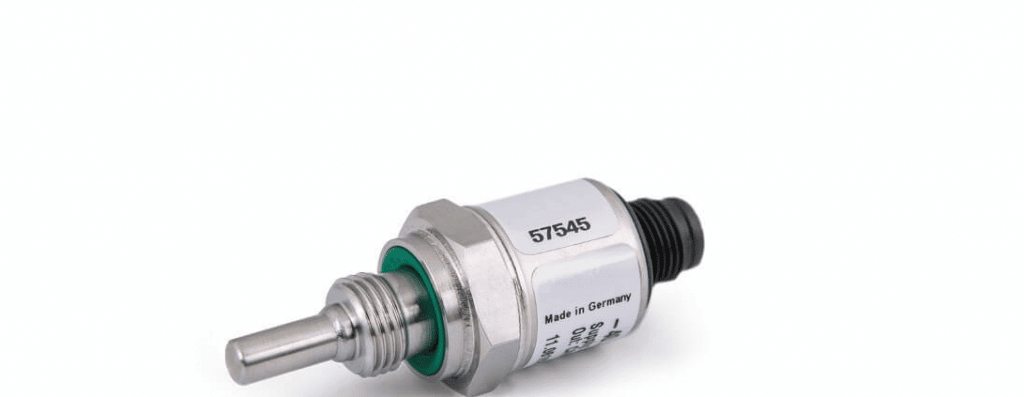
The console won’t be able to get any information from the transducer even if the transducer is positioned perfectly. So, just fix the cable issue and try checking the depth reading on the console again.
Next, you need to also check the condition of the ports and try to fix the unit by cleaning out the debris and obstructions. You can’t expect the unit to perform when there is debris stuck inside the system.
So, be sure to service the system at least once every week.
Even the most robust systems can run into issues when you ignore their care requirements. If you’re in the same boat with the Helix 7 system, then going with the maintenance of the ports is a good idea.
Hopefully, the issue will be fixed after the ports are clean.
- Fix Transducer Angle
Similarly, the angle of the transducer should be pointing perfectly down when you’re trying to access depth readings. If the transducer is angled in a weird direction, you will keep running into problems with the missing direction.
So, fix the transducer angle ourselves or seek help from a local expert if you’re not experienced. This will improve the performance consistency of your device, and you will be able to access depth readings without further complications.
There can either be damage to the transducer during installation, or it might have gotten “kicked up” during daily use. This situation is not that rare when you’re sticking with rougher water conditions.

So, if you’re in the same boat, it is a good idea to check and adjust the angle of the transducer by a little margin each week. That way, you will never have to worry about losing the depth of reading ever again, and the unit will respond accordingly.
- Change Frequency
The frequency settings on your Helix unit also impact the depth reading performance. If the frequency is set to low, the detection cone is wider but doesn’t cover any focused regions.
So, you should turn up the frequency settings and make sure that the focused beam from the transducer is enough to provide you with accurate depth readings. This will be enough to address the missing depth issues.
- Reset Helix 7
Ideally, your issue should be fixed after you adjust the transducer and restart your Helix system. However, if you’ve not been successful up to this point, then your only solution is to reset the Helix 7 system.
This will wipe all stored configurations from your Helix unit, and you’ll have to start everything from scratch.
It can take quite a bit of your time to reconfigure everything, and you should try going through other troubleshooting methods before resetting the Humminbird system.
Hopefully, you will be able to save some time and won’t have to go through with the reset sequences. Try also contacting the dealer for help on this matter.
- Service The Transducer
Sometimes, all it takes is a bit of maintenance on the transducer as the gunk builds up on the system. You will have to clean up the bottom of the structure and make sure that there is nothing stuck on the system.
Now, that might sound extensive, but if you do it weekly, then it won’t be a problem.
So, be sure to check up on the transducer on a weekly basis and remove extra weeds or anything else stuck to the bottom of the unit.
That way, you won’t have to worry about anything in the long run, and you will be able to easily adjust the performance of the unit.
It all comes down to how you’re planning on adjusting the performance of your system. Keeping track of the servicing requirements will pay dividends in the long run. So, be sure to keep that in mind as you try to adjust the system accordingly.
Hopefully, you won’t have to go through much hassle as you try to clean up the system.
- Call The Customer Care Team
The customer care team from Humminbird is one of the most responsive service providers on the market. It might not be that rare for owners to run into these issues, but Humminbird experts do their best to limit these errors.

If you’re in the same boat and can’t seem to isolate the issue with the Humminbird system, be sure to inform the customer care team about the issue. They will ask for more details and then guide you accordingly on how to fix them.
Wrapping Up
These were some pointers on how you can manage the Humminbird Helix 7 when the depth reading is not showing. This issue is more commonly related to the transducer and not the system itself.
So, if you’re in the same boat and can’t seem to isolate the issue, be sure to ask the experts.
Most of the time, fixing the angle of the transducer and the cable connection will do the trick. However, if you’re unable to get through the error even after tiring out all of these fixes, then your unit is defective.
There is no point in trying to waste time with a defective system.
All you have to do here is to grab a fresh replacement from the dealer by claiming the warranty. You will be able to grab the new unit within the same week if you have valid proof of purchase like a receipt. From there, you can start setting up the new unit.