Quivertip Test Curve Calculator
Convert a measured quivertip bend test into corrected test curve, loaded feeder range, tip match, and line safety for feeder, bomb, method, and river work.
📌Scenario presets
⚙Rod, tip, and feeder inputs
Quivertip test curve results
Calculation breakdown
📊Tip and rod power reference
Canal Picker
Lake Feeder
River Feeder
Power Feeder
📏Test curve and loaded feeder table
| Corrected test curve | Typical rod label | Safe loaded payload | Common quivertip | Best use |
|---|---|---|---|---|
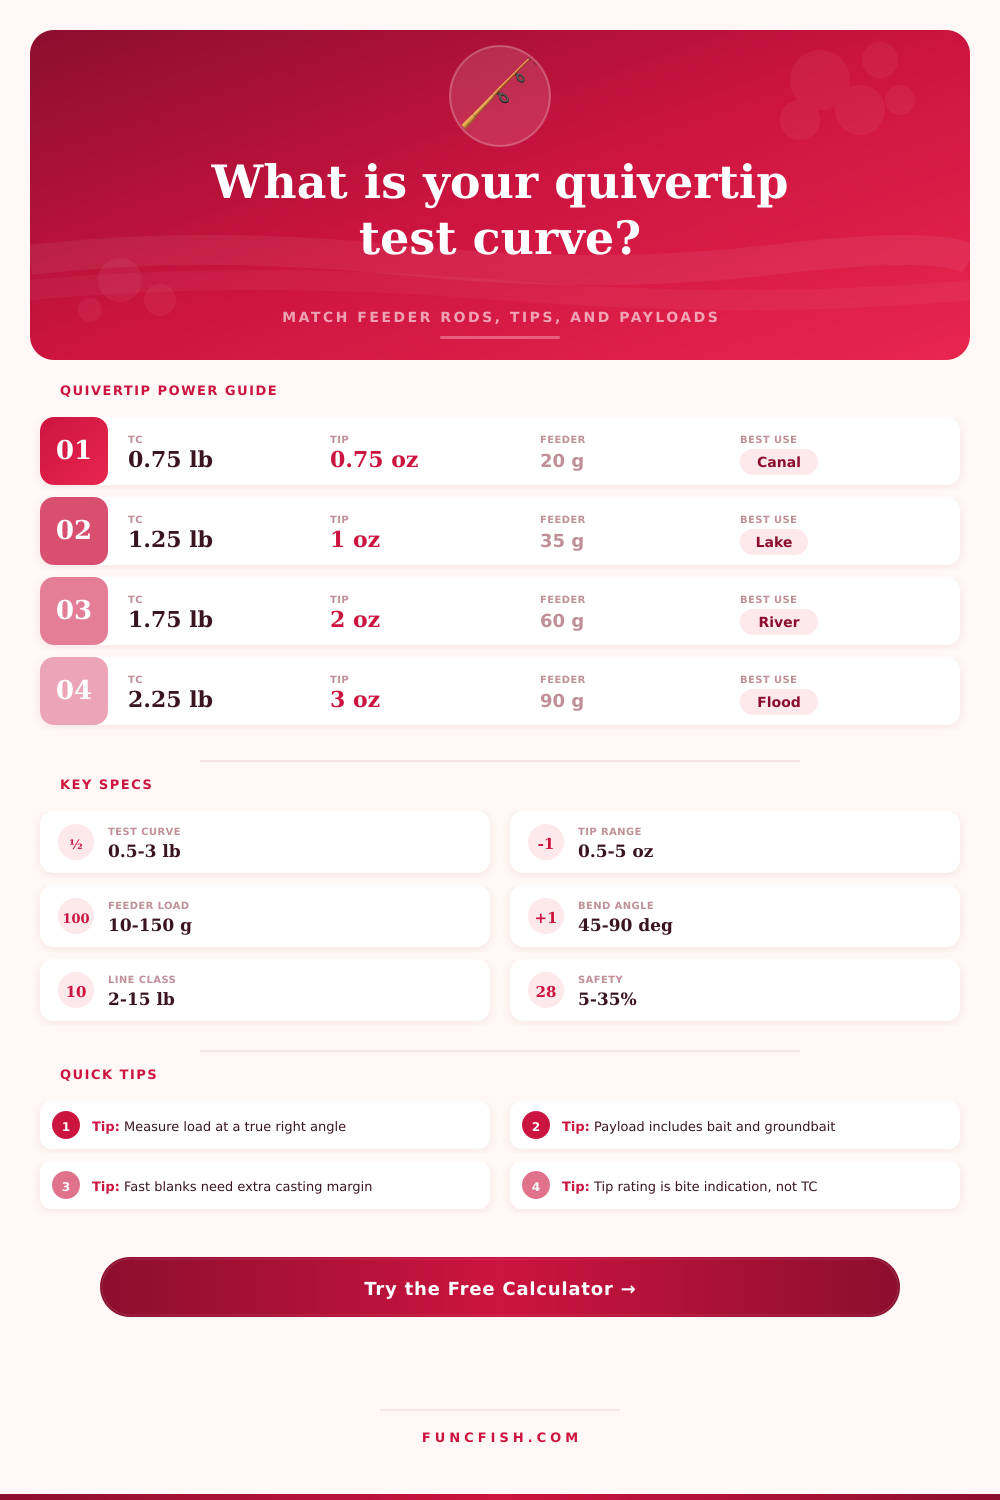
| 0.5-0.8 lb | Light picker | 10-25 g / 0.35-0.9 oz | 0.5-0.75 oz glass | Canals, drains, close silvers |
| 0.8-1.2 lb | Light feeder | 20-40 g / 0.7-1.4 oz | 0.75-1 oz glass | Skimmers, roach, small bream |
| 1.2-1.6 lb | Medium feeder | 35-60 g / 1.2-2.1 oz | 1-2 oz carbon | Stillwater bream, method feeders |
| 1.6-2.1 lb | Medium-heavy feeder | 50-85 g / 1.8-3.0 oz | 2-3 oz carbon | Rivers, chub, tench, distance work |
| 2.1-2.8 lb | Power feeder | 80-140 g / 2.8-4.9 oz | 3-5 oz carbon | Barbel, carp, floodwater holds |
🎯Quivertip rating comparison
| Tip rating | Approx grams | Blank match | Bite reading | When to avoid |
|---|---|---|---|---|
| 0.5 oz | 14 g | 0.5-1.0 lb TC | Very fine lift and drop bites | Strong tow or line bow |
| 0.75 oz | 21 g | 0.75-1.2 lb TC | Soft stillwater bites | Heavy method feeders |
| 1 oz | 28 g | 1.0-1.5 lb TC | All-round lake work | Flood pace rivers |
| 1.5 oz | 43 g | 1.2-1.8 lb TC | Method and bream feeder bites | Tiny hooks and shy roach |
| 2 oz | 57 g | 1.5-2.2 lb TC | Clear river indication | Short-range winter canals |
| 3 oz | 85 g | 1.8-2.7 lb TC | Holds against flow pressure | Soft-mouthed silverfish |
| 5 oz | 142 g | 2.4-3.2 lb TC | Flood and estuary pressure | Light hooklength feeder work |
🐟Species and gear comparison grid
Roach and Skimmers
0.6-1.1 lbUse 0.5-1 oz tips, 2-4 lb main line, and 10-30 g loaded feeders for canal and calm lake work.
Bream Shoals
1.1-1.6 lbMatch 1-1.5 oz tips with 35-60 g cage or method feeders and 4-6 lb mono.
Tench and Chub
1.5-2.1 lbA 2 oz carbon tip reads bites while a progressive blank handles 50-85 g loaded feeders.
Barbel and Carp
2.1-2.8 lbPower feeder blanks, 3-5 oz tips, and 8-15 lb main lines cope with heavy payloads and flow.
📝Blank action correction table
| Blank action | Calculator factor | Casting behavior | Best payload choice |
|---|---|---|---|
| Through action feeder blank | 0.96 | Loads deeper and cushions hooklengths | Use the middle of the calculated range |
| Progressive medium feeder blank | 1.00 | Balanced bend with predictable recovery | Use the full calculated range |
| Fast distance feeder blank | 1.08 | Higher tip speed and sharper compression | Keep 5-10% below the ceiling |
| Power feeder / barbel blank | 1.12 | Stiffer butt section resists heavy flows | Match with stronger line and heavier tips |
| Soft glass-tip specialist blank | 0.92 | Soft recovery, excellent indication | Avoid punch casts with full feeders |
| Multi-piece travel feeder blank | 0.98 | Ferrules slightly alter bend continuity | Add one safety step for heavy payloads |
🚩Calculation notes
Static test note: A classic test curve is the weight needed to pull the rod tip to 90 degrees from the butt. If you only bend to 70 or 80 degrees, the calculator scales the measured load up to the 90-degree reference before applying the blank action correction.
Feeder payload note: The loaded feeder is the empty feeder plus feed, water held in groundbait, hook bait, and any swivel or lead link. For method feeders, the bait load can easily equal half the empty feeder weight.
It’s frustrating for many feeder anglers when their cast doesn’t go where intended. This is not because they don’t know how to fish a feeder but because they didn’t match gear correctly. Even if you think you have good timing and feel like you’re swinging rod right, the line still snaps off at reel seat.
It typically isn’t one catastrophic error. Instead, it’s the accumulated errors in payload weight, tip indication, and power transfer that finally result in broken tackle. And that’s why we has the quivertip test curve to avoid it. We’ll get into that more later but for now just understand that it provides a standard measurement of rod power.
How to Choose the Right Feeder Rod
Instead of considering the printed number on the box as a starting place for calculation, most anglers consider it absolute truth. That number is taken in the lab by pulling a static weight directly out in front of reel at exactly ninety degrees in a straight line. Out on the bank, your reality includes a dynamic casting force and wind resistance. You also deal with pressure of current against your line and an ever-changing load of bait with each fill of feeder.
Above: Our calculator will do all of this work for you. Simply enter your basic bend test reading into the calculator, and it will adjust for actual angle you used during the test. Because it’s impractical to stand on slick mud with a weight held out perpendicular (or ninety degrees) to the ground, most folks bend their rod down somewhere around seventy or eighty degrees. The test then use an adjustment based off your blank’s action to scale back up to standard reference point.
That part is important too. A “fast” distance blank will load much more aggressively then a soft tip glass specialist blank. This allows two rods of equal test curve to throw vastly different amount of weight without fear of breaking.
Having set your power level, what do you then need to do? You will want to ensure that your tip isn’t overpowering your bite indication. It shouldn’t be so stiff as to miss subtle bites on a light rod with a heavy tip, nor should it be so sensitive that you snap off fish on a power rod when landing a hooked barbel. This gives you a safe range for your feeders based on your main line weight and how much of a safety margin you want. However, most session planning breaks down when trying to figure out what contributes to that safe range.
Most anglers take a look at the empty weight of their cage feeder, let’s say it’s forty grams, and presume that will be how much they are throwing out there. Nope. There’s the hook bait, the swivel, maybe some lead link, and then there’s the groundbait, which when wet can weigh just as much as the empty frame does. Then throw in the fact that in a river, current pulls back on your line as the cast slows down. This creates a brief surge in tension that far outweighs the steady weight of feeder alone. By enabling you to choose both your water conditions and your casting style the calculator accounts for all this.
Keep in mind that different casting styles create different amounts of stress, a hard pendulum swing generates way more peak strain than a smooth overhead cast. A hard pendulum swing puts way more strain on your body during the initial takeoff then a smooth overhead cast. Likewise, if you’re wearing bulky winter clothes and wrestling with a nasty cross wind, you’ll be casting harder out of necessity. The safety margin takes those human factors into consideration, they don’t punish you for ’em.
A word of warning here; people frequently confuse rod tip rating and rod test curve in everyday chit-chat. The tip rating refers to its ability to shake at the business end to show bite indication. The rod’s test curve define its casting power, not the tip rating. So you may see a rod marked as zero point seven five pound test curve and yet have a one ounce tip on it. That’s because you’re going to fish it on a canal where you’re hunting for silvers. So you want the tip to be sensitive but don’t need too much rod behind it because there’s less chance of you pulling your fish off.
Conversely, if you’re fishing rivers for barbel then you’d probably use a two point five pound test curve. That is why we have heavy-tip rod. It deflects and ignores the small twitches from stuff being washed under it. We also use a stiff blank to punch through that current while you are holding a peg in place against pressure of flood water.
The page has a nice table that matches common scenarios with recommended gear combos. It all boils down to making sure the gear in your hand matches the species you’re targeting and your own casting skill. Ultimately, you must find some sort of harmony between them all. If you’ve got a good idea of where you think the fish are, you don’t necessarily need heaviest rod for the job when chasing barbel or carp. Sometimes, less disturbance from a lighter rod with a well-chosen feeder gets more bites.
You decide how close you want to work to that power ceiling. The test curve shows you where that ceiling is and how much power you have to use. You should of used this tool as a planning aid, not a hard and fast rule book. Next time you step on the bank, you will know exactly what your rod is capable of under pressure. And when the big one eats the bait, it won’t be your line or confidence that gets broken, just the drag.