Yamaha is one of the top brands when it comes to engines and motors used in vehicles. The company has a huge lineup of devices that you can choose from which is why it is important that you go through these once.
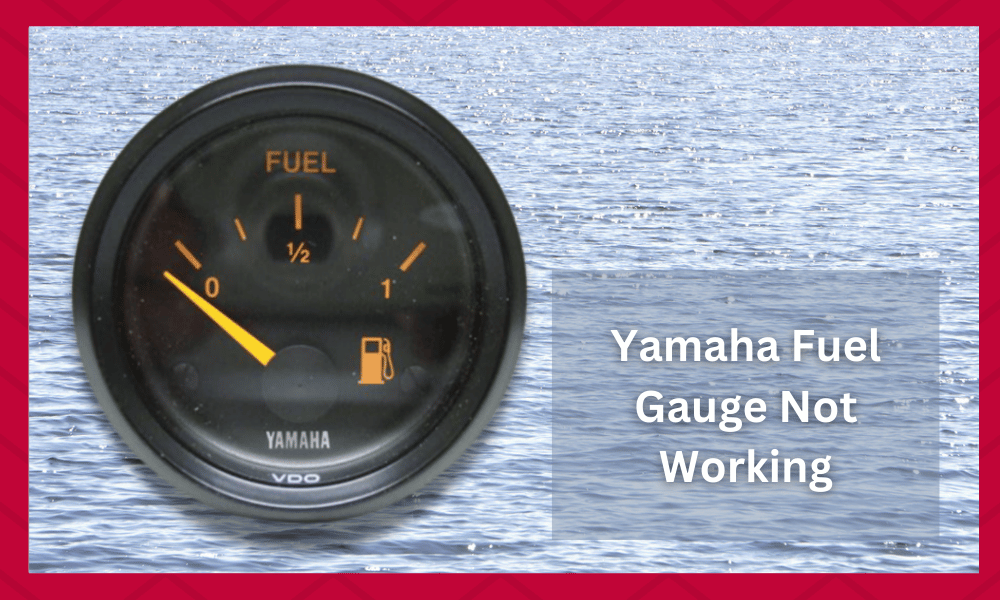
The fuel gauge is one of the most useful devices that can be found on motors.
Every angler will eventually run into issues with the indicators or gauges on their outboard unit. Luckily, most of the time, these issues are quite minor, and you won’t have to put any extra effort or budget into fixing these issues.
With that said, you can minimize these problems by focusing more on the maintenance of your unit. Recently many users have mentioned issues with Yamaha Fuel Gauge not working.
If you’re also in a similar situation and the fuel gauge is not working, then you need to follow these solutions to overcome the gauge problem.
There are several reasons why a problem like this can appear which is why it is best that you first find the exact reason behind it.
This can take some time which is why it is important that you go through all the steps carefully. The process should help people in ensuring that they can find the exact reason and then deal with it accordingly.
Hopefully, the article should be enough for you to fix your problem.
Yamaha Fuel Gauge Not Working
- Clean Contact Points
Issues with corrosion and debris on the contact point can lead to problems with your fuel gauge. If you don’t give much attention to the maintenance of your unit, then you will likely run into corrosion issues with your unit.
Luckily, if the situation is not that difficult, you can fix this problem by cleaning the contact points.
All you have to do is create a diluted solution of vinegar and use a damp cloth to wipe away the dust and debris from the connection point.
After that, use a clean cloth to remove the mixture residue from your unit and then connect the wires with the sender again.
Hopefully, everything will start working perfectly once the connection points are in their proper place.
Some users might ask why using a diluted solution of vinegar is important. When it comes to this, you should note that you can also fix the issue by simply using a clean cloth.
However, if the corrosion is stuck then this will be almost impossible to remove like this.
Using a solution of diluted vinegar or cleaner should help people in softening the layers of corrosion. Once done, you can then easily remove the corrosion while ensuring that the problem is fixed.
Remember to repeat the process frequently as the corrosion can come back.
This usually blocks off the connection and prevents current from passing through the wires which is why it is essential that you keep it off the device.
As long as you keep this up, the same problem should not appear again, and you can continue using the fuel gauge without any problems.
- Replace Broken Wires
The wires connecting your sender with the gauge can also be the source of problems with your fuel gauge. Kinks or bends in the wiring can easily disrupt the flow of power.
So, you need to inspect the wiring cluster to ensure that the wires connecting your sender to the gauge are in perfect condition.
Otherwise, the fuel gauge won’t be able to provide you with accurate information. You can also try to jerk the wires. Ask someone to keep an eye on the gauge to see whether or not that fixes your issue.
If the gauge responds to the jerks in the wiring, then you can easily isolate the problem to broken wires.
All you have to do at this stage is replace the broken wires, and the gauge will start working perfectly. If you are having trouble trying to find the broken cables, then look out for small cracks or breaks.
These usually indicate that the wire has been damaged and should be replaced with a new one.
As mentioned above, the main reason behind damage to wires is improper routing. This is why it is also essential that you prevent this from happening in the future. People should note that they can also test the wires using a voltmeter.
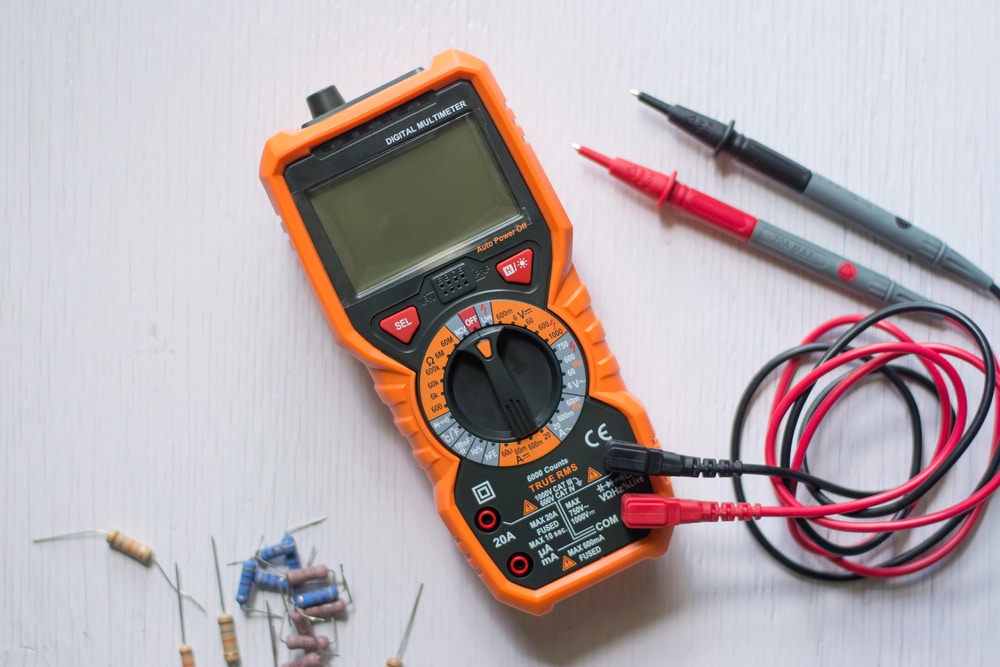
These devices are widely available and help when troubleshooting.
The voltmeter should provide you with the exact ratings of voltage going through the cables. This can then be compared with the standard current to isolate the damaged wires.
Once done, the only thing that you will have to do is get the cables replaced with new ones.
- Replace Sender
If the issue is not fixed after going through the troubleshooting steps mentioned above, then you will need to replace the sender connected to the fuel tank.
There is a possibility that your sender is defective. You need to install a new one to get around the sender problem.
With that said, it is also possible that something inside the tank is not allowing the sender to move freely in the unit. So, make sure also to inspect the tank and replace the sender after verifying its integrity with a multimeter.
If you get no response while using an external power source, then you will have to purchase a new sender. Depending upon your dealer, it shouldn’t be that expensive to get a replacement sender for your tank.
On top of that, installing a new sender is quite easy.
So, you don’t have to concern yourself with extensive installation procedures.
- Customer Support Team
The solutions mentioned above are most of the steps required to fix problems like these.
If you notice that you are still running into issues with the fuel gauge or if the solution did not work, then contacting the support team for Yamaha is your best option.
When it comes to this, it is important that you provide the team with detailed information regarding the problem. This allows them to isolate the issue so that it can be fixed easily.
You might get some questions asked, so make sure that all of these are answered with care.
This ensures that your problem can be found. In most cases, the team provides people with simple troubleshooting steps that can be used to fix the issue.
However, if even these do not work then your only option left will be to get the fuel gauge repaired.
The team will ask you to send this back to your dealer so that it can be fixed or replaced. This is where the warranty service kicks in as it can be used for discounts and free replacements.
If you still had a warranty left on your fuel gauge, then make sure that you get it claimed.
Going through the warranty guidelines helps people in confirming that the problem can be fixed.


