Finding the right brand for your boat is not an easy task. There are just so many things to consider, and you can’t take this decision lightly.
So, be sure to first make a list of your requirements and only stick with some of the more established brands like Mercruiser.
From beginners to experts, anglers from all over the nation prefer to purchase Mercruiser products to manage the noise and efficiency of their units.
This brand has been in the market for decades and continues to serve anglers with some of the best devices on the market.
The products from Mercruiser are known for their exceptional durability and extended life span.
So, you won’t have to worry about purchasing replacement units and accessories for a long time. Moreover, this feature-rich system will have you served for decades before you feel like upgrading the system.
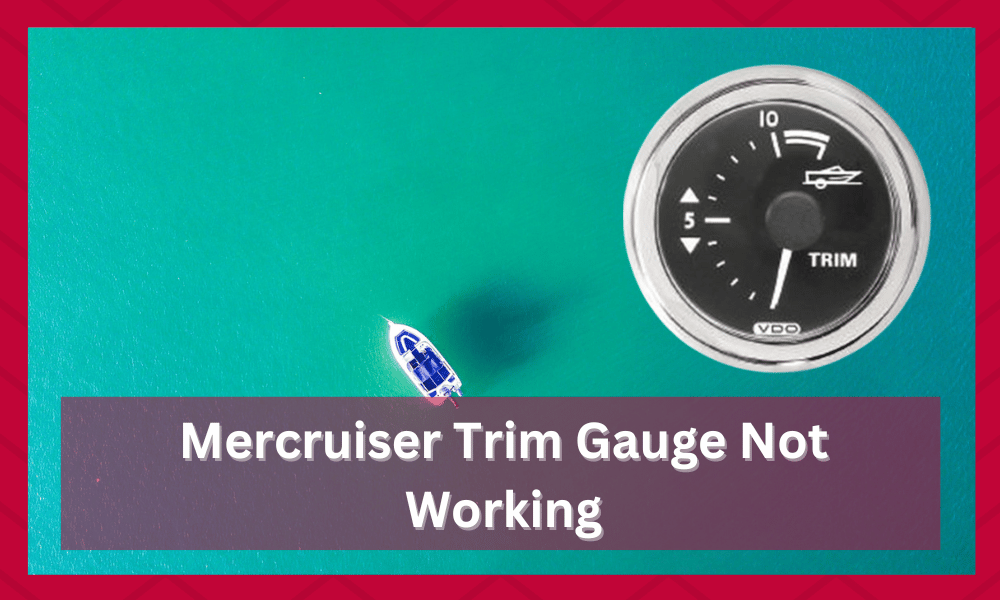
With that said, some reports have recently been recorded regarding Mercruiser trim gauge not working. If your device is also behaving in a similar manner, then the solutions mentioned here should help.
Mercruiser Trim Gauge Not Working
- Clean Sending Unit
The leading cause behind your Mercruiser trim gauge not working is that sometimes water can get into the contact points and disrupt the flow of the circuit.

So, you will have to start the inspection from the sender to make sure everything is in perfect condition.
The sender is located in a circular housing, and you can remove the screws on both sides of the housing to access the unit.
Now, you can start cleaning the contact points and make sure to remove any and all rust from the system. If you’re lucky, the issue will be fixed immediately, and your trim gauge will start working perfectly.
However, if you’re still stuck in the same problem, then clean the system once more and make sure to cover all sections of the sender. Hopefully, this time around, the Mercruiser trim gauge will start working.
- Check the Wiring
Issues with broken or disconnected wiring can also contribute a great deal to the Mercruiser Trim Gauge not working.
So, if your sender is in perfect condition, make sure to follow the wiring in your setup to isolate the problem.
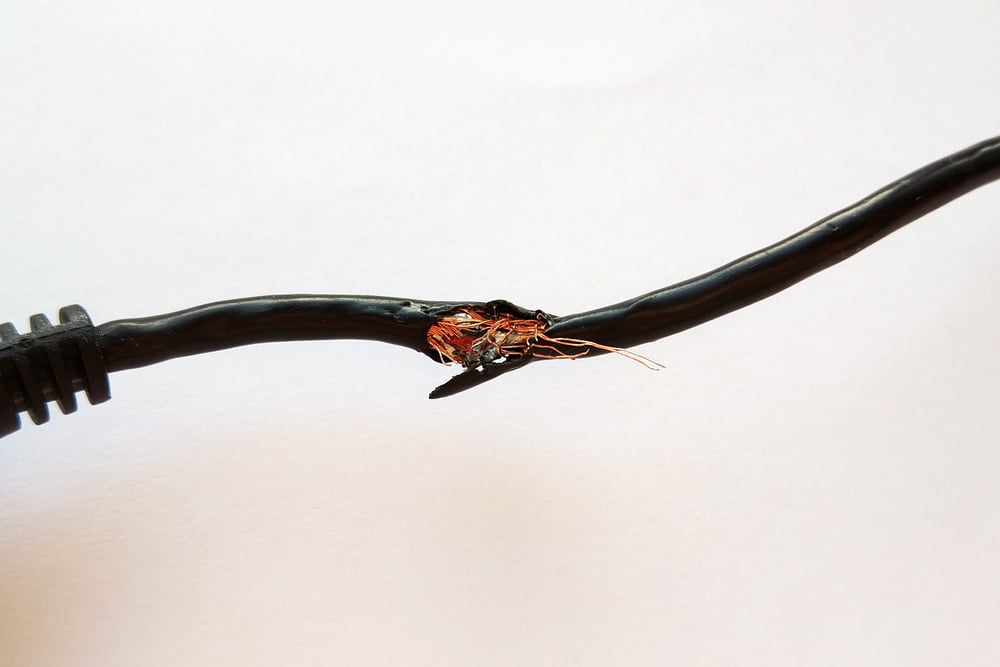
In most situations, you will find that one or two wires are disconnected, and you can just connect the wires again to get ahead of this problem.
On the other hand, if all wires are connected properly, then you can use a multimeter to check for power at different terminals.
This will help you identify whether or not your unit has broken wires, and then you can take appropriate action to replace the wiring. Once this issue has been fixed, your trim gauge will start working.
Similarly, there is no shame in seeking help from the dealer. He will guide you on how you can get through the errors with the trim gauge in no time. All you have to do is to reach out and then explain the situation.
From there, you will be able to secure a fresh piece in no time. The verification routine will take a few days, but once that is through, you will have the new unit within two to three days. Hopefully, that will sort out most of the errors for you.
Alternatively, you can also hire an expert, and he will take a look at the system for you. Isolating the issue is much easier with the help of a professional. So, be sure to reach out and then check on the unit’s response.
- Loosen Up Mounting Screws
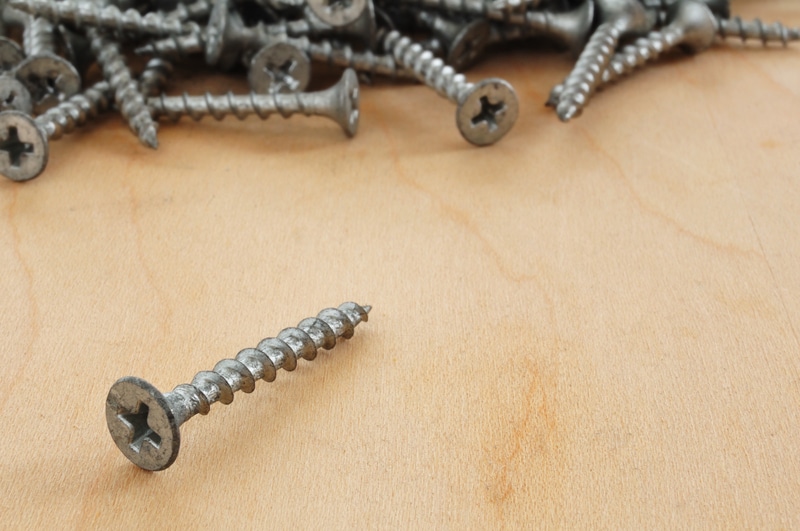
Sometimes, all that you need to do here is to check on the situation with the mounting screws.
It is not that rare for the owners to tighten up the screws too much, which can create these issues down the road. So, if you’re in the same boat, be sure to check on the mounting status.
If you do find issues with the screws being too tight, just grab a screwdriver and loosen it up a bit.
It won’t take much of an effort to adjust the system. From there, you can check on the response from the system. It will work as intended.
All that you’re trying to do here is make sure that the power going into the unit is optimal and it is mounted properly.
Excessive shake from the motor itself can damage the indicator, and you will have to loosen up the screws to allow for wiggle room.
It might not be recommended by every expert, but you’re not left with many options here. So, be sure to loosen up the screws, and that will be it as you’re trying to deal with the power issues.
- Try tapping On The Unit

Next, you should just grab a rubber or composite mallet and then gently tap on the unit.
There might be some debris or gunk in the gauge, and gently tapping the unit will help you fix the majority of these errors. All that you’re trying to do is make sure that the hardware is in good shape.
A bit of maintenance will go a long way, and if your unit starts working after a few taps, then you will know for sure that the problem is with the servicing routine.
You need to either upgrade your equipment or find a better option that will help you get through the maintenance routine easily.
There is no point in dealing with a system that is hard to maintain. You should just walk away from that unit even if the value offered by this unit is optimal.
From there, you can check on the response from the main customers on the maintenance requirements.
That way, you will have a much clearer picture of whether or not this gauge will help you during extensive journeys.
Hopefully, you will be able to save some cash on a better option. However, if you’re not worried about the cash, going with these d details is a good idea.
- Contact Support

If, for some reason, you’re still stuck in the same problem, then there is a good chance that you’re dealing with a defective sender.
In this condition, the best you can do is call Mercruiser support and request a replacement.
If you were able to get a warranty on your unit, then it shouldn’t be too challenging to get a replacement.
However, if your warranty is not valid, then you will have to spend money on a new unit. So, just call your dealer and explain the problem to the sender.
With that said, you can still seek help from these professionals to narrow down the issue and take appropriate steps to overcome the Mercruiser Trim Gauge problem.
Hopefully, that will help you get the desired performance from the unit, and you will remain updated with the trim gauge.
Wrapping Up
Can’t seem to fix the Mercruiser trim gauge? You can cycle through some of the fixes mentioned here to get through the situation.
It will only take a few moments at max as you’re trying to adjust these errors. So, be sure to follow through with all of the fixes here.
Most of the time, the issue is fairly simple to maneuver through. You won’t have to go through extensive setup routines or hard-to-manage steps.
Instead, following a few basic guides will have you sorted with optimal responses from the unit.
All that you’re trying to do here is make sure that the unit is in good shape and that there are no wiring issues.
Nine times out of ten, the issue is related to the wiring, and you will have to fix the wiring first before moving on to other errors.
If you’re sure that the issue is not related to the wiring, then the problem is most likely linked to the hardware status of the trim gauge itself.
Dealing with hardware issues can be incredibly annoying, and you will have to get a replacement for your unit. So, be sure to claim the warranty on this gauge.