Beginners often struggle to manage their boating systems, and you will likely get stuck in some issues like the lights not working or the wiring getting damaged.
While these issues are not that serious, they sure as hell are annoying. You won’t be able to get through the fishing trip and wiring problems can mess up your whole equipment.
So, instead of taking your boat out for a spin right away, we will suggest that you work with a professional for a couple of weeks.
Spending time with an expert brings many advantages from minor tips to understanding how to tackle serious situations and complications.
The majority of boat owners don’t have experience in handling the lights on the board.
However, the boat lights not working can be extremely frustrating, and tracking down the core causes can be pretty challenging.
There is a good chance that you’ll just mess about to find a solution, and the situation will keep getting more and more serious by the second.
So, if the bulbs are not working on your boat or the lights are not responding you need to fix that right away.
While we can’t guarantee that you will be able to fix the boat lights 100 percent of the time, following through with these solutions should make your life easier.
Boat Lights Not Working
- The Bulb
If your boat has the DC bulb, you must remember that these bulbs can blow out as the AC lamps.
First of all, you must ensure that the light is switched on by checking the switches, or you can also check the remote switches.
In addition to this, the bulb must be switched on from the circuit breaker panel and control switch because many people simply forget to switch on bulbs from the circuit.

If all these things are ruled out, there is something else to focus on.
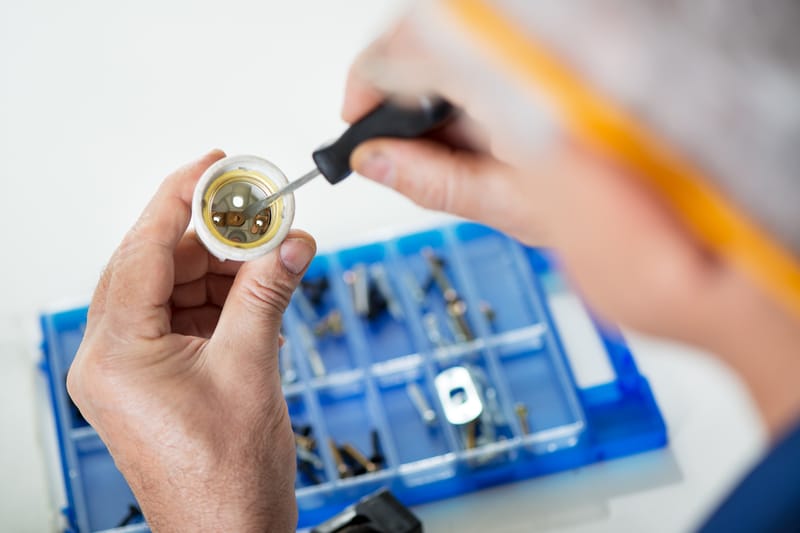
The second option is checking the bulb and examining it. For instance, if you are working with the navigation lights, make sure you don’t end up dropping something when you are disassembling it.
Anyhow, when you inspect the bulb, look for the black or grey residue because if there is some, it is defective and needs to be changed.
For future reference, we suggest that you have a few spare bulbs for your boat to ensure you aren’t in the dark if such emergencies occur.
- Check Breaker Switches & Fuses
The second solution is to check the breaker switches and fuses on the boat, particularly the ones on the circuit breaker and control switch panels.
To begin with, you must ensure that the switches are put in the “on” position.
In addition, when the electrical circuit is protected with the help of a fuse, you must ensure that the fuse is not blown. If the fuse is blown, the metal piece will be broken and melted.
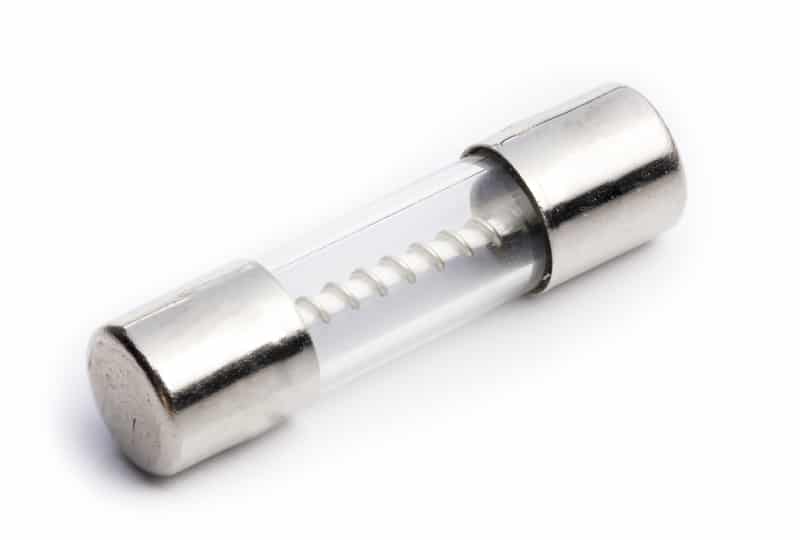
So, in such cases, replace the fuse and see if the light starts working. On the other hand, if you see the circle breaker toggles back, switch it in the “on” position again and see if the light shows up.
However, if the circuit breaker ends up tripping again, there is something wrong with the circuit, and it must be fixed.
- Battery
When the battery dies down, it is pretty obvious that the boat lights will not work. So, when your boat light stops working, you need to check the battery right away.
To check the battery, it is important to use the multimeter or voltmeter for checking the continuity. If the battery doesn’t give any continuity, it is better to replace the battery.
From there, you can also make sure that the battery connections are clean and there is no gunk or debris on them.
Keeping track of the maintenance and the care requirements is the only way when you need long term performance. So, be sure to get help and that will be enough to have you sorted out.
On the other hand, if the battery has continuity, there are high chances that the battery is not charged properly or fully. Keep in mind that the charged battery will show anything from 12.5V to 14V.
So, if it’s anything less, it is in need of a charge, and charging it will resolve the bulb issue.
Not to forget, you have to check that the battery is properly connected and the terminals have correct connections.
- Check The Switches & Sockets
If you haven’t put away the multimeter, now would be the right time to use it for checking the switches and sockets.
This is because this device helps determine if your fixtures are getting a proper electricity connection.
When it comes down to the sockets, there are two types of them, such as festoon and bayonet.
For this reason, you need to check both these sockets and make sure they are fully functional. In addition to this, check for corrosion on the housing of the socket.
If there is corrosion, it could be a reason why the bulbs are not lighting up.
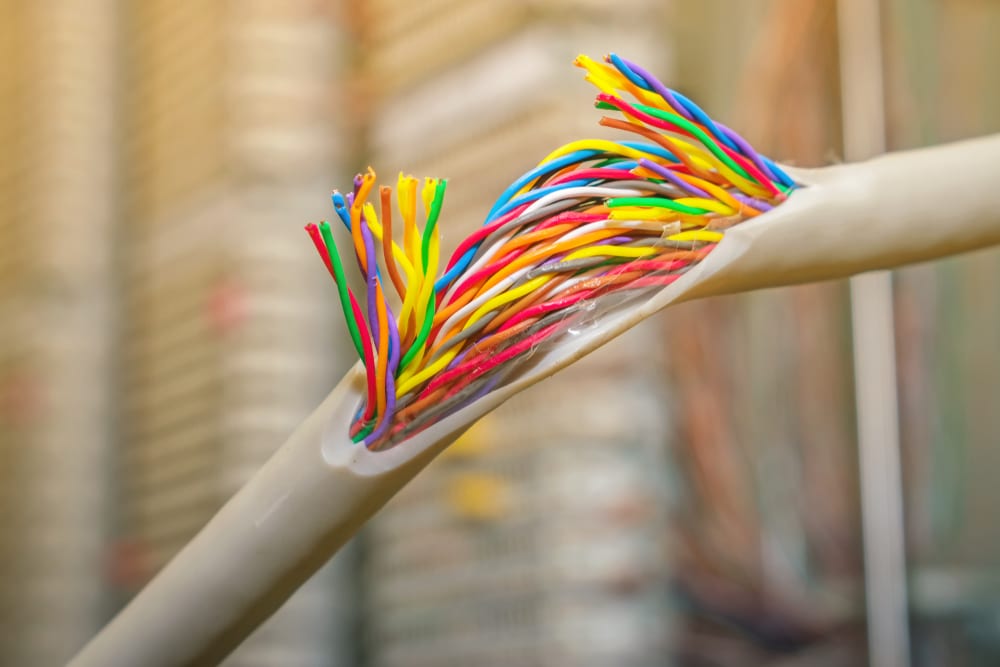
As far as the switches are concerned, you must check that their wiring is properly done. That’s because the wires can be disconnected on the back.
- Bulb Sockets
Now the next thing is the bulb sockets. However, when the sockets are not working properly or are not getting enough electricity, you need to change the sockets.
While it is possible to repair the sockets, keep in mind that replacing them will be more convenient.
Spending more on the new sockets can be a great investment. You will not only get the peace of mind here, but the response from the sockets will also be better.
All that you have to do is to spare a bit of cash to spend on the new sockets.
From there, you will be able to install the new sockets yourself. There is no need to hire an expert if you have a basic understanding of wiring connections.
One key point however is that you need to make sure that the main power source has been removed from the wires.
This will be more than enough to help you out, and you will not have to deal with the same hassle down the road.
- Hire A Local
One more thing that you can do here about the bulb sockets and the wiring connections is to hire a local expert.
You don’t have to fix all of these errors on your own. So, be sure to reach out and have the officials guide you.
You can pay a minimal fee to the local experts and they will be happy to assist you. The good thing about these experts is that they maintain years of professional knowledge.
All that you gotta do is to engage them, explain to them your issue, and they will guide you through each step of the fix.
You will not have to worry about wasting any time, and these experts are pretty efficient at their job.
So, if you’re worried about wiring issues or electrocuting yourself in the process, just take a back seat and let these professionals take charge.

These experts will make your life fairly easier, and you will not have to worry about these challenges on your own.
Hopefully, these fixes should sort you out and you’ll get the boat lights working again perfectly.
Keep in mind that it is mostly the power supply to the lights and into the lights themselves that are behind this issue. So, instead of focusing on the lights only, you gotta check the power supply as well.
Wrapping Up
We’ve gone through some of the most recommended methods when it comes to fixing issues with the Boat Lights Not Working.
Ninety percent of the time, these issues are easy to fix and don’t put too much strain on your budget.
The other ten percent of the time you won’t be as lucky and will have to replace a piece of hardware or get help from the local technician.
Either way, your wallet will feel a sting and will have to spare some cash for the replacement.
Lastly, we will also suggest that you reach out to the local anglers. If you’re able to grab the attention of a local expert, that will put you far ahead of the learning curve.
So, be sure to reach out and the locals will make your life much easier.
All that you have to do is reach out. The only thing that you’ll need to do is to explain your end and have the officials help you out.
From there, following their instructions will be simple, and you will be able to grab a new piece in no time.