Fishing Rod Tip Deflection Calculator
Estimate rod tip drop, loaded bend percentage, transverse tip force, stiffness margin, and proof-load deflection from rod power, active span, line angle, drag load, lure load, and blank condition.
📌Rod deflection presets
⚙Rod and load inputs
Rod tip deflection results
Calculation breakdown
📊Rod stiffness quick grid
Soft glass or composite tip for panfish taps.
Trout, small spoons, and 2 to 6 lb line.
Progressive bend across a longer active span.
Common 7 ft fast-action all-purpose blank.
Higher hookset load with less tip drop.
Long span still bends deeply under sinker load.
Designed for steady plug and diver pressure.
Short stout blank for high drag settings.
🐟Gear and species comparison grid
6 ft UL rod, 4 lb line, small spinner, light angle load.
7 ft medium-heavy, hookset snap, tip angle near 70 degrees.
6 ft 6 in medium-light, vertical jig, low side allowance.
7 ft medium inshore rod with drag surge and sideways line angle.
8 ft heavy rod, sinker hang plus steady drag against current.
11 ft surf rod, 5 oz sinker, long span creates big tip drop.
8 ft 6 in trolling rod, constant planer or plug pressure.
5 ft 6 in offshore rod, short span and high drag margin.
📘Reference tables
| Rod profile | Typical length | Line class | Lure range | Effective EI | Safe bend guide |
|---|---|---|---|---|---|
| Ice ultralight noodle | 24 to 36 in / 0.6 to 0.9 m | 1 to 4 lb | 1/64 to 1/16 oz / 0.4 to 1.8 g | 4.5 N m² | 22% of length |
| Ultralight trout spinning | 5 to 6 ft / 1.5 to 1.8 m | 2 to 6 lb | 1/32 to 1/8 oz / 0.9 to 3.5 g | 8 N m² | 20% of length |
| Light trout stream | 6 to 7 ft / 1.8 to 2.1 m | 4 to 8 lb | 1/16 to 1/4 oz / 1.8 to 7 g | 13 N m² | 19% of length |
| 5-weight fly rod | 8.5 to 9 ft / 2.6 to 2.7 m | 5 wt line | Dry fly to small streamer | 18 N m² | 21% of length |
| Medium bass fast action | 6.5 to 7.3 ft / 2.0 to 2.2 m | 8 to 14 lb | 1/4 to 5/8 oz / 7 to 18 g | 28 N m² | 16% of length |
| Medium-heavy worm rod | 7 to 7.6 ft / 2.1 to 2.3 m | 12 to 20 lb | 3/8 to 1 oz / 11 to 28 g | 42 N m² | 15% of length |
| Heavy catfish bottom | 7.5 to 9 ft / 2.3 to 2.7 m | 20 to 40 lb | 2 to 8 oz / 57 to 227 g | 72 N m² | 14% of length |
| Surf casting long rod | 9 to 12 ft / 2.7 to 3.7 m | 17 to 40 lb | 2 to 8 oz / 57 to 227 g | 85 N m² | 13% of length |
| Salmon trolling rod | 8 to 10 ft / 2.4 to 3.0 m | 15 to 30 lb | Plug, diver, or flasher | 120 N m² | 14% of length |
| Offshore jigging stand-up | 5 to 6.5 ft / 1.5 to 2.0 m | 50 to 100 lb | 4 to 16 oz / 113 to 454 g | 210 N m² | 12% of length |
| Line angle from blank | Transverse multiplier | Example from 10 lb pull | Typical fishing meaning |
|---|---|---|---|
| 15 degrees | 0.26 x | 2.6 lb bending load / 11.6 N | Low rod, line almost straight through guides |
| 30 degrees | 0.50 x | 5.0 lb bending load / 22.2 N | Moderate rod lift during retrieve |
| 45 degrees | 0.71 x | 7.1 lb bending load / 31.4 N | Common fighting angle |
| 60 degrees | 0.87 x | 8.7 lb bending load / 38.5 N | High rod with strong leverage |
| 75 degrees | 0.97 x | 9.7 lb bending load / 43.0 N | Near maximum bend from line pull |
| 90 degrees | 1.00 x | 10.0 lb bending load / 44.5 N | Full transverse load at the tip |
| Loaded bend percent | Visual tip drop | Rod response | Use in calculator |
|---|---|---|---|
| Under 5% | Small tip movement | Light load or stiff blank | Plenty of margin; sensitivity still high |
| 5% to 10% | Clear working bend | Normal fishing load | Good fighting range for most rods |
| 10% to 15% | Deep upper-third bend | Heavy but controlled | Watch hooksets and boat-side surges |
| 15% to 20% | Deep bend into midsection | Near design limit for many graphite rods | Use lower rod angle or lower drag |
| Over 20% | Severe deflection | High breakage risk if dynamic | Recalculate with shorter span or less load |
| Species and technique | Typical drag load | Rod class | Line angle note | Deflection watch point |
|---|---|---|---|---|
| Trout drift or spinner | 0.5 to 1.5 lb / 0.2 to 0.7 kgf | UL to light | Often 35 to 55 degrees | Soft tips show large bend from small force |
| Bass jig or worm hookset | 4 to 8 lb / 1.8 to 3.6 kgf | Medium to medium-heavy | 60 to 80 degrees during snap | Dynamic factor matters more than static drag |
| Walleye vertical jig | 1.5 to 4 lb / 0.7 to 1.8 kgf | Medium-light to medium | Line near vertical from tip | Short active span reduces tip drop |
| Catfish bottom rig | 6 to 12 lb / 2.7 to 5.4 kgf | Heavy | Rod holder angle can be steep | Sinker plus current load can stack |
| Surf casting bait rig | 5 to 12 lb / 2.3 to 5.4 kgf | Surf medium-heavy | Long rods amplify span-cubed deflection | Use active span, not just rod length |
| Salmon trolling plug | 8 to 16 lb / 3.6 to 7.3 kgf | Trolling medium-heavy | Steady load with pulses | Planer and diver loads are sustained |
| Offshore stand-up tuna | 18 to 35 lb / 8.2 to 15.9 kgf | Heavy offshore | Low rod angle lowers transverse force | High-sticking can erase margin quickly |
💡Calculation notes
I’m sure by now you’ve been through this but never knew why. You make a nice cast to some piece of thick cover with your reel drag tightened up for a solid hookset. The fish whacks it and you rip as hard as you can. Silence. Rod loads up, line loosens and here comes an empty hook sliding back on your reel. And occasionally, you just see your rod snap clean off.
That’s frustrating. So much so, we anglers tend to point fingers at our knots or lack of luck rather than look at what realy happened. The truth is far more simple. Your rod broke because it absorbs too much shock when it wasn’t meant to. More times then not, this happens because you don’t understand how your line span length relate to its angle while loaded.
Why Rods Break: Simple Tips to Save Your Gear
Not all rods bend equally… Bending means something entirely different than stiffness. It’s a geometric equation. Once you input your drag setting and rod profile, the calculator do the rest. No more wondering if you’ve snapped off a tip or pulled a hook by pulling too hard. It makes it much clearer what those numbers mean when you are fishing.
Active span is most important variable that most folks don’t consider. We’re used to thinking about total rod length. However, deflection scales with the cube of the distance between your hand and section of the rod that bends. So moving your fulcrum two inches closer to reel seat creates dramatic leverage on the tip. That’s not just more comfortable, it works for a structural reason as well. When you move your support hand forward while high sticking a big fish, you’re changing how the weight travel through it. You’re not just making yourself more comfortable, you’re feeling the difference because its a big deal.
The other element is angle of the line. Pulling it straight out along the center of the blank bends very little. The closer you get to ninety degrees between your line and the rod, the higher the sideways force. So when you’re fighting a fish parallel to the shore it’s applying more bending pressure than one pulling directly away from you at an acute angle. You have to be able to visualize that while standing on the bank. That’s where the trigonometry comes into play and is accounted for by the calculator.
But also consider if you’re fighting a catfish in heavy current. The weight of the sinker is a constant load that adds to the pull of the fish, pushing beyond what a medium-heavy rod can safely bend without permanent damage. Rods gets abused. We think they are unbreakable, but they aren’t. Graphite is an elastic material with a very limited breaking point in tension; once past its elasticity it’s brittle.
That said, a fresh blank starts out with a healthy safety cushion, but scratches in the paint job or worn-out guides change things considerabely. Different applications require different margins, see the table on the page. A drift rod for trout is built to give way readily, so your light tippet doesn’t snap under an instant run. On the other hand, an offshore tuna rod has an immense amount of stiffness margin, since it need to absorb continued poundage without fatigue.
The bottom line: Don’t use the wrong tool for the job. People fail to realize that drag setting is not equal to tip load. They’re not even close. Drag sets the point at which the line starts to slip. Load on the rod happen throughout each cast (especially when it’s changing direction) and between casts (when there’s a surge).
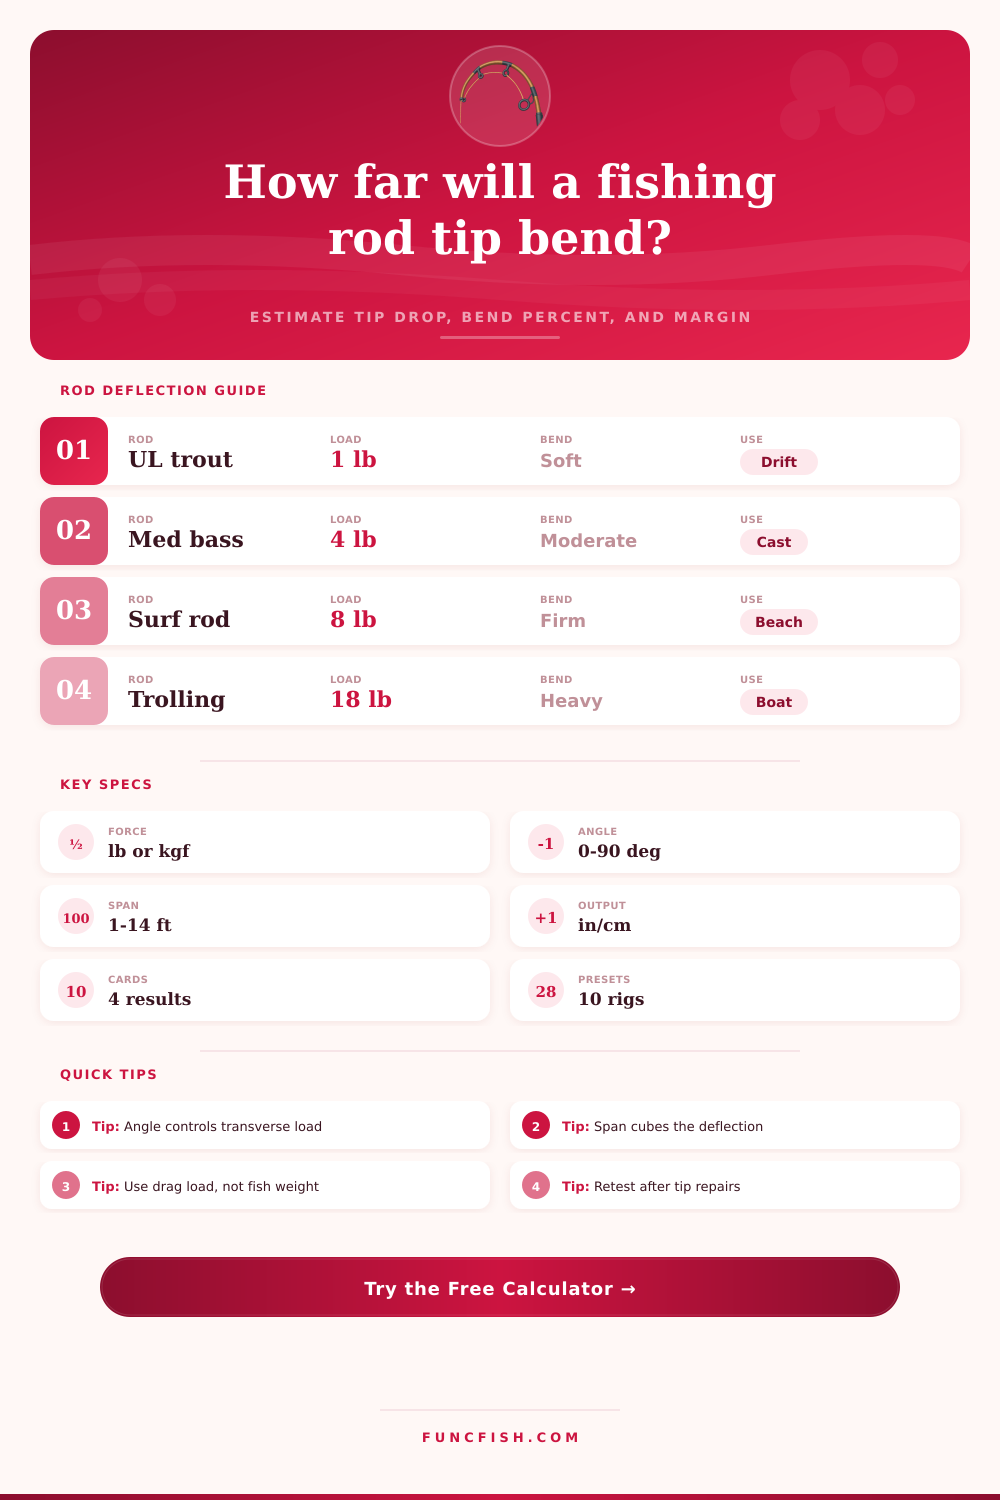
The danger zone is when the calculated deflection reach twenty percent or more of the rod length. That’s when the tip will permanently set. After repairing a tip, test again cautiousley. It rarely comes out matching the old taper profile. And remember, if you see any red warning margins, drop your angle down.
Mechanics mixed with some intuition equals fishing. When we eliminate breakage by focusing on load angles, span and leverage instead of power, we’re halfway there. Having an idea of how far your rod bends before becoming overpowered give you confidence in setting the hook. It’s all about leverage, not power.
The rod’s a spring. It is not a lever. So treat it like one. Keep the drag honest and let the blank do the job for which it was designed. Protecting that tip is every bit as important as tying a good knot.