While fishing usually required people to take kayaks and rafts with them, companies have now started manufacturing electrical outboards that can be used instead.
The great thing about these devices is that they can allow your boat to quickly travel over long distances without much effort.
Although, even if you purchase the best motor on the market, it is pretty common to run into issues with the performance of your unit from time to time.
So, be prepared to act if you believe that your outboard motor is not performing perfectly.
That way, you will be able to preserve the lifespan of your unit without purchasing any extra components. Recently there have been a few reports regarding Yamaha Outboard Electric Choke not working.
This can be quite annoying to deal with which is why you will notice people complaining.
If you’re also working on a similar issue, then the solutions mentioned here should help you overcome this problem. There are several reasons behind the issue which is why it is important that you first find what is causing it.
This helps people in dealing with the problem without much effort.
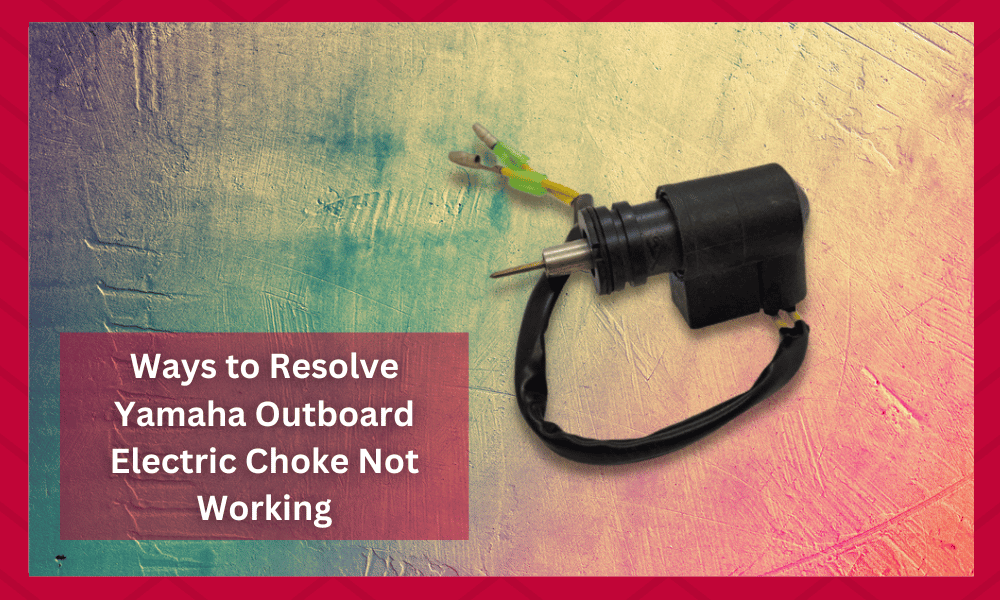
Ways to Resolve Yamaha Outboard Electric Choke Not Working
- Check the Knob On Your Yamaha Outboard
In most situations, the issue with your electric choke is not that severe, and you can get around it by fixing the knob on your unit.
Many people have reported that the choke knob on their unit has separated from the metal piece which was linking the knob to the carb.
So, if your Yamaha Outboard electric choke is not working, start by inspecting the knob on your unit, and you will often find that it has broken off from the metal piece.
If you are having trouble trying to identify the part, then consult the manual provided along your outboard to help you out.
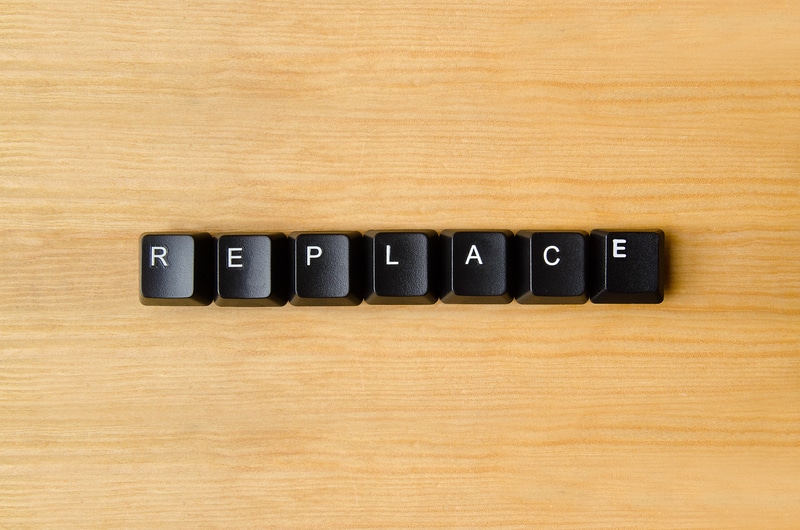
To get around this problem, you will have to install a replacement in your unit. Luckily, the replacement is quite affordable, and you won’t have to bear any extra burden on your budget.

Once the knob has been replaced, the choke should start working perfectly without further issues.
When purchasing the replacement for the knob, people should remember to purchase a part that is compatible with their Yamaha Outboard.
This is usually not a problem if you are getting the replacement parts directly from the brand. However, if you are outsourcing them then stay careful.
You can usually install the replacement parts on your own but if you are having trouble with the process then there are two solutions. One of these involves searching for video guides online that can be used.
Alternatively, you can ask a specialist to help you out with the process.
- Install O Ring On Your Electric Choke
If you’ve had the outboard motor for a long time, then there is a good chance that your electric choke is missing an O ring. The main function of this ring is to attach the metal units to the carb.
This is for the proper functioning of the choke.
So, when this ring falls off or is removed from the unit, it is impossible to get the choke to work. Aside from this, the O ring can also get damaged or break in some cases so make sure that you keep that in mind.
If the O ring is missing or broken, then replacing it with a new one is your only option.
In this situation, all you have to do is install a new rubber O ring in the unit. This should fix the choke problems. Even if you’re a beginner, this issue shouldn’t be too difficult for you to manage.
So, just open up a component diagram of the unit and get to work.
- Fix Defective Solenoid
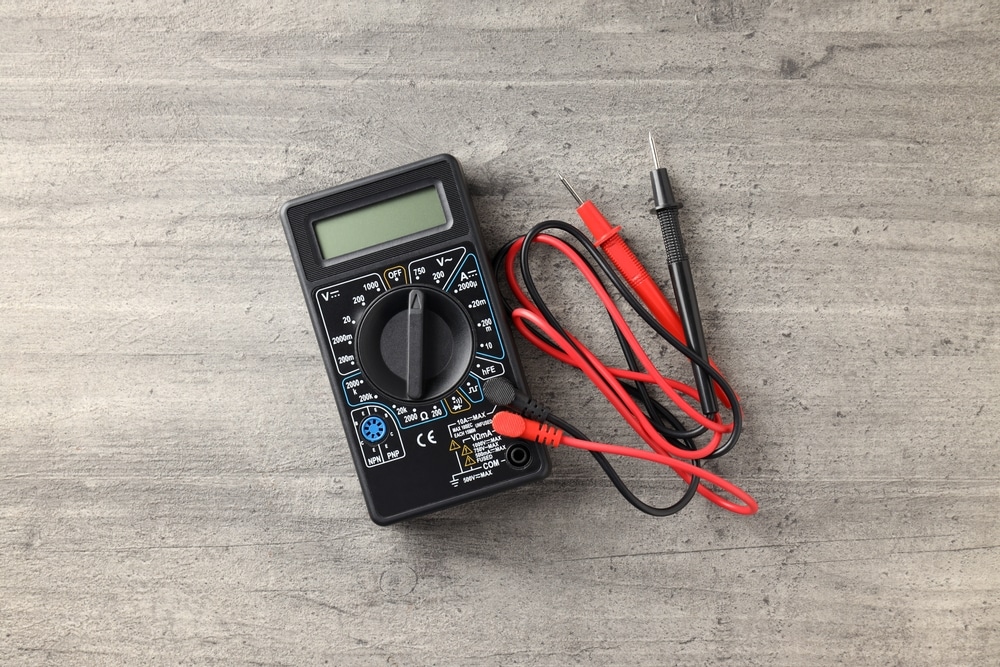
Along with the two issues mentioned above, a defective solenoid can also lead to issues with your Electric choke motor. So, you should grab a multimeter to check the integrity of the solenoid.
All you have to do is connect the terminals of the solenoid with the multimeter and check for continuity.
While most people troubleshooting electrical devices already have multimeters in their homes. If you are someone who does not own one, then it is best that you purchase it instead of borrowing it from someone else.
This is because these devices come in handy in tons of cases.
Inspecting the reading on the multimeter will help you figure out whether or not the solenoid is in perfect condition.
If the reading on the multimeter doesn’t match your requirements, then you should purchase a solenoid replacement for your unit.
On the other hand, if the solenoid is working perfectly, then there might be some other severe issues with the outboard. In this situation, you should reach out to the professionals working at Yamaha customer support.
That way, you will be able to narrow down the issue and take appropriate troubleshooting steps. Though, there are some further instructions that you should be familiar with.
This is why it is best that you move on to the final step mentioned below.
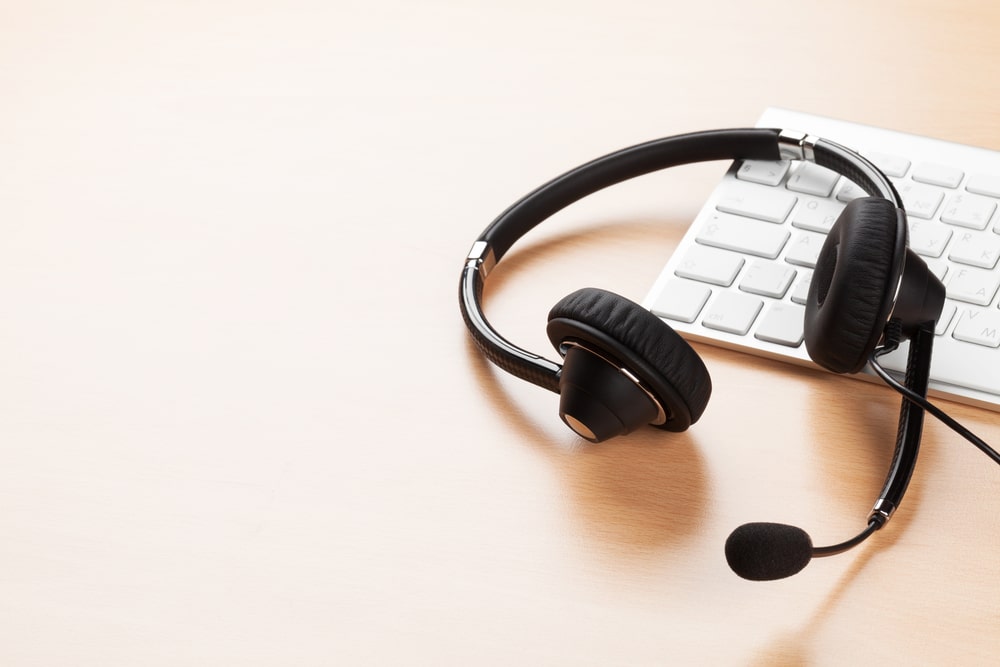
- Contact The Customer Support Team
While most of the reasons for a problem like this are mentioned above, some people might report that their issue is still appearing. In cases like these, there is a high chance that some part of your outboard has been damaged.
When trying to fix this, there are tons of parts that you will have to go through.
Most people who have been using the motor for a long time should be able to check all of the parts on their own. This might take some time, but they can easily fix the issue once they find the root of the problem.
On the other hand, if you are unfamiliar with the device then this can be impossible.
While you have the option to consult the manual, it is recommended that you save your time and contact the customer support team instead.
The team will ask you some questions regarding the issue so make sure that you answer all of these carefully.
This should help the team in isolating your problem so that it can be fixed easily. In most cases, the support team will provide you with some simple troubleshooting steps that can be followed.
If none of these work then it means that some part of your outboard is damaged.
You can send your device back to the company in this scenario and they will replace the faulty parts for you. If you still have a warranty left on the device, then you can even get free replacements and repairs.
Just make sure that you go through the warranty guidelines once to confirm this.