Yamaha Outboard has established itself quite nicely in the current market.
There are a ton of anglers that have been using Yamaha Outboard for decades. It is quite rare to see anyone talking badly about this unit, and it doesn’t create any extensive problem as long as you follow a monthly maintenance cycle.
So, make sure to keep your unit maintained if you want to avoid long-term issues with this outboard.
A lot of reports have recently been recorded regarding Yamaha Outboard Starter Solenoid Clicking.
If you’re also struggling with similar outboard issues, then the following list should help you maneuver through the issue.
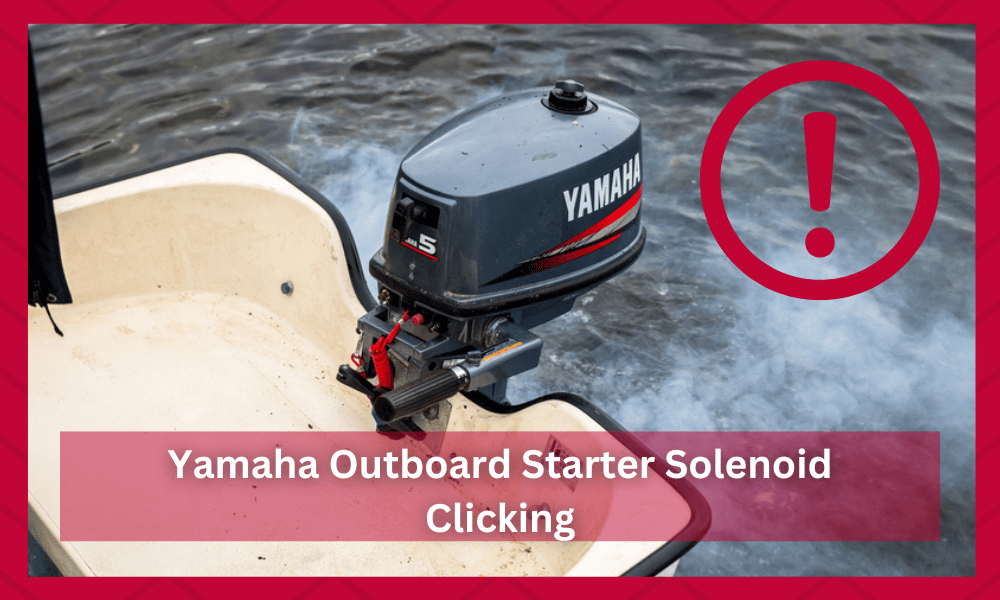
Yamaha Outboard Starter Solenoid Clicking
- Check Battery
The first thing you should do in this situation is to check the power output at the battery terminals. In most situations, the voltage from the battery is just sufficient for the unit to start working.
So, there is a good chance that you’re running into this problem because of battery issues. To isolate this problem, all you need is a multimeter or any other voltage measuring device.
Just connect the multimeter with the battery terminals and check the reading on your unit. If you’re getting low voltage, then the only thing you can do is replace the battery pack.
That should eliminate the problem with starter solenoid clicking in your Yamaha outboard.
The battery replacement might sting your budget a bit. However, the lifespan and the performance of the new battery will have you sorted out for years (if you take good care of it).
So, try and keep track of the battery status and then replace the battery when it has passed its lifespan.
Hopefully, the problem will be fixed right here and you will not have to hassle more.
- Check Connections
If the battery in your unit is working perfectly, but you’re still struggling to get the desired performance from your outboard starter solenoid, then the issue might be with a bad connection point.

The presence of rust and corrosion can impact the power flow and leads to clicking issues.
To get around this problem, you will have to clean these connection points with vinegar and then secure them properly. Ideally, this should eliminate the problem, and the starter solenoid will start working perfectly.
However, make sure also to remove the vinegar residue with a clean cloth to avoid issues in the future. Hopefully, everything will be fixed at this stage, and you won’t have to bother with more solutions.
- Check The Wiring
At this point, you have to shift your focus towards the wiring. The issue might not even be with the unit itself, and you have to check up on the wiring side of things to isolate more problems.
Otherwise, you will remain stuck in these errors.
All that you’re trying to do here is to check for swollen sections, frayed regions, and damaged parts. Any type of damage or rough structure will only lead you to more errors, and you won’t be able to streamline the power flow.
The wiring or the cables are pretty cheap. It will not sting your budget to get a new one, and you shouldn’t try to patch up the system.

So, instead of looking at the repairing options, you need to look at the power flow and fix that accordingly. That will serve you much better
Yes, some people do try to patch up the cables and are successful in this process. However, these people only set themselves up for failure as the damaged cables can create more problems like fire hazards.
You also run the risk of frying out your system when trying out these methods, and we will always suggest that you get help from the officials. They will also ask you to get new cables, and that will limit the hassle here.
Hopefully, you’ll have a better idea on how to tackle issues with the wiring and won’t remain stuck in these errors. So, be sure to reach out and fix the errors accordingly. Otherwise, you will simply be holding yourself back.
- Try Tapping It
Now, it might sound crazy, but it works! We’ve seen many owners getting the right response from the starter solenoid after tapping it with a rubber hammer. You might ask if that is a smart move? The answer is “not really.”
However, that doesn’t negate the fact that it works.
So, if you’re still stuck in these same errors and believe that the solenoid is in good shape, a few taps will have you sorted out. A bit of hassle on your end will do you much better, and you will not have to bother about more errors.
Yes, it is a makeshift solution, and you should just focus on gently tapping the system.
The background here is that the gentle taps will help get rid of the lodged gunk and streamline the power flow from the connection points.
It might sound silly, but it will be more than enough to have you sorted out. The whole concept here is that you’re trying to streamline the power flow and meeting the power demands of the solenoid.
Hopefully, that will be enough to help you fix the majority of errors listed here.
- Contacting Customer Support
Lastly, you should avoid dealing with all of this hassle yourself or paying for the repair fees. Instead, you need to call the Yamaha support.
The warranty deal on these systems is pretty great. You will not have to hassle on your end, and the officials will help you out.
All that you have to do is to engage these experts. Just explain your situation, send a support ticket, or call up customer support.
That way, you will be able to secure a quick response from the officials, and won’t have to deal with more errors.

So, if you believe that the hardware issues are genuine and you didn’t mess up the system yourself, then you reach out to the official support team.
They will be more than obliged to help you out and the experts will guide you step by step through a fix.
Even when you’re not able to fix the situation with help from the official support team, you can demand a fresh replacement piece from the officials.
They will send you the replacement components in due time, and you will not have to hassle them on your own.
Wrapping Up
Issues like the Yamaha Outboard Starter Solenoid Clicking have long been persistent when it comes to older models. Almost all the time, you’ll find these issues to be more related to the power flow and the battery connections.
So, to start, you need to isolate the issue with the battery. Try making use of some voltage measuring tools to check up on the power connections and make sure that they are in good shape.
If you’re able to figure that out, the rest will be simple.
From there, you can move forward to cleaning the connections or tightening them up to streamline the power flow.
This might seem like a basic fix, but it has simply helped too many owners up to this point. So, be sure to rely on this routine when you can’t get a responsible response from the system.
If you’re on the unlucky end and the situation remains unfixed at this point, then you gotta replace the solenoid.
While you can still try your luck by asking the official support team for pointers, it is a better idea to just proceed with the replacement. You might save yourself some time that way.