Humminbird is a famous brand that is known for its fish finders and accessories related to these devices.
The company has a list of devices that people can choose from which is why it is important that you go through all of these before deciding which one to purchase.
In most cases, it is recommended that you check the specifications of these devices so that you can find the best one possible.
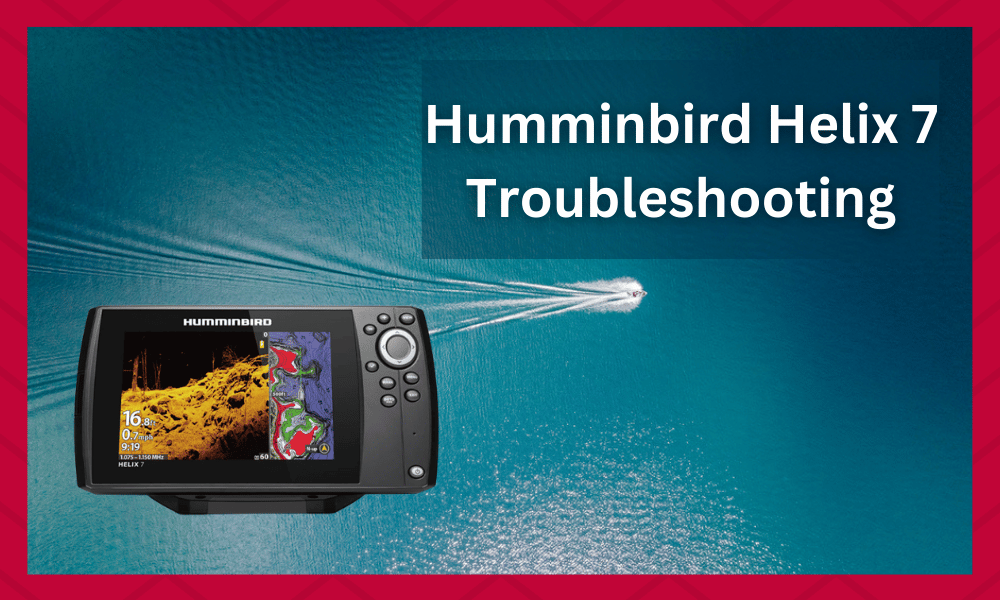
The Humminbird Helix 7 is one of the best fish finders that you can purchase, and it is equipped with tons of features, however, it might also run into some issues.
If your Humminbird Helix 7 is not working correctly or you want to reset your unit, you may want to know why and how you can solve it. This article discusses some common problems with Humminbird helix 7 and how to solve them.
Going through the steps provided should help people in understanding the different reasons they can get issues with their devices.
Once you know the root of your problem, it can be much easier to fix it. Hence, make sure that you go through all the steps carefully to avoid issues.
Humminbird Helix 7 Troubleshooting:
- Reset defaults
Make sure to reset the fish finder to factory settings. Fishers are prone to tinkering with their equipment and causing issues.
Revert to factory settings on the Humminbird Helix and Solid devices to guarantee you haven’t messed with the settings.
The main reason this works is that the problem can sometimes be from people messing up the configurations on their Humminbird Helix 7.
You can either go through all the changes you had made recently to fix the problem or simply reset the device.

The main issue with having to manually find the setting that might be causing the problem is that it takes a lot of time.
On the other hand, the reset process might be faster, but its issue is that it erases any changes that you had made to the fish finder.
This results in having to set up the configurations again so keep that in mind.
- Check Connections and Pins
It is pretty rare for anglers to damage wires or terminals by making faulty connections. Inspecting the connections and pins on the cords, ensure that neither the Humminbird device nor the cables are damaged.
If you find any cracked or damaged pins, clean the connections with a damp cloth.
Connecting devices requires that they be securely screwed into place and create an appropriate connection. Keep in mind that people might also have to get their wires replaced with new ones in some cases.
This can be quite annoying, and some users might even find the process difficult.
This is why if you are feeling hesitant then it is best that you contact a professional to help you out.
- Separate the cables
Trolling motor cables are a common source of electromagnetic interference because they intersect power lines. Keep the fish finder and its cords away from other wires whenever feasible.
If possible, traverse the trolling motor power cables with the fish finder cable.
If you have extra wire, don’t wrap it up and knot it firmly. Make a large coil out of it by softly coiling it. Wires and cables often cause interference twisted too tightly.
- Check Motor Connections
The fuses within the trolling motor should be checked if you’ve exhausted all other possibilities and still see interference on the screen.
Fortunately, it’s a rather typical occurrence, and resolving it is only a matter of following a few straightforward steps.
- Verify Transducer
There should be no obstructions to the left or right of the transducer, and it should be level from front to back.
Determine if any floating pods or other gadgets are interfering with your images by checking out your installation.
The transducer must be installed with aligned left and right axes before it can be leveled using these transducer leveling procedures.
You might have to test around with the installation alignment before finding the perfect spot. This can take some time, but it is mostly worth the effort.
- Verify Power Cycle Issues
Problems with the power cycle are still widespread and usually show themselves in two places. During a high-speed boat ride, the fish finder either shuts off or resumes.
When you start the outboard motor, the fish finder also goes off. It all boils down to superb, clean power and a correct installation to solve these issues. Here’s what to do if you’re experiencing any of these issues.
- Make sure the battery is in top condition. A defect is to blame for these issues.
- It is essential to keep the battery terminals clean. Dirty battery terminals and connections are common causes of these issues.
- A wired connection must be made between the fish finder and the battery.
Verify the gauge and kind of wire you’re using before proceeding.
Most issues may be fixed by following these easy troubleshooting approaches. Following these troubleshooting steps, you should contact Humminbird support for more help.
- Contacting The Support Team For Humminbird
The troubleshooting steps mentioned above are usually enough for people to deal with most issues with the Humminbird Helix 7.
However, if you notice that your problem was still not fixed or if the issue is not mentioned in this article, then your only option left will be to contact the support team.
When it comes to this, people should note that they can try fixing the problem on their own. Although you have to first identify the root of this issue and then deal with it accordingly.
This can take a lot of time and effort which is why a lot of users might want to avoid all this hassle.
Talking about this, if you simply contact the support team for Humminbird then the team will start by asking you some questions regarding your problem.
Make sure that all of the queries are answered carefully as these help in isolating the issue.
Once done, you should then be able to receive some troubleshooting steps that can be used. If some part of your fish finder was damaged, then you can send the device back to the brand.
They will get it repaired for you, but the user has to pay for the replaced parts.
If you still have a warranty left on your Humminbird Helix 7 then it can be used to get free repairs and even discounts.
I have a Helix 7 and it will turn off power. Some times it will come back on. Other times you have to push the button. When it does come on the language has changed to Spanish. Anyone else have this issue?
I have my Helix 7 connected to my Minn Kota Ultrex and the depth when I am in 5 foot of water it will show 586 feet. Then the will go off and come back on and show 800 feet. what could be the issue?