Humminbird Helix 7 is one of the most popular units from this brand and brings a ton of smart features to help you get through the fishing trip with ease.
It is a great device that has served anglers for years. However, you will still need to keep track of the unit maintenance to avoid issues with the display.
Does the display on your Humminbird Helix 7 occasionally become entirely white, and nothing changes until you either remove the device from its mount or power it down?
Or does it sometimes just start functioning again on its own after a period of time has passed?
If this is the case, you should keep reading because we have some fantastic remedies for the white screen or blank screen you are experiencing on your Humminbird Helix 7 Unit.
Most of the time, you’ll have an effortless experience with the unit and won’t have to go through any extensive routines.
However, if you can’t get through the problem with the Helix 7 white screen, then the troubleshooting routine can be a bit more demanding.
So, the following is a list of the most often experienced problems by customers who use Humminbird Helix 7:
Humminbird Helix 7 White Screen Fix
- Weak Battery
Weak battery or an old battery is something that takes place when you crank the outboard or use the tilt and trim controls?
![]()
If this is the case with your Humminbird Helix 7 device, the problem could be caused by a faulty battery or an improper connection between the battery and the sonar unit.
Both of these possibilities are possible. There is the possibility of either of these two outcomes.
If you have not already done so, connect everything directly to the battery, apply a blade fuse, check that all of the connections are both clean and secure; and use a blade fuse.
Your first item of business should be to perform a thorough inspection of the power connection that is associated with your gadget.
It would appear that the power supplied to your machine is not adequate for it to start up correctly.
- Check the Fuses in the Power Distribution Boxes
This is yet another typical issue that customers of the Humminbird Helix7 experience, and it is brought on by water getting inside the device and destroying its components.
You should check your connections to ensure that they, or the connectors on your battery, do not have any rust since this could cause the problem.
However, as mentioned earlier, it is most likely a power issue, specifically a lack of power that prevents the LCD crystals from functioning correctly.
- Condensation
Even if your Humminbird device is waterproof, the air inside it contains moisture due to the inherent humidity in the air. Minor fogging is possible on cooler days.
This is commonly reported in the early spring and late fall. The sun’s heat is warming the air in the depth sounder, causing this situation.
Wet air is trapped between the display and the lens by the front casing. Temperatures outside should be kept as low as possible to avoid this. You should notice a difference after about an hour of use.
You can have it serviced if this is the case. Please keep this in mind. However, that condensation is unavoidable under the conditions mentioned above.
Because there is no space between the display and the lens, condensation cannot form on a glass-bonded color display (found in our 800 Series and higher models).

If none of the alternatives above work for you, your next best option is to contact Humminbird support or take the product back to the store you initially purchased.
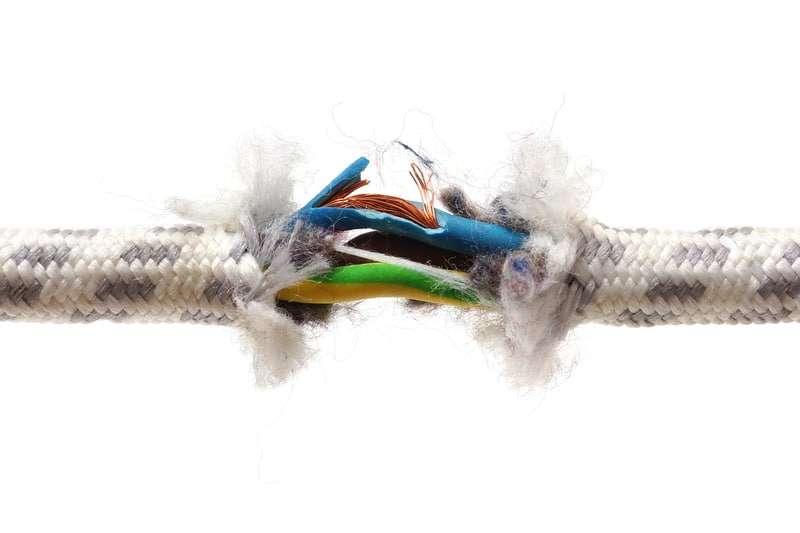
- Check For Cable Damage
Next, you should check for cable damage. It is not that the power cables get damaged during rougher conditions.
All you need to do here is check the unit for frayed sections and other errors. So, be sure to check all the wiring connections along with the cables.
If you do find issues with the cables, then you need to get a replacement. Some owners do try to patch up the wiring, but that is not a long-term solution.
Unless you’re especially skilled with crimping the damaged sections, going with a fresh pair of wires is the only solution that will help.
So, be sure to visit your local hardware store and get replacement cables from there. The issue will likely be fixed when the new cables have been installed. From there, you can test out the unit one more time to avoid issues down the road.
Alternatively, you can further eliminate other possibilities by checking the unit with a multimeter. If you do find that the voltage flow through the system is not optimal, then you’ll know for sure that the unit is to blame here.
You can easily fix these issues by checking for further errors with the system. It might seem like an extensive task, but it won’t take you more than a minute to get through the inspection. So, be sure to check the cables.
- There Might Be Hardware Issues
Issues with the hardware can be especially annoying to fix, but you can also rely on a warranty claim to get a new unit.
There is no point in going through with the troubleshooting routine if you find the hardware to be damaged.
This is especially true if you ordered the unit online and it got damaged during delivery.
The delivery process can be especially hard on some units. So, to fix those situations, you need to reach out to the dealer and have him provide you with a new one.
You’re not liable for hardware damage, and you will have to get a new one. Be sure to keep that in mind and reach out to the dealer immediately.
- Reset The Unit

Next, if the issue persists even after going through all of these fixes, and you’re sure that the power connections and the hardware is in good shape, then reset the unit.
It might take a while to set up the system, but you’re not left with many options here. So, be sure to go through the reset routine.
From there, you can spend a bit of time managing the configuration from scratch, and that will be it. So, be sure to follow through with the reset.
Hopefully, the issue will be fixed in no time, and you won’t have to go through any troubleshooting routine.
- Ask for Official Support
Lastly, there is no point in going through all of these fixes by yourself. Seeking official support will help you speed through the troubleshooting routine.
So, if you’re stuck in the same errors, try asking the experts for help.

Most of the time, the situation with the white screen will be fixed after you fix the power connections.
However, if you can’t seem to figure out the problem, just reach out to the official support team. They will help you isolate and fix the errors here.
Wrapping Up
These fixes should be more than enough to help you get through the Humminbird Helix 7 White Screen issue.
Most of the time, it is the power connection or the battery that is to blame here. So, be sure to start the troubleshooting routine by fixing those sections.
From there, you can move on to the configurations and the minor details associated with the system.
Ideally, you will have an amazing time with the system. Moreover, if you do get stuck in minor errors, there is no shame in asking for help.
If the hardware is damaged, you can ask the dealer for a replacement.
However, if you’re struggling with minor configuration errors, then the support team from Humminbird will help you through the fix. So, be sure to reach out and these experts will take over the situation.