
The outboards from Mercury are regarded as the most efficient option in the current market. However, this performance from the Mercury outboard can deteriorate substantially when you’re not paying any attention to maintenance.
Luckily, Mercury has made sure that the design of the outboard is serviceable.
There is not a single brand in the market that doesn’t focus on making their systems easier to clean (the established brands at least).
From Mercury to Yamaha and everything in between, all the established dealers will ensure that their customers can enjoy long term performance from their systems.
To ensure the longevity and the efficiency of engines, you have to make sure that they are in perfect shape, fuel is able to easily make its way inside the combustion system, and the installation is optimal.
The upside here is that you won’t have to struggle with any complicated steps or maintenance cycles.
So, you won’t have to bother with any additional servicing steps while dealing with this brand.
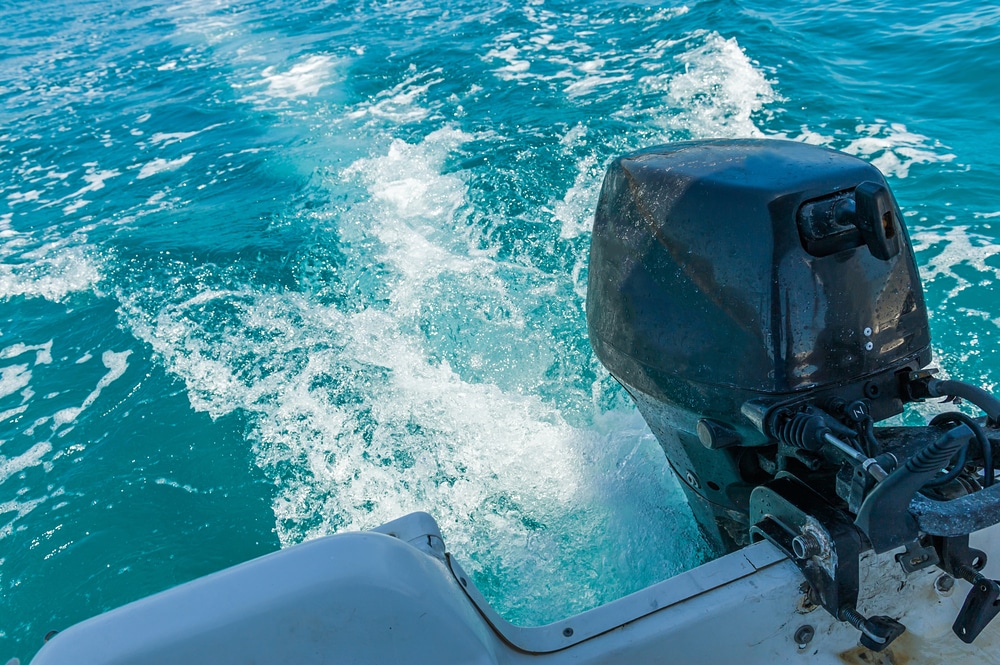
Recent queries on flushing Mercury 60 HP outboard have confused many anglers. So, let’s cover for flushing Mercury 60 HP outboard to get rid of all the residue from the system.
Flushing Mercury 60 HP Outboard
All you need to flush a Mercury 60 HP outboard is a garden hose and freshwater supply.
Just make sure that the water pressure is optimal, and you won’t have to worry about any complications through the flushing process. So, if you have got good water pressure, just follow these steps to get the outboard flushed.
The first thing you need to do is turn off the engine and then put it in a tilted position using the trim features.
Keeping the outboard in the operating position can also work, but owners have pointed out better performance with the tilted position.
Now, you can remove the flush connector and the cover on the flush connector to link up your garden hose with the outboard. Make sure that there are no obstructions in the connector and that it is perfectly clean.
At this stage, just connect the garden hose with the flush connector and secure it properly with the system. Make sure that the connector is not loose and is tightened up with the garden hose.
After managing the connectors, turn on the garden hose and let the freshwater pass through the cooling system.
If you’re in a situation with too much water pressure, turn the water tap half the way to avoid issues with the cooling system.
Lastly, you just have to wait for around 10 minutes until all the saltwater residue has left the motor. Sometimes, it can take a bit longer, but you shouldn’t flush for more than 15 minutes.
After that, you can disconnect the water source from the flush connector and then put the connector back into the bottom section. Make sure that the cover is firmly in place to avoid leaking problems in the future.
Now, your Mercury 60 HP outboard is ready for the sea. You don’t have to worry about any performance-related issues.
You will have to flush the system immediately after use in the saltwater. Otherwise, it can get harder and harder to get rid of the residue in the system.
So, if you want to keep the cooling system in perfect condition, set some time aside to pass freshwater through the outboard.
The only difficult step in this process is connecting the garden hose with the flush connectors.
But once you flush the Mercury 60 HP outboard once or twice, everything will become easier. You can further seek help from local angles if you’re struggling with any step.
When To Flush Mercury 60 HP Outboard?
Most of the time, you will have to flush the outboard right away after using it in saltwater (assuming that it is intended for freshwater use). Even if you’re using the saltwater variant, it is still necessary to flush it once every six weeks.
Depending upon how often you use the system, this estimate can vary.
Similarly, if you have had the outboard stored for a couple of months, then it will still be a good idea to start out by flushing the system. So, have that in mind when you’re taking out the system after a long winter.
Ignoring these requirements will only complicate the situation for you and the outboard will present a ton of issues down the road.
The saltwater will clog up your outboard, it will start overheating, and you will notice an immediate reduction in the performance of this outboard.
Yes, the hassle might seem annoying at first, but you’re not left with many options when you’re aiming for a robust response from your engine.
Otherwise, you will only run into performance issues, and the outboard will keep presenting you with more errors.
Struggling To Flush Mercury 60 HP Outboard?
There are many things that can complicate the flushing procedure when you’re using a regular garden hose.
Everything from the pressure to the angle of the outboard will play into this situation, and you gotta make sure that the alignment is optimal for the water to flow out through the lower unit.
First, you can check for clogging issues on the flush connector. These will present more errors down the road and you will not be able to get anything out of the system.
So, have that in mind and use a wire to help you get rid of the gunk that is clogging up the flush connector.
Ideally, you will be sorted out within a few minutes. However, if the water flow from the outlet is still not enough, then you gotta check the water pressure as well as the angle of the outboard (which should be about 45 degrees).
After checking for angling issues and the water pressure, you should be able to secure a decent water flow from the outboard (unless the unit is damaged). So, have that in mind when you can’t seem to get any response out of the system.
If you do find there to be hardware issues, then there is not much that can be done on your end.
You have to instead engage the official support team do have them fix the situation for you. They will be more than happy to help you out and you won’t remain stuck in these errors.
The warranty deal backing up these outboards is phenomenal. As long as you’re sure that you didn’t damage the outboard yourself by putting too much pressure on the system, you can get a new engine from the dealer.
All that you have to do is to engage the dealer about a warranty claim and then have the dealer provide you with a fresh piece. He will be more than happy to help you out and you will not remain stuck in these errors down the road.
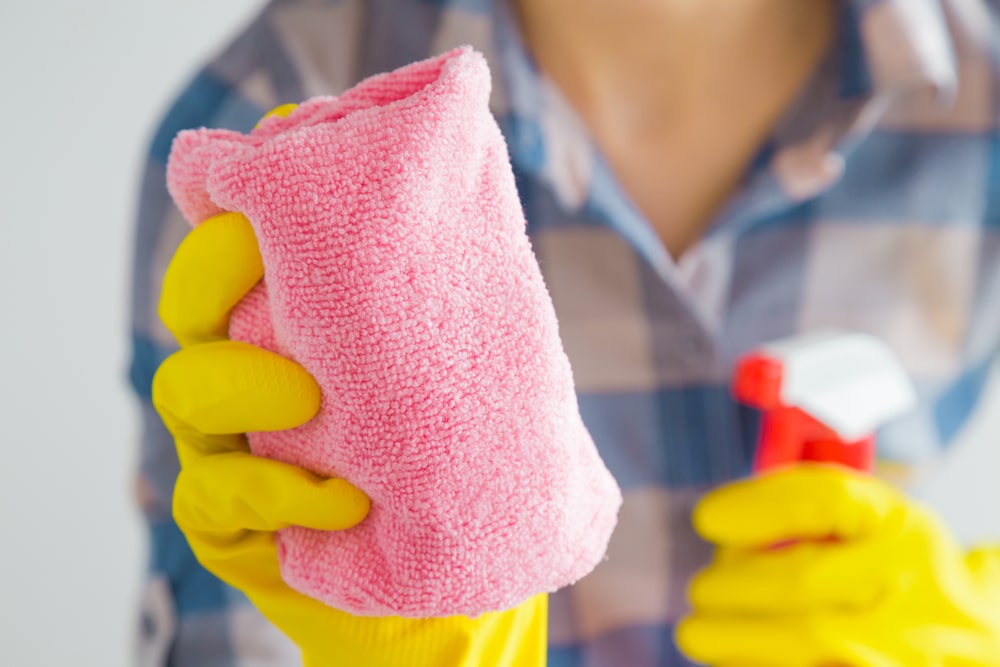
Lastly, you don’t have to use any special solution or soapy water to flush the outboard.
That might complicate the situation even further and you will have to then wash away the soapy residue with the clean water.

A simple garden hose connected to your home pipeline should be enough for this process. The fresh water will easily pass through the flush connector, and you will not have to go through any extensive challenges.
Just make sure that you do this routine once every other week and there will be no need to worry about clogged lines as the residue will not have enough time to corrode or harden up.
You will be sorted out perfectly if you’re proactive.
Ignoring the timely maintenance will only lead to more errors as the outboard will not respond to your input, and you will notice decreased efficiency and performance from this system.
Hopefully, you will not have to go through any challenges down the road.
The Takeaway
Flushing the outboard is a necessary step when it comes to the maintenance of different engines. If you ignore this maintenance requirement, then you’ll be in for a surprise in the long run when the engine is clogged up with corrosion and gunk.
Yes, the flushing procedure can be hard and it will take a fair bit of your time at first.
However, once you get used to this maintenance cycle, it will not take more than an hour out of your week. This hour will save you a lot more time and money when you’re talking about the performance of your outboard.
All that you gotta do is to use the flush connector after tilting the outboard and use a garden hose to supply the water.
The flush connector will secure the hose in place and you will not have to worry about loose connections or fittings.
Everything will boil down to the water pressure, and if the garden hose has decent water pressure, you will not have to go through any challenges on your end.
However, if you’re still unsure about the flushing routine, just ask an expert to show you. That way, you might avoid the common mistakes.