Lowrance tends to be one of the most popular choices for everyone who likes fishing and is serious about fishing.
This is because the brand offers an entire range of depth finders and other accessories and is focused on integrated advanced features and functionality.
The brand has been manufacturing these devices for a while now which is why you will notice that most of these come with tons of features.
All of these can be amazing, but the choice usually varies depending on your personal preferences and usage.
On the other hand, there are always some chances of damage and digs on the functionality.
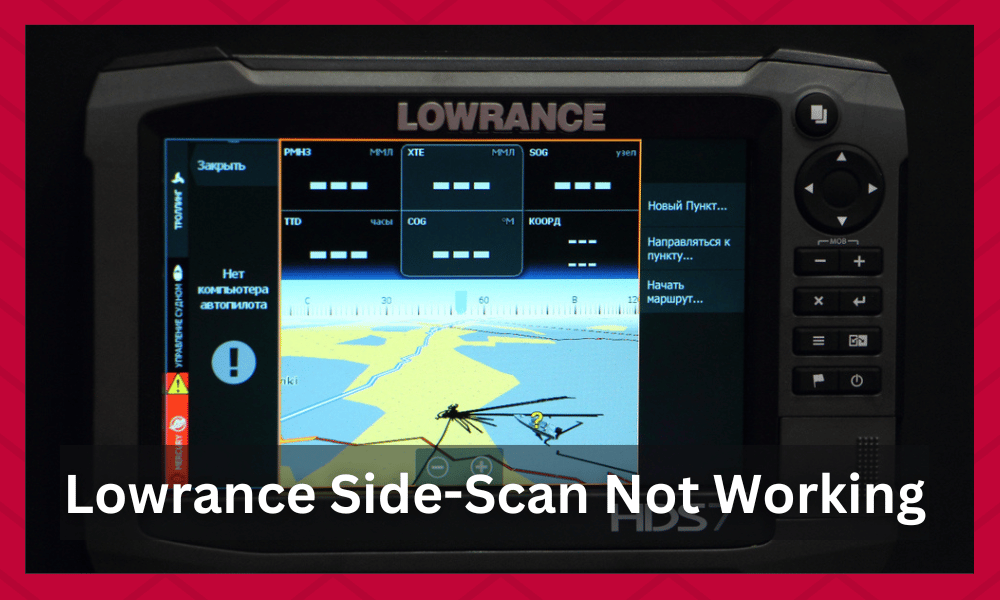
For this reason, the Lowrance side-scan not working is one of the most common issues faced by people. So, with this article, we are sharing various fixes that you can try.
Going through each of these can be important as they help people in understanding what might be causing the problem. Once you have the root of your issue in mind, fixing the problem can be a lot easier.
This should also help people in preventing the issue later on.
Lowrance Side-Scan Not Working
- Using Advanced Mode On The Device
When it comes down to the side-scan, it is the fish-finding technology that helps gain information about the surroundings underwater.
In the majority of cases, people don’t put their unit in the advanced mode, which leads to the ineffective performance of the side scan.
Having said that, you must fix the transducer type settings, and for that, you can follow the steps mentioned below.
- Open the settings on your Lowrance unit.
- Browse through the options to find and then open the sonar tab.
- You can now proceed to go through these different options and open the installation.
- Finally, choose the automatic option from these settings.
- Save the settings, and you are good to go.
Depending on the firmware version you are currently using, the steps provided above might have slightly changed. This is completely normal, but it might confuse some users.

This is why if you are having trouble with the guide then consult the manual provided along your device.
Alternatively, another option that you have is to search the online website for Lowrance or contact their support team.
This is much better as the website and customer support team for the brand will always have updated information regarding the device.
- Ensure That You Are Using The Right Model
If you are using the Lowrance units, you need to ensure that you are using the right model. This is because for the side-scan to work properly, the Lowrance unit needs to have the Totalscan feature.
The advanced models have an I/D feature that helps with automated input of the settings.
In simpler words, if your unit has the auto I/D settings, the settings will be input automatically. So, make sure that you have got the correct model.
You can usually confirm this by checking the specifications of your device from the official website for Lowrance.

Entering the model’s name of your device and then selecting its page should provide you with a list of all the features present.
You can then go through all of these to confirm if your Lowrance fish finder has the Side-Scan feature or not. If it does not, then changing your device is the only option.
- Soft Reset The Device
Another solution for resolving the functionality issue can depend on the soft reset. For the soft reset, you only need to switch off the Lowrance unit and wait for a few minutes to make sure all the components turn off.
When it has been five to ten minutes, switch on the unit and try checking if the side-scan starts working or not. If the side-scan is still not working, the best solution is to switch off the unit and take out the battery along with it.
Then, you can insert the battery after a few minutes and switch on the unit again.
Some people might wonder why this works. When it comes to this, you should note that the soft reset process usually clears the memory from your device.
The fish finder tends to store data from the user so that it can work efficiently without running into any problems.
However, with time, the device will continue to store data and eventually get its memory clogged. This is where you will notice that your fish finder starts running into problems.
Luckily, the memory can be manually cleared by soft resetting the device.
It is recommended that you repeat the process once a month, but this usually varies depending on your usage. This mostly ensures that people can prevent problems like these from appearing again.
- No Transducer
If you are using the Lowrance transducer for fishing, there are chances that its XID is not working optimally or as it should.
To resolve the issue, you must disconnect your Lowrance transducer from the power. Then, switch on the unit but don’t connect the transducer to the unit.
Now, when it switches on, you need to select the correct transducer from the list. For this purpose, you must open the settings, open the sonar tab, click on installation, and select the suitable transducer.
If you are having trouble, then search for video guides online to help you out.
- Select The Simulator Mode On Lowrance Transducer
If the Lowrance unit still won’t work and is not providing a clear illustration through the side-scan technology, you should select the simulator mode on the unit. To illustrate, you must switch on the simulator mode and switch it on again.
However, for this purpose, you must ensure that the simulator mode is switched on after a few minutes to make sure the settings are properly installed.
- Range Of Reading
Another solution to resolve the functionality issues of the side scan is to optimize the range of reading. In the majority of cases, people don’t use the reading feature at all.
That said, make sure that the range of the reading feature is on, and it must be higher than 5ft to ensure the surrounding images are clear and visible.
You might have to change the setting a few times before you find the optimal configurations.
- Zoom Feature On Lowrance Transducer
Zoom is another important feature of the Lowrance unit because it helps provide clear visibility into the surroundings. For instance, if the zoom feature is not switched on, you won’t get clear imaging.

So, first of all, make sure that the zoom feature is on and ensure that you properly zoom in.
The feature will take some time to get used to which is why it is best that you try testing around a little with it. Once you understand how it works, zooming in and making your images clear should be a lot easier.
- Checking The Battery In Your Vehicle
Last but not least, you can try changing the battery of your Lowrance unit .
For instance, the unit needs at least an 11V battery to work properly, so recheck the batteries and always purchase batteries from a reputed company to ensure it works efficiently.
The battery on your vehicle should usually last you a long time before requiring a replacement. Talking about this, it is always recommended that you get these replaced after a few years.

If you notice that your current battery was recently bought, then something else might be wrong with it.
Cleaning the terminals on your battery is an important step that people often forget. When it comes to this, you need to remove the dust forming on the terminals frequently.
If you do this properly then you will notice that the battery starts working without running into any further problems.
To summarize, these are all the troubleshooting guides that you can follow. If the problem still exists, just call their customer support.
They might ask you a few questions regarding the transducer so make sure that you answer these carefully as they help the team in isolating your problem.