Lowrance is a popular brand name when it comes down to fishing equipment and accessories, and it’s safe to say that they have the most advanced fishing accessories.
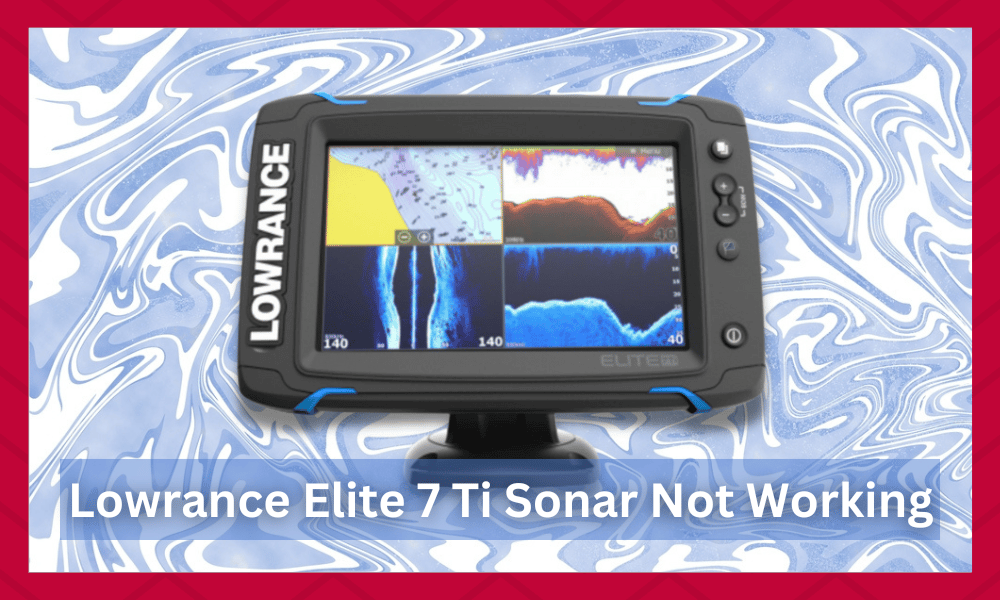
For instance, they have released an Elite 7 Ti Sonar, which helps identify fish and seafloor to help with fishing.
This device is equipped with tons of features that allow people to find varieties roaming around them so that they can all be caught effortlessly.
You should note that the TotalScan feature is one of the best technologies that you can find on a device like this.
While the sonar has perfect functionality, it is also vulnerable to damage and errors. So, if you have Lowrance Elite 7 Ti Sonar not working issue going on, let’s see which solutions you can try.
Keep in mind that there are several reasons why you can run into a problem like this.
If you are trying to get rid of the issue, then it is essential that you go through all the steps carefully. Depending on what might be causing the problem, the steps required to fix your issue might vary.
Hence, staying careful and trying out all the steps provided can be necessary.
Lowrance Elite 7 Ti Sonar Not Working
- Correct Transducer Settings
For the sonar to work optimally, you need to select the correct transducer settings. In particular, the transducer-type settings should be selected.
For this purpose, you can follow the instructions below for changing the transducer settings.
- The first step is opening the settings and switching to the sonar tab.
- Now proceed to open the installation tab and then browse through the different tabs to find and select the transducer type.
- Make sure that you verify the current transducer. If you are having trouble with this step, then try referring to the manual to help you out.
- On the other hand, if it shows “unknown,” you must select your installed transducer. If you don’t know, the black connector is labeled with channel 2, and the blue connector is labeled with channel 1.
- Once selected, try using the sonar again and you will notice that it now works without any further problems.
The steps provided above should be enough for most people to fix the issue. Though, keep in mind that the guide is only for the current firmware version.
The company might change the steps required with time. If this happens then your only option will be to consult the manual provided with the device.
- The Angle Adjustment
Whenever the transducer transmits something, the sound waves will be radiated in the cone and will be reflected off the seabed.
So, when the sonar works all right at slow speed but shows errors during high speed, it is because of the changing hull angle as compared to the seabed.
This mostly impacts the transducer angle resulting in this problem. To fix this issue, you need to adjust the transducer’s tilt to ensure the beam ends up hitting the seabed when the boat is moving at high speed.
On the other hand, if you don’t know how to adjust the angle, you can check the manual.
Keep in mind that the device will take some configurations before you find the optimal spot. This is why test around with the adjustments so that you can fix the problem.
- Lost Depth
When the boat is moving, there will be an evident loss in depth which is usually caused by the bubbles and turbulence in the water around the transducer.
Keep in mind that the transducer won’t be able to receive or transmit the signals when there is turbulence.
For this reason, you must fix this issue, and the only way is to move the transducer to ensure it sits deeper into the water.
On the other hand, you can also move it to the site when the water flow is more streamlined or doesn’t have much turbulence.
- Shallow Water
In case you are using powerboats, they are likely to travel at high speeds, especially in shallow water conditions.
As a result, it will be challenging for the transducer to capture the quick returns from the seabed.
Having said that, if you are fishing in shallow water, you must disable the automatic sensitivity settings from the menu.
In addition to this, you could try reducing the rate of sensitivity manually and keep reducing it until it locks on the bottom.
- Weeds
There are higher chances of vertical bars when you are going through the weed beds over 20ft. As a result, there will be a loss of picture, and you won’t be able to gain access to digital depth.
In the section below, we are sharing the instructions that you can follow in such cases;
- First of all, switch off the unit for a few minutes and switch it back on
- Open the full sonar chart and then proceed to choose the menu
- Then, choose the sonar features and finally switch on the chart manual
- As a result, every setting will work in automated mode except for depth
- Lastly, open the main menu again and change the depth range from 0ft to 20ft
- Check The Connections
In addition to these settings-related solutions, you can also check the mechanical settings.
For this reason, you must check the connections with the transducer (they are particularly on the back of the sonar) and make sure the connections are secured.
In addition to the connection, you must check the connector pins and ensure that you properly clean them (if the pins are dirty, clean them).
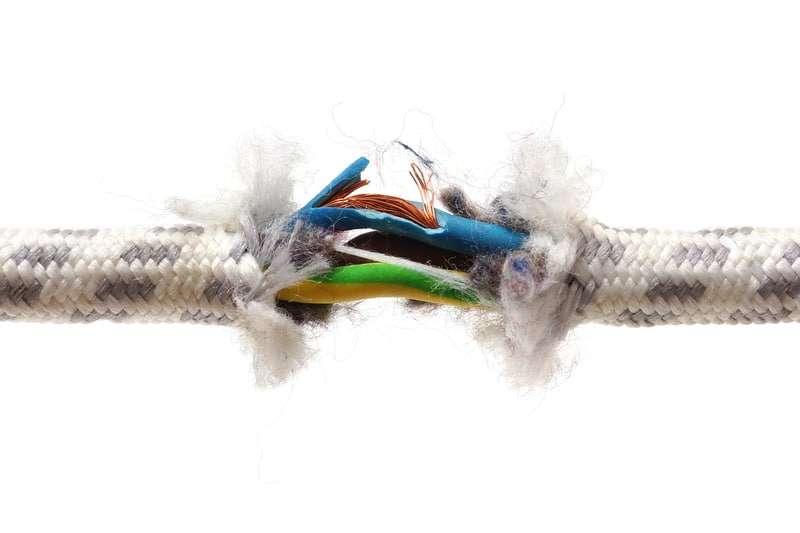
Lastly, you must also check the cables for pinched points and fraying. Replace them if they aren’t in ideal condition.
While the process is easy for people that already know how the device functions. Some users might have trouble trying to check their connections.
If this happens then you should ensure that there are no cracks or breaks on the cables attached to the device.
If you do notice any damaged wires, then these should be replaced as soon as possible. On the other hand, if you are still having trouble then try using a multimeter to help you out.
This should allow you to test the connections on your fish finder and isolate the damaged cables.
Some users might also feel hesitant trying to replace the cables on their own. In this case, it is much better that you contact a specialist instead as they will replace all the broken wires for you.
- The battery Might Be Running Into Issues
The last solution is checking the battery. Keep in mind that the sonar is running on a battery that’s a minimum of 11V.
That’s because these volts are minimum for operating the sonar and any voltage lower than this will cause issues for the device.
The first thing that people need to test is the connections on the battery. Similar to the step mentioned above, ensure that the cables are tightly attached to the terminals.
The next thing that you can check is the status of the terminals on your battery.
If these are covered in dust, then clean them properly to fix your problem. Sometimes these might have dust or rust clogged on them.
This can be difficult to remove using only water which is why it is recommended that you pour a solution of water and vinegar.
Once done, the layers of rust should soften up and you can then remove them easily . After the rust has been taken off, let your battery charge for some time, and then try testing it again.
If the same problem persists then your battery might be too old.
The only option you left here is to replace the battery with a new one. Note that these batteries usually last people several years before dying out.
Although this also varies depending on your usage so if you have been using the battery for a few years then you should finally get it replaced.
Make sure that it is bought from a reliable brand and that the voltage ratings are enough to power up your vehicle and the fish finder without any problems.
- Contact The Customer Support Team
The solutions and reasons mentioned above are mostly enough to fix the problem you are running into with your Lowrance Elite 7 Ti Sonar.
Though, some people might report that they are still getting the same issue. If this happens then your device might be damaged.
While there is a high chance of this, trying to locate the damaged parts on your own can take a lot of time. This is also impossible for people that don’t know how the fish finder is built.
This is why it is best that you avoid all this hassle and simply contact the support team for Lowrance.
The brand will ask you some questions regarding the issue and then ask you to send the device back to them. They will then get it repaired for you and you can even get the warranty claimed.


