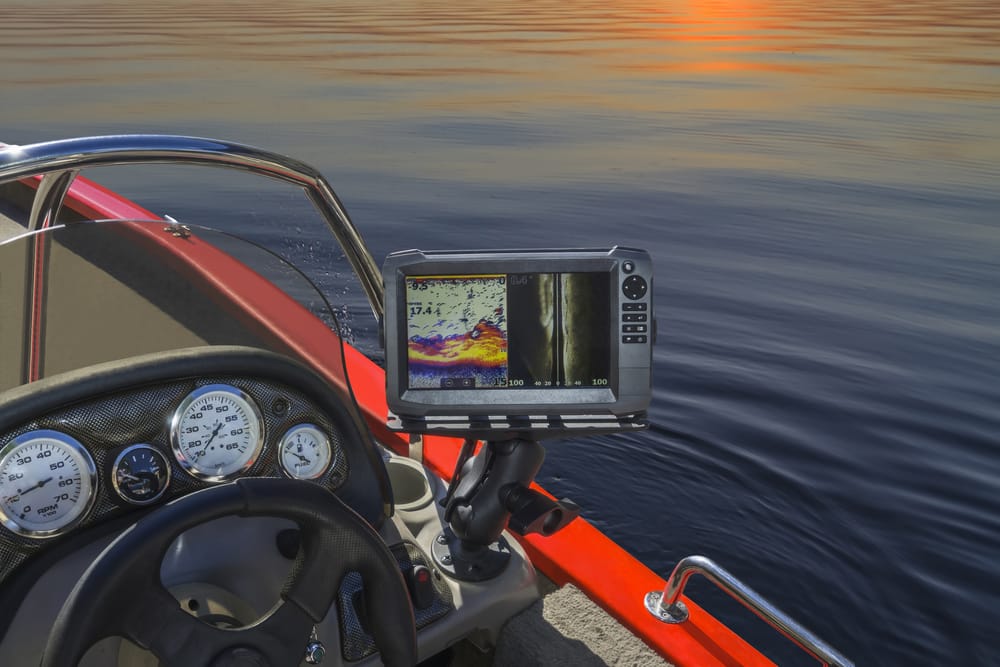
Unlike other Fishfinder, you won’t have to completely wire up the Garmin Striker series to your boat, and it can easily be moved from one fishing system to another. While the majority of anglers are happy with the portability of Garmin Striker 4, some users do complain about battery issues from time to time. Mostly, these issues are related to the battery connection with the main device, and the condition of the power cable also plays a role in this issue. So, here is how to hook up Garmin Striker 4 to a battery for the best performance throughout the fishing season.
How To Hook Up Garmin Striker 4 To Battery
The assembly of the power cables is the main thing that you need to focus on when hooking up Garmin Striker 4 to a battery. It might seem like a complex process, but all you need is the Nocqua kit and your butt connectors. Once you’ve all the necessary supplies and tools, follow these steps to hook up Garmin Striker 4 to the battery.
- The first thing you need to grab is the Garmin Striker 4 power cable with the inline fuse installed. You should avoid using custom power cables as the inline fuse is not installed on modified options. So, to protect your Fishfinder, it is best to only use the power cable included in the packaging.
- Now, you just have to grab the shrink tubing section and place it on the power cable. This tubing will later be adjusted to address the waterproofing requirements of your fishing system. So, don’t skip this step if you wish to avoid equipment failure.
- After using the shrink tubing, use butt connectors to link up the red wire from the power cable to the red wire in the battery. Make sure that they are crumpled perfectly and that there are no loose sections. Otherwise, the wires will wiggle out of the butt connectors over time.
- Repeat the previous step for the black wires, and focus mainly on tightening upt the connection between the power cable and the battery wires.
- Lastly, just heat up the shrink tubing over the wiring connections to make them waterproof. This will also protect your wires from damage and rough conditions. However, you should try to control the heat and avoid damaging the wires before you can take your system out to the water.
At this stage, you can simply test the battery by installing the power cable on your Garmin Striker 4. If you’ve done everything correctly and the battery has a good level of charge, it should start up the Garmin Striker 4 unit. Make sure to wait for a few seconds after pressing the power button, as the unit can take a bit of time to start up initially.
However, if the Garmin Striker 4 system is not responding even after pressing the power button multiple times, then you’ve likely messed up the installation steps, or your wires are damaged. So, make sure to trace back the installation steps and source new wires if they are indeed damaged.
