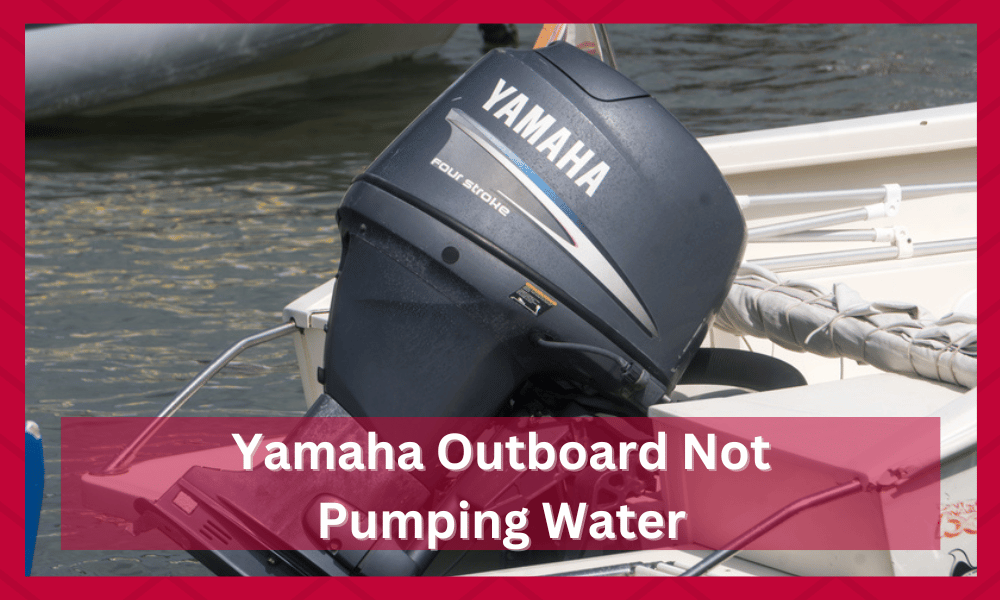
Yamaha Outboards is a popular motor engine that you can purchase for your boat.
Even though this is considered to be one of the most reliable engines available on the market, you will often run into issues with this unit if you don’t follow a monthly maintenance schedule.
So, make sure to go through the maintenance routine and keep your unit clean if you want to get extended performance out of the outboard. Recently many users have pointed out issues with their Yamaha outboard not pumping water.
It can be impossible to get the desired efficiency from your unit when you’re running into pumping issues.
So, let’s go through a few troubleshooting methods that can help you get around these motor problems. Make sure that you go through the steps carefully.
The process helps people in finding what might be causing the problem and then deal with it properly. You should also be able to understand how the pump works and how you can avoid similar issues in the future.
Yamaha Outboard Not Pumping Water
- Unclog Water Inlet
One of the most common problems that can lead to this issue with your outboard motor is a clogged water inlet. Depending upon the condition of the water, it is not too rare for weeds and other dirt to get stuck in the water inlet.
So, you will have to start the inspection by checking the water inlet, and it will give you an accurate picture of the issue.
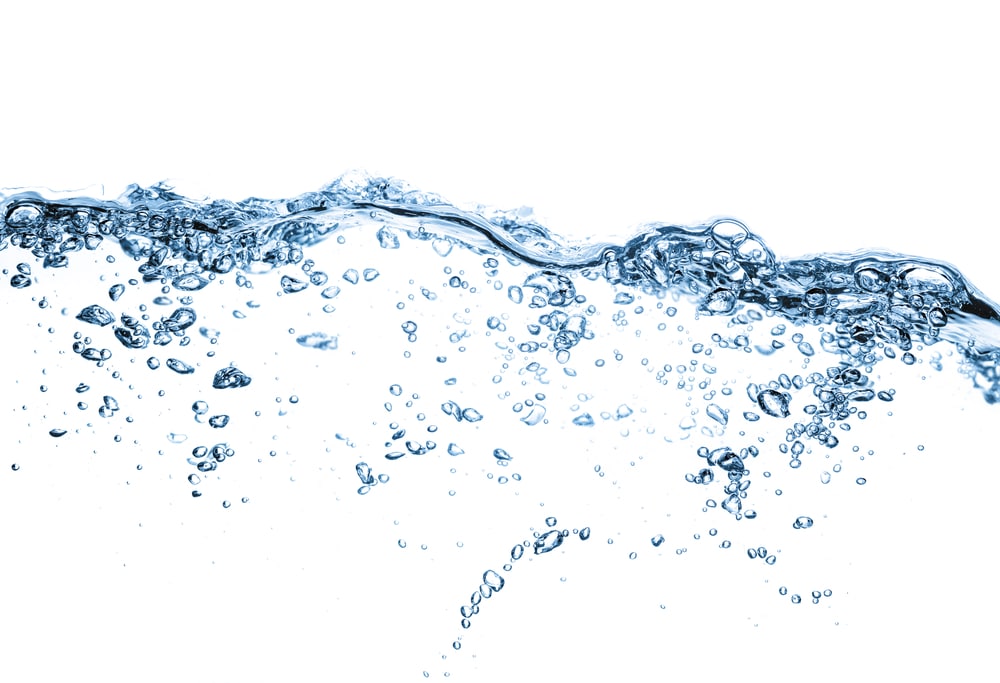
Most often than not, you will find that there is some debris blocking the water inlet, and no water can get into your motor.
Luckily, this issue is quite easy to fix, and you need to fish out all the debris particles in the inlet tube, and your issue will be fixed.
Just make sure to turn off the power before inspecting the water inlet completely.
Once the power is removed, you can poke a wire into the inlet and try to remove the extra debris. That way, you will be able to clean the grates completely without any issues.
After that, you can just start the engine again and check if your outboard will start pumping water.
In most cases, this should be enough to fix the issue but if it doesn’t then move on to the next step. It is mostly recommended that people clean the engine frequently to avoid this problem.
- Replace the Pump Impeller
As long as you’re sure that there is nothing clogged in the water inlet supply, the issue with the outboard not pumping water can be isolated to a broken impeller or a clogged outlet.
So, you should move on to the inspection of the pump impeller after cleaning up the water inlet, and it will help you narrow down the issue.
In most cases, you will find that the impeller disc can break or get out of shape and disrupt the flow of water. If you’ve had the unit for a long time, then there is a good chance you’re dealing with similar issues.
Luckily, all you will have to do to get around this problem is install an impeller replacement.
The best thing here is that the impeller disc is quite affordable, and you won’t have to hire an expert to install the impeller.
You can easily make the replacement yourself, and it won’t take you more than a few minutes to overcome the impeller problems.
So, just go to your nearest hardware store or contract the dealer to secure a compatible impeller replacement for your unit. After that, just replace the old impeller with the new one and your problems will be fixed.
- Clean the Outlet
After fixing the impeller of your water pump, you need to look towards fixing the water outlet if you’re still stuck in the pumping issues.
To clean the water outlet tube, you will just need to grab a piece of thin wire and put it inside the water outlet.
Now, you should move it around in a circular motion gently to dislodge any debris particles stuck in the outlet.
After you’ve cleaned out the water outlet, try starting the motor again and check if you’re still struggling with the pumping problems.
Most often than not, the issue will be fixed at this stage, and you won’t have to concern yourself with the water pump for a long time.
So, make sure to fix the inlet, outlet, and impeller on your water pump if you’re running into issues.
These should be enough to fix the problem in most cases. You should also check the wirings on the pump to ensure that these are not faulty.
If some wires have come off, then install them back to fix the issue.
Although if you notice that some wires had small cracks or breaks on them then this indicates that the wire has been damaged. The only way to fix this is by replacing the wires with new ones.
People can either do this on their own or contact an electrician to help them out.
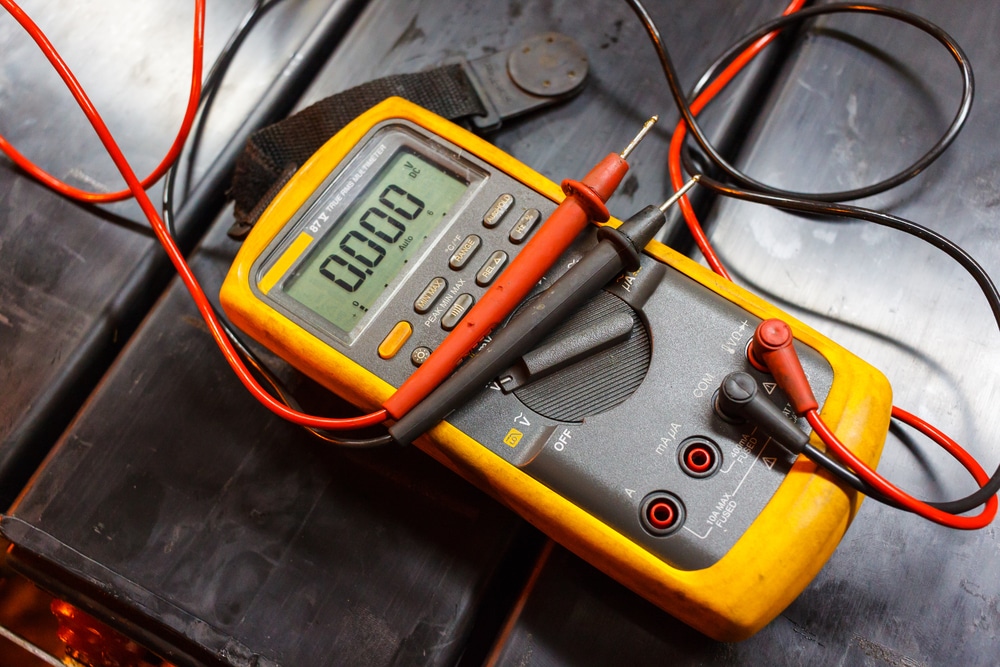
You can also confirm if the wires were damaged or not by using a voltmeter. This allows users to test the current ratings on the cables.
Improper routing is the main reason behind this problem so make sure that you avoid it.
These steps should be enough to fix the problem in most cases and allow people to start their pumps. However, if this persists then your only option will be to move on to the next step.
- Battery Might Be Causing Problems
The battery in your Yamaha Outboards is responsible for powering up the entire motorboat.
The engine usually takes current from the battery to keep itself running which is why the battery is an important part to look out for.
The outboard not pumping water can sometimes be from the batteries running into issues.
There are several things that can be checked here but always start by testing the terminals. The wires should be tightly attached to the terminal so that the battery can pump power through.
If you notice that there are clogs or dust gathered on the terminals, then this might be the reason behind your problem. People should note that dust can prevent electricity from flowing through which causes issues like these.
The best way to get rid of the problem is to clean the dust and then connect the terminals back to the wires.
If you notice that there is some corrosion on the terminals, then this should also be removed. People can use a solution of water and vinegar to fix the issue.
You can also pour warm water over the terminals as this helps in softening the layer of corrosion.
This can then be removed by scrubbing it. It is recommended that you make a habit of keeping the terminals clean as it helps in avoiding problems like these from ever appearing.
Finally, if the battery is still not working then let it charge for some time.
You should note that the batteries tend to lose their ability to hold a charge. Over time you will notice that the batteries start to die out and they should then be replaced with new ones.
These will last you several years, so the batteries are worth investing in. Make sure that you purchase your new battery from a reliable brand. This should also be kept maintained to ensure it lasts you a long time.
- Contact the Support Team For Yamaha
If you’re unable to get ahead of the problem, then you should call your dealer for professional support. As long as you have a warranty, you should avoid replacing the unit yourself and always call the dealer first.
Otherwise, you will end up voiding the warranty, and you won’t get anywhere with the water pump issues.
People who still want to fix the issue on their own should start inspecting all the parts on the engine. There are tons of small parts that might have gotten damaged.
Replacing or repairing these should allow you to fix the problem. However, most people will find this difficult to do on their own and it also takes a lot of time. To prevent all this, customer support will always be the better option to go for.
The only thing that you need to do is contact the support team and ask them to help you out.
They will ask some questions regarding the device so that the problem can be isolated. Make sure that you answer all of these carefully so that the issue can be fixed quickly.
Once done, the team will then provide you with some simple troubleshooting steps that can be followed.
Go through these to fix the problem with your pump. If the pump or engine is damaged, then you will be asked to send this back to the company.
The brand will replace the faulty parts to ensure your problem is taken care of.