Humminbird units have dominated the fishing market for many decades. The devices from this brand maintain exceptional quality, but it can sometimes be difficult for users to manage the initial installation process.
So, if you’re not familiar with how to install a sonar unit on your system, try relying on help from an expert, and that way, you won’t have to worry about faulty configurations.
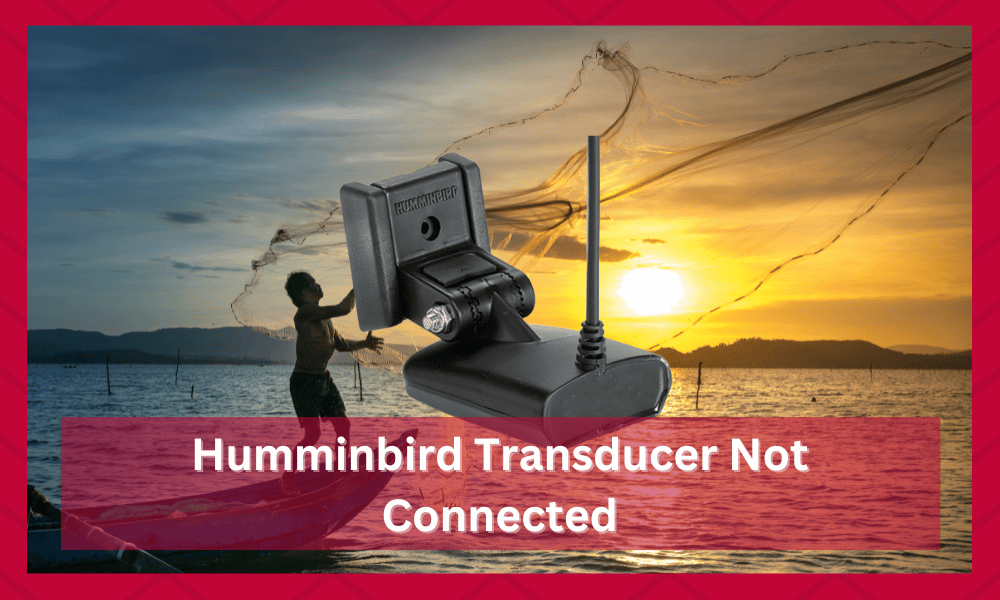
With that said, many users have mentioned issues with Humminbird Transducer not being connected properly.
If you’re in a similar situation, and the transducer is not connecting to the unit, then the following list of solutions should help you overcome this problem.
Keep in mind that there are several reasons that can cause the issue with your Humminbird Transducer.
Going through each of these steps carefully is essential as it helps people in understanding what might be causing the problem.
Once you have the exact reason in mind, you can then follow the steps provided to fix it. These should also allow you to prevent problems in the future.
Solutions for Humminbird Transducer Not Connected
- Check for Broken Pins On Cables
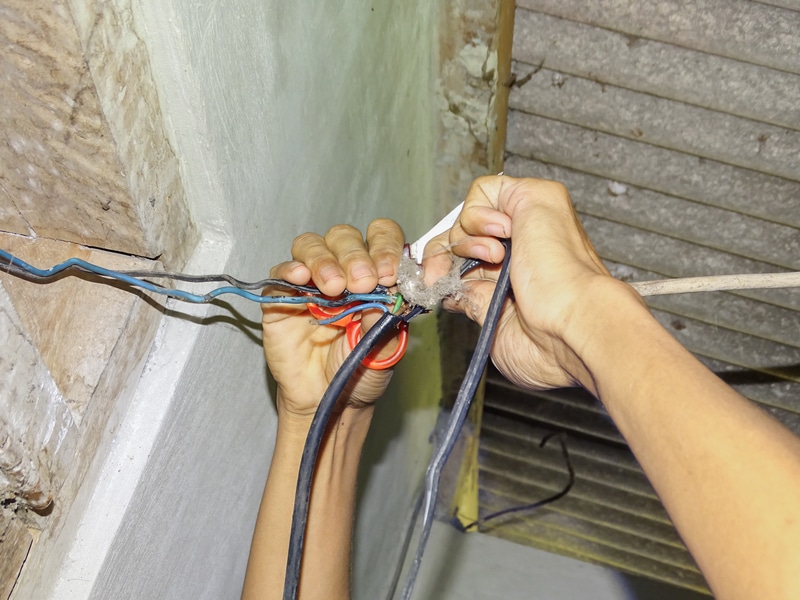
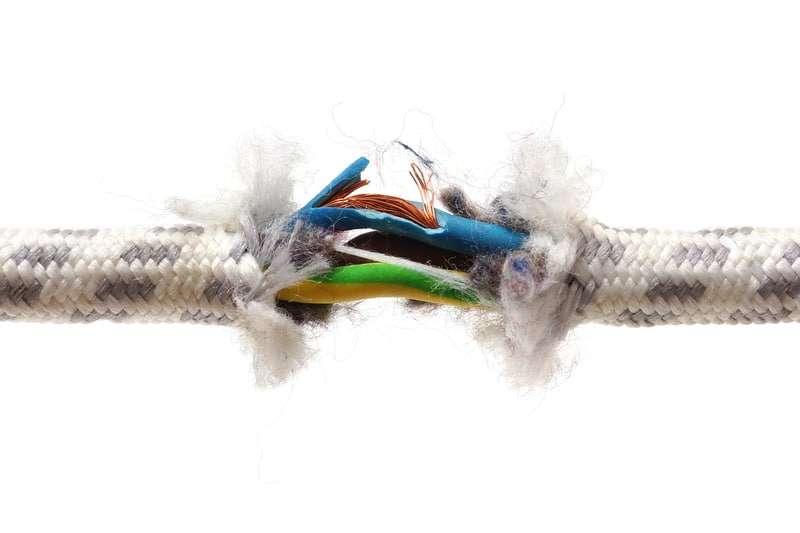
According to many anglers, this issue with the Humminbird unit can be traced back to broken pins inside your transducer cable. So, you should always start the inspection with the connection points inside the cable.
Even though this brand puts extensive focus on the quality of its products, the issues with the connection pins have yet to be fixed.
Unless you’re extremely careful with the unit, there is a good chance you’ll end up breaking the connection pins.
To get ahead of this problem, you should start by checking the connection points on the display unit as well as the transducer cable.
If the pins are broken on the cable, then there is not much that you can do about fixing this problem besides purchasing a new cable.
Luckily, the cable replacement is not too expensive, and it should fall well within your budget.
So, just purchase a cable replacement and install it on your unit to get the system working again. The installation process should be quite easy especially if you have done this before.
Though if you are someone who asked a specialist to install the system for you then you might run into some additional issues here.
The best solution that you can go with is either consulting the manual provided along with the product or looking for video guides online.
This helps people in understanding how the cables can be installed inside the display and transducer.
Aside from this, users that don’t want to install the cable on their own can contact a specialist again. This should save you a lot of time and hassle, but you will also have to pay a small fee.
- Checking Connections For Cable
If the connection pins on your transducer cable are in perfect condition, try to reconnect the cable to your display unit.
That should troubleshoot any minor issues with the connection of the transducer. When it comes to this, there are several other things that should be noted.
Before you get into this, make sure that you have checked the pins once.
If even one of them is bent, then your device will not function. People can try reshaping the pins by bringing them back to their original position. If this works then you can move on to checking the connections.
Though in some cases, trying to reshape the pins can result in them breaking.
If this happens then you can use the first solution provided to fix the problem. Getting back to the connections, people need to first ensure that the wires are plugged in properly.
These can either be loose or plugged in the wrong spots.
Both of these factors can cause problems which is why you need to check this properly. The best way to ensure that the wires are tightly plugged in is by removing them and then installing them back in.
This helps people in being assured that the wires are properly in place. If you notice that the wires are still loose then there might be something blocking them from forming a connection.
In most cases, the problem is from dust gathering inside the connectors.

This can be easily checked as you should be able to notice a lot of dust clogging the wires. If this is true, then the current will have a hard time passing through resulting in this problem.
The only thing you need to do is remove the dust from the pins and connectors.
If done properly, then connecting the cables back in should allow you to fix the problem. If this is not working, then you can move on to the next step to help you out.
- Fix Bent Cables On The Device
It is quite common for beginners to ignore the cable management of their unit while trying to install the transducer. This is why it is always a good idea to rely on help from experts if you want to get ahead of this issue.
With that said, bent cables can lead to connection issues in many of the newer transducer models.
So, if you’re struggling with the Humminbird Transducer not connecting to your main unit, then there is a good chance that the transducer cables are damaged.
Depending upon the severity of the issue, you will have to purchase cable replacement for your unit.
However, you can always try your luck with fixing the bent in the cables and then connecting them to the main unit.
If you’re lucky, then the system should recognize the transducer mounted on the bottom of your boat.
Keep in mind that this is quite rare and only happens if the damage to the cables was minimal. Even then there is a high chance that the wires will stop working eventually.
On the other hand, if the issue remains unresolved, then you will have to replace the transducer cable.
Hopefully, after replacing the transducer unit, you will get ahead of the connection problem. Just make sure to manage the orientation of cables this time around properly.
Having proper routing is one of the most important factors that people need to keep in check.
This not only makes it easier for people to look for issues in these situations, but it also helps in preventing them. As long as you keep the wires properly routed, the damage on them should stay minimal.
- Call Humminbird Customer Support
Now, if the problem doesn’t get fixed after replacing the transducer cable, then you’re dealing with a defective transducer. In this situation, you should reach out to Humminbird customer support immediately.
The dealer might ask you some questions regarding the problem so make sure that you answer these carefully.
These help the support team and dealer in figuring out what is causing the issue. This is why remembered to answer the queries in detail as it should help you out.
As long as you have a valid warranty, there is no need to spend an extensive budget on a transducer replacement.
Instead, you should call the dealer immediately and explain the situation to him. If your claim is valid, you can get a transducer replacement for free.

There are some guidelines here that need to be followed before the warranty can be claimed.
If you have not gone through these before then it is recommended that you do this beforehand. This helps people in figuring out if their problems fall under the warranty services or not.
So, make sure to avoid opening the unit yourself and leave this job to the professionals.
On the other hand, if the warranty on your transducer has expired, then the professionals from Humminbird support will help you with several troubleshooting steps.
With that said, you can also take your transducer to a repair center approved by Humminbird to get it checked by a professional.
It is true that you will have to spend some budget in the form of an expert fee, but at least your transducer will start working again.
All in all, your issue should be fixed after replacing the connection cables attached to the transducer.
Issues with the defective transducer are quite rare, and it is unlikely you will have to bother with any other troubleshooting steps. So, just purchase a cable replacement and test your transducer again.