GPS coordinates are a one-of-a-kind identifier that can pinpoint a particular geographic location anywhere on the planet.
These coordinates are typically expressed in the form of alphanumeric characters. Inside the scope of this discussion, coordinates refer to points of intersection within a grid.
Latitude and longitude are the two most frequently combined coordinates for expressing GPS coordinates. The files that Humminbird saves have the .px extension.
These allow people to search for areas that they want to visit and then get the best possible routes within a short time.
This can be great, and the Humminbird Helix 7 comes with tons of additional features that can be used while you are on your trip.
While this might be good, you should note that there are also some problems that people can run into when trying to use the Humminbird Helix 7 device.
Recently users have been reporting that they are having trouble trying to enter the correct GPS coordinates inside their Humminbird Helix 7 fish finder.
To enter GPS coordinates into your Humminbird Helix 7, follow the steps mentioned below as these should be enough to help you out.
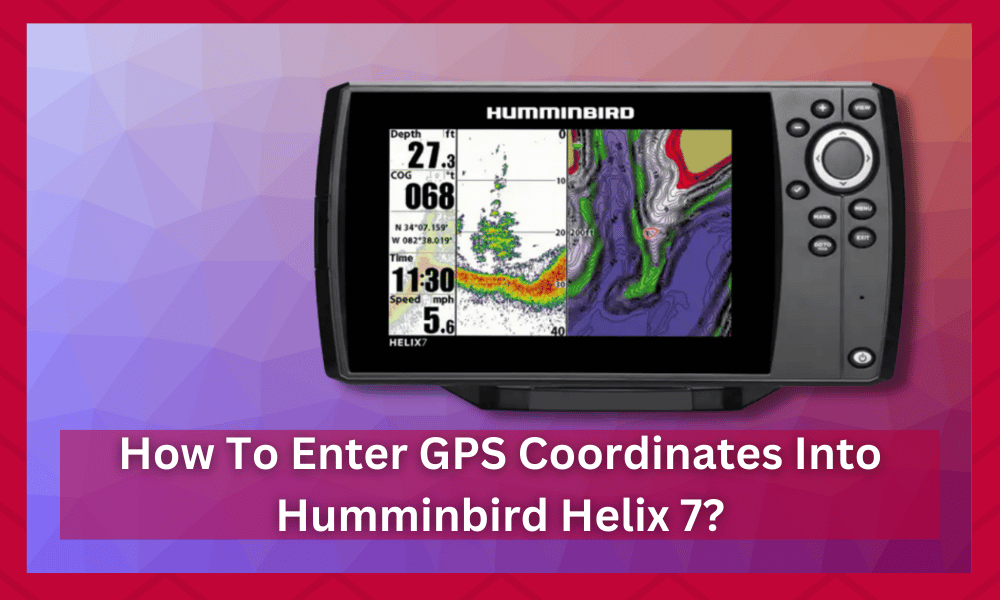
How to Enter GPS coordinates into Humminbird Helix 7?
With Humminbird Helix 7 you can enter the coordinates for free and by using an app. In this guide, we have provided both the ways by which you can enter coordinates to your GPS.
The free way to enter GPS coordinates is:
- First, determine which GPS the unit recognizes and manually enter them. To enter:
- Next, to enter the latitude and longitude coordinates, you must establish a waypoint.
- Then, navigate to the Nav menu tab after accessing the main menu of the Helix.
- After that, scroll down until you reach Waypoints, Routes, and Tracks, and then press the right arrow on the 4-way button.
- Afterwards, press the up arrow until you reach the Options line, and press the right hand.
- Select NEW, then navigate to the right.
- Follow the right arrow until you reach the New Waypoint.
- Modify or enter the information into that panel.
- You can give it whatever name you like, and it will be given the word that would be given to it if you were out on the ocean and saved a waypoint. If you so choose, you can edit it.
- You can also choose any different icon if you want.
- Lastly, make any necessary changes and then click SAVE.
If the Helix is able to use the coordinates in their current form, all you need to do is:
- Press the same buttons that you would use to mark a waypoint on the water
- Then use the up and down arrow keys to adjust the numbers so that they correspond to the new coordinates.
- If the Helix can use the coordinates in their current form, you only need to press the same buttons that you would use to mark a waypoint on the water.
- You will need to convert the coordinates to a GPS Coordinate System that the device is compatible with if the device cannot recognize those numbers or if the waypoint you entered does not appear on the map after inputting it.
- After entering the coordinates and generating the waypoints with the EasyGPS program, you can check them out on Google Earth and save them before using the GPSbabel tool to convert them to the “bird format.”
- After that, you will need to import the file once you have successfully copied it to the device’s internal data SD card.
The steps mentioned above are usually enough for most people to understand how they can enter the GPS coordinates into the Humminbird Helix 7.

Though, you should keep in mind that some users might have trouble trying to follow these steps.
If this happens then it is recommended that you consult the manual provided along with the device. This should contain all the information required regarding the Humminbird Helix 7.
It should also allow people to go through the configurations on this device.
Some users might have lost the manual which can be quite annoying. Luckily, you can download a new copy of it online and the process is quite simple.
The only thing that you need to do is visit the official website for this brand and then enter the exact model of the fish finder.
This should provide you with a page that has all the information required regarding the Humminbird Helix 7. You can then download a copy of its manual and then go through it to help you out.

Some users report that the steps provided in the manual were still not enough to help them out.
If something like this happens then another solution that you can go with is contacting the support team for this brand. The team will ask you some questions regarding the device and then start helping you out.
Make sure that you follow the steps provided carefully so that the problem can be fixed.
Aside from all of this, you also have the option to search for video guides online that can be used to enter the GPS coordinates. Make sure that you find a guide that has the same model of fish finder that you are using.
Finally, if you notice that none of the solutions are working then you might be using the device on an outdated version.
In cases like these, the only option that you have is to update the firmware on your Humminbird Helix 7. Make sure that you install the latest available version.

Once done, you should then be able to start using the Humminbird Helix 7 with your new GPS coordinates.
If you have any further questions in mind, then contacting the support team for this brand should be enough to get the answers.
Keep in mind that sometimes your device might have a hardware error that can prevent you from using custom GPS coordinates. In cases like these, it is much better that you get the warranty claimed.